How to create your Image Gallery in FlippingBook Publisher?
With FlippingBook Publisher Business, you can use our Image Gallery feature to group several images in one. This feature was introduced in version 2024.1.
An Image Gallery is a great tool if you want to show more about e.g. a product, but can't afford the space in your PDF itself. Interested visitors open the Image Gallery to find everything they want in every detail about this product. People who are not interested just ignore it and simply continue browsing on till they find their favorite product. Our Image Gallery feature comes in handy when you show:
- your goods from different angles or close-up;
- similar products in a catalog (for example, a product in different colors);
- real estate catalogs (for example, photos of houses/rooms/available services in the hotel).
Here is how you add an Image Gallery to your flipbook:
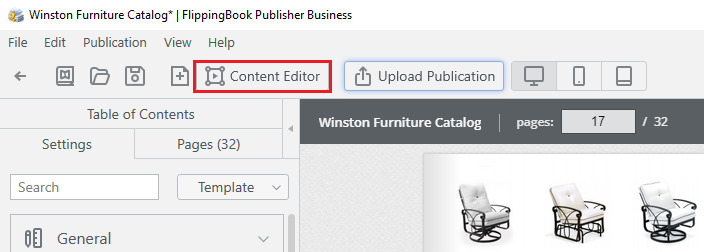
- Go to the upper program toolbar and click on the Content Editor button:
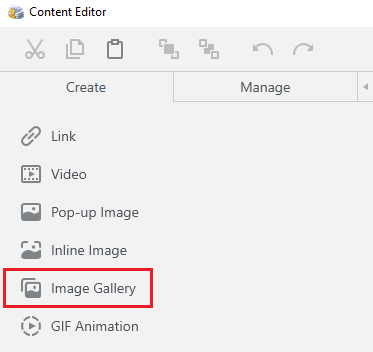
- Select the Image Gallery option in the menu on the left:
- Select the images from the folder on your computer that you want to add to your Image Gallery and click Open.
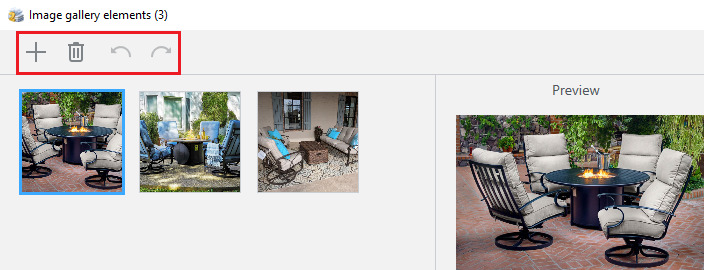
- A pop-up window Image gallery elements will appear. Here you can change the order of your images, delete or undo your previous step by clicking on the upper panel icons:
- Once done, click on the button Save.
In this article, we will cover the following topics about Image Galleries:
- Setting up display settings
- Editing gallery content
- Adding captions to your Image Gallery pictures
- Controlling the icons
- Sizing and aligning your Image Gallery
- A gallery-like navigation through your Image Galleries
Setting up display settings
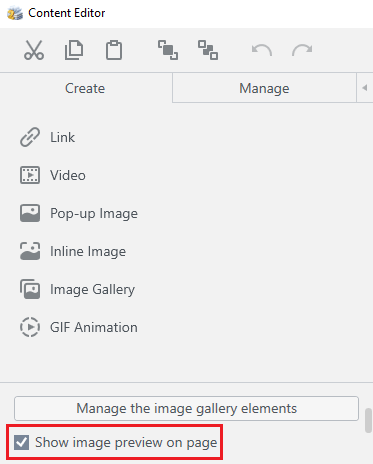
If you enable the option Show image preview on page (switched on by default), we show a small preview of the first image of your Image Gallery. If you want to change your preview image, you should move the desired image to the first place so that it changes the current first image of your Image Gallery. After that, click on the button Save.
Maybe your PDF already contains a nice image for your gallery. If you don't need the preview image, you can untick Show image preview on page option in the Image Gallery Settings on the left-hand side of the Content Editor:
Editing gallery content
To edit your gallery content, click on the Manage the image gallery elements button in the Image Gallery Settings of the Content Editor. This opens your gallery in a window where you will see your current images. You can add new ones using the Plus icon, delete images using the Trash icon, or move them around by selecting an image and dragging it to its desired position:
Adding text captions
Starting with FlippingBook Publisher 2024.2 you can add a caption to every picture of your Image Gallery. Here is how it looks:
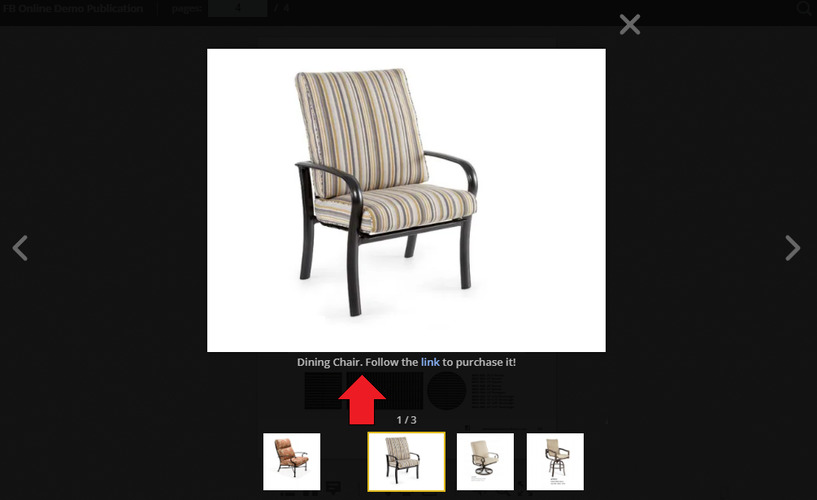
To write a caption to a picture in your Image Gallery, click the Manage the image gallery elements option for existing Image Galleries or Create a new Image Gallery if you don’t have one. Once you’re in the Image gallery elements window, click on the picture to which you want to add your caption and write its text in the Caption field. Repeat this for all images.
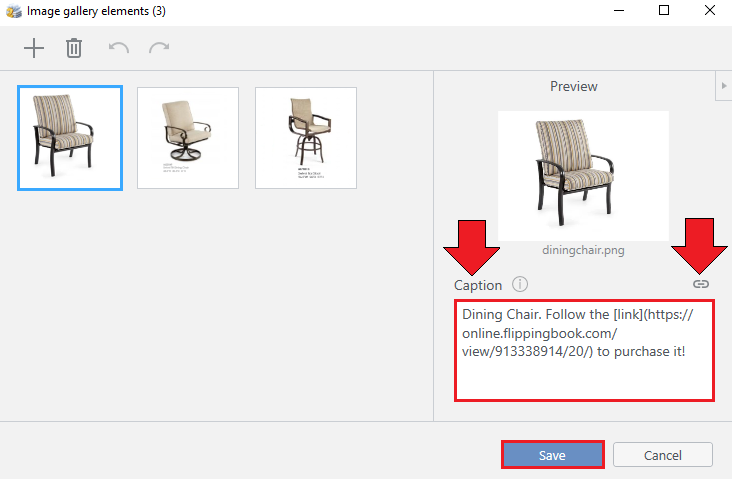
You can also include a link in any caption you add. Select the text you want to turn into a link and click the link icon located at the right top corner of the caption field. Paste your link in the URL field, and press OK.
Once you added your captions and links, press the Save button to save the changes.
Controlling the icons
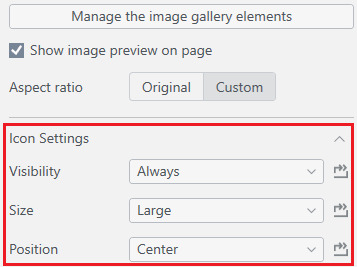
By default, we add icons to Image Galleries to help your readers notice them. You can change their size, position, and behavior in the Icon Settings section located on the bottom left side of the Content Editor:
We explain all these options and what they mean below.
Visibility controls when the icon appears. Here are the variants to choose:
- Always: the icon is shown when the reader opens the page with your Image Gallery. It stays visible until your reader interacts, e.g. by clicking a picture. When the interaction ends, the icon will appear again.
- On hover: the icon will show up when the reader moves the mouse over your content and when the page is loading. Note that while you are editing your flipbook, the icon will always be visible. This makes it easier when you want to see the effects of the size and position below. Don’t worry, in the final result it will only show up when the reader hovers over it or while the page is loading as described above.
- Never: the icon never shows up.
Size determines the size of the icon: Large, Medium, or Small.
Position lets you choose where the icon should be shown. You can choose to put it in the center or in any of the corners.
Sizing and aligning your Image Gallery
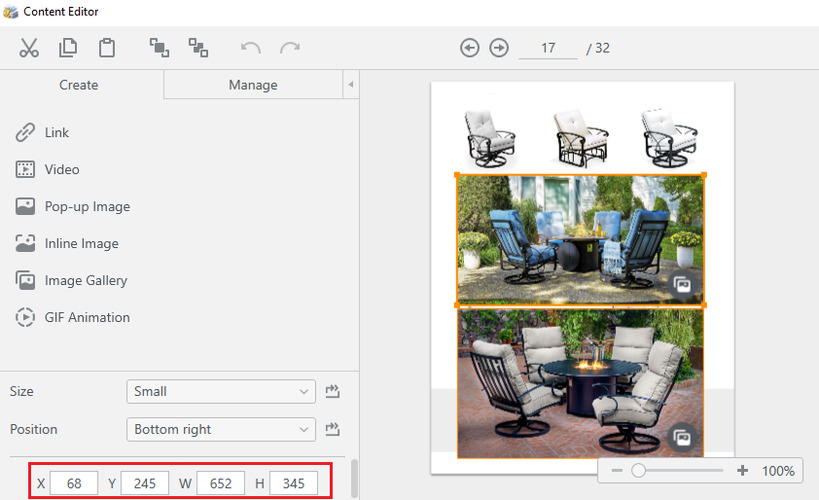
In the Image Gallery Settings on the bottom left side, we show the exact position and sizes. You can edit these values for your Image Gallery manually. So if you want several Image Galleries on your flipbook page to be of the same size, and aligned on the left, then you can:
- Change the image of your first Image Gallery to the ideal size.
- Write down the X value and width of the first Image Gallery.
- Manually edit the X value and width of your other Image Galleries accordingly.
- If you want to align your Image Galleries horizontally, give them the same Y values and height instead.
A gallery-like navigation
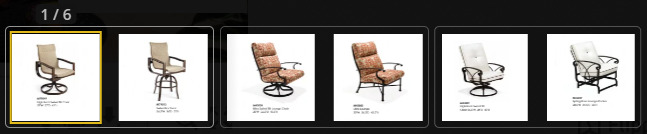
When your readers open an Image Gallery or a pop-up image on a page, then by default, we show all the pop-up images and all the image galleries on the current page, slide, or spread in one single reel. So, after your reader looked at the current pop-up image or gallery, they can continue with the next, without having to close the pop-up first. For example, here we have 3 galleries located on one page and that is what we see:
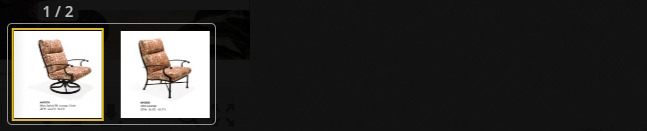
If this behavior is not what you want, you can switch off the option by going to the Settings tab > the Book section in FlippingBook Publisher. Untick the option In-page pop-up navigation. Now, all pop-up images and image galleries are shown in their own pop-up. For example, here we opened the second gallery and this is what we see:
If you want to know more about the Content Editor and its options, read the related articles below.