How to add videos, links, and images to my flipbook?
Note! ⚠️This article explains the basics of adding content. If you are looking for more in-depth info, jump directly to our specialized articles about links, videos, images, galleries, GIFs, and forms.
With the Editor, you can enhance your flipbook by adding links, videos, images, and more. This way, you can set your flipbook truly apart from a printed version! Add links to your website where your visitors can buy your products. Use image (galleries) to show additional details. Tell stories with videos that you can't capture in words. And add GIFs to add animated text, charts, or highlights.
The Editor feature is available in FlippingBook Online Optimal or higher.
- How to add videos to my flipbook?
- How to create and edit links using the Editor?
- How do I add images using the Editor?
- How to add multiple images as a gallery?
- How to work with animated GIFs using the editor?
- How to add forms to capture reader input?
- How can I manage the icons of my videos, pop-up images, and GIFs?
- Related articles
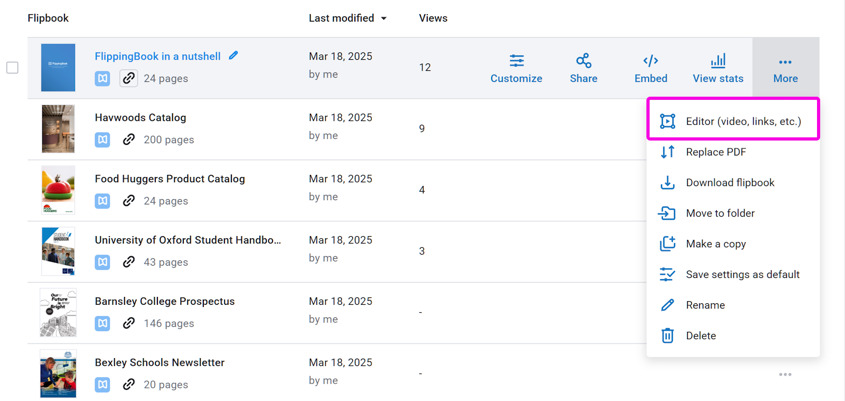
To open your flipbook in the Editor mode, do the following:
- Go to the Flipbooks tab in your account.
- Hover over the flipbook where you want to add a video, a link, or an image.
- Click the button with more options and choose Editor (video, links, etc.):
This opens the Editor mode for your flipbook:
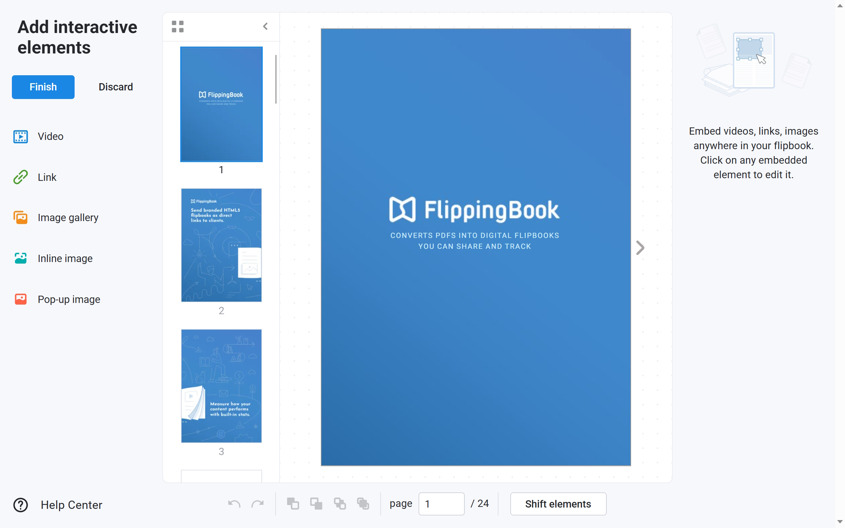
Once inside the Editor, you will find the Thumbnails panel next to the left sidebar. This panel shows a preview of your pages and any videos, links, images, and other content you added. The elements are color-coded, so you can easily spot them as you go through the pages. This is especially helpful for large publications. Tip: You can scroll the mouse wheel to browse through the thumbnails!
How to add videos to my flipbook?
FlippingBook Online allows you to embed videos in three ways:
- Use videos hosted on YouTube, Vimeo, or Wistia;
- Use public MP4 videos on your own server;
- Upload MP4 videos up to 500 MB directly from your device to FlippingBook's servers (Available in Advanced or higher).
Tip!💡You can use Free Convert or similar services to convert non-MP4 videos to MP4 and/or to reduce their size if over 500 MB. We advise you to optimize your videos so they play fluently before uploading to FlippingBook Online!
To add a video to your flipbook:
- Open your flipbook in the Editor mode.
- Go to the page where you want to add the video. You can scroll with the mouse wheel in the thumbnail panel to quickly go to a specific page.
- Press the Video button in the menu pane on the left-hand side. This will open a pop-up dialog.
- Now either
- copy the link to your YouTube, Vimeo, Wistia, or MP4 video link, paste it into the input field, and press Confirm, or
- upload a video from your device using the Browse button or drop area (available in Advanced or higher).
- Drag your video to the correct place and adjust the size and position.
- Press Finish to save the video in your flipbook.
You can change several settings in the panel on the right-hand side. For all the details, refer to our article videos in-depth. The most important one is the Playback mode, which we describe below.
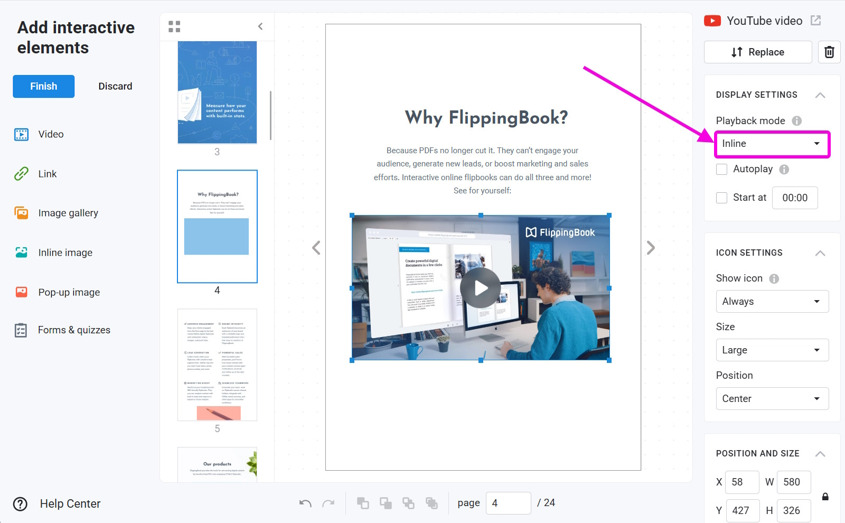
The Playback Mode determines how your video is opened in a flipbook. Two options are available: Inline and Popup.
- Inline embeds the video directly into the flipbook page so that it looks like a part of your page. A great option if you have enough space available so that users can see the video without zooming.
- Pop-up will add a thumbnail to the page. When the reader clicks on the thumbnail, this opens a pop-up window where your video is played. Your flipbook will fade to the background. When the reader closes the pop-up, they will return to the flipbook.
Want to explore all the details about videos? Visit our article Video in-depth.
How do I create and edit links using the Editor?
After you create a flipbook, you can add new links or edit the ones that we extracted automatically for you. All web addresses, emails, and phone numbers found in your PDF are automatically converted into links.
You can add two types of links to your flipbook:
- Web address - when a reader clicks on the link, we open the webpage with the URL that you specified. It is also possible to enter an email address or phone number.
- Page - go to another page in your current flipbook. This way, your readers can quickly find the content they need.
To add a link, follow these steps:
- Open your flipbook in the Editor mode.
- Go to the page where you want to add the link.
- Press the Link button in the menu panel on the left-hand side.
- Choose the link type (Web address / Page) and paste the URL or type the page number:
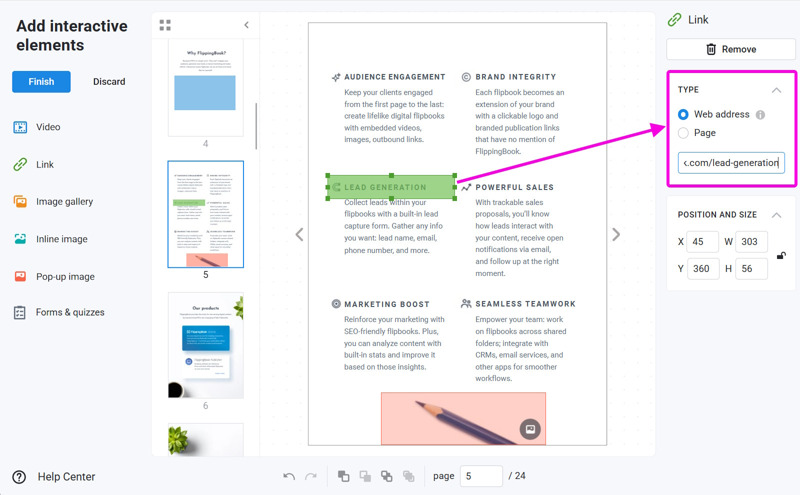
- The link area is highlighted by a green rectangle. To adjust it, click on the link and hold down the mouse button to move the element to the desired position. Resize the link by clicking on one of its edges and dragging it to the desired size.
To edit an existing link, go to the Editor mode and click on your link. Once selected, the right-hand menu pane will appear. You will be able to edit it from there.
For all the ins and outs of links, visit our article Links in-depth.
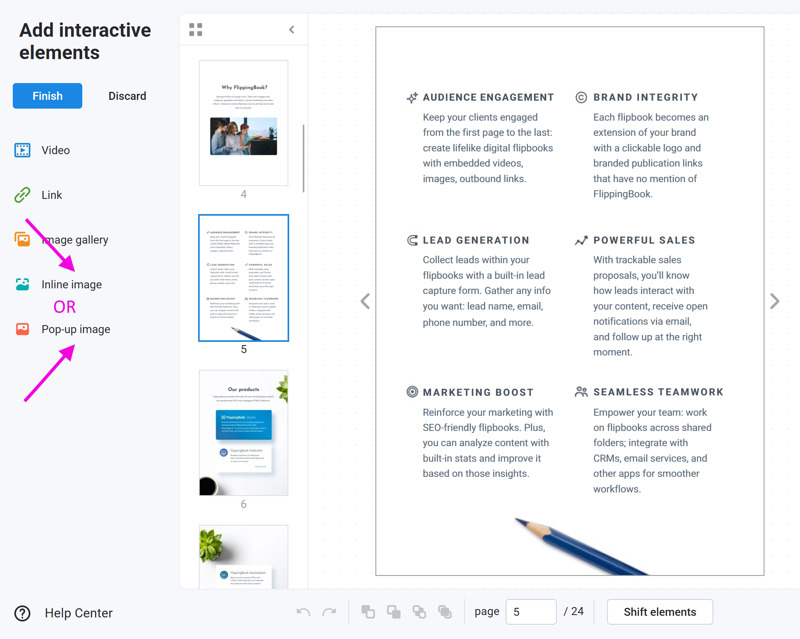
How do I add images using the Editor?
You can add two different kinds of images to your Flipbooks:
-
Inline image: This image becomes part of the page. You place an image in an empty spot or on top of your content; it looks like it was part of your original PDF page.
-
Pop-up image: This is a small, clickable image. When your visitors click on it, the full image opens in a pop-up window.
To add an image to your flipbook, follow these steps:
- Open your flipbook in the Editor mode.
- Go to the page where you want to add your image.
- Click either Inline image or Pop-up image from the menu on the left to choose how it will appear in your flipbook.
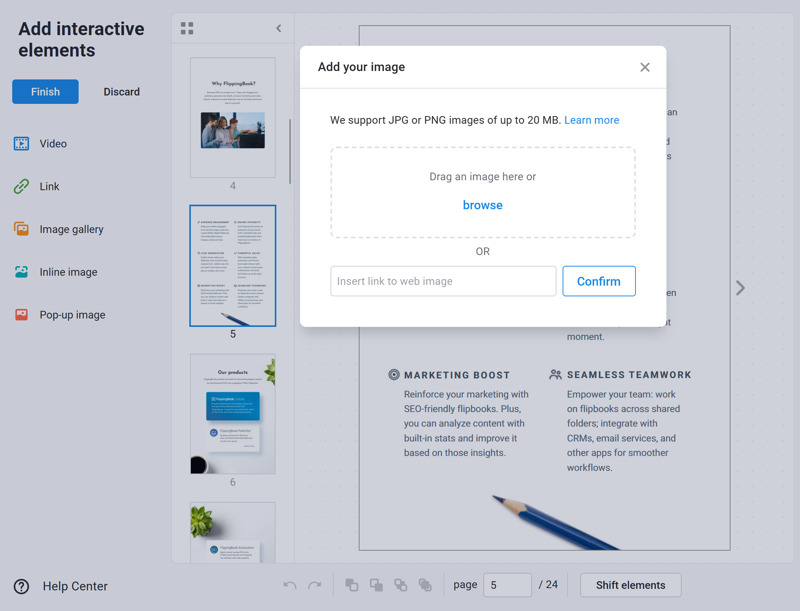
- You can now add an image from your device, but it is also possible to add an image from the internet.
- To add a local image, drag and drop it onto the marked area or click on browse and select it from your device.
- To use an image from the internet, you can use Insert link to image, paste the URL to the image, and press Confirm. We will make a copy of that image and insert it into your flipbook. Your flipbook will not be affected if the online version changes or is deleted.
- To adjust the image, click on the link and hold down the mouse button to move the element to the desired position. Resize the image by clicking on one of its edges and dragging it to the desired size.
- When done, press Finish to save your work.
You can find more detailed info in our Images in-depth article.
How to add multiple images as a gallery?
Instead of adding a single pop-up image, you can also add multiple images in a single pop-up. We call this an Image gallery. This gives you even more options to showcase your products. Also, your publication won't be cluttered by lots of pop-up images.
To create an Image gallery:
- Open your flipbook in the Editor mode.
- Click on Image gallery in the menu on the left-hand side.
- Drag and drop the images onto the marked area or click on Choose images and select them from there.
- Your images will be uploaded to FlippingBook, indicated by a white tick. Keep adding images until all images for your gallery have been added.
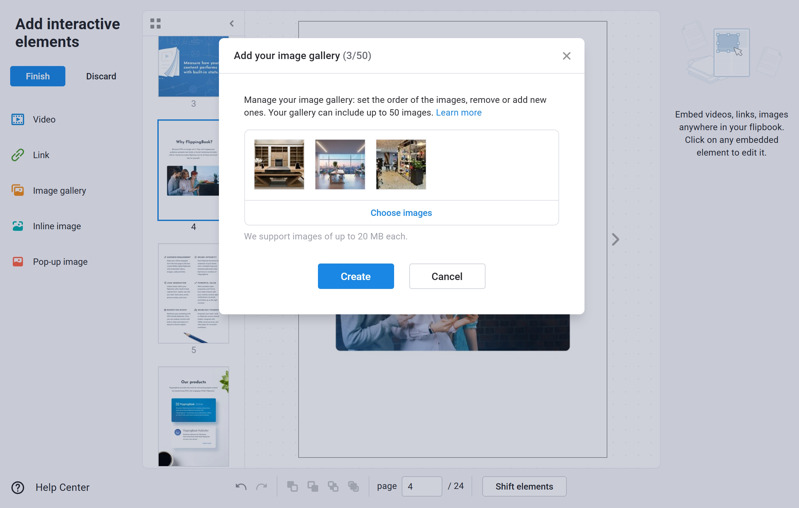
- While this pop-up is open, you can drag the thumbnails to a new different to change the order of the images in your gallery.
- When you're happy with the result, press the Create button to add the element (don't worry, you can always add, move, or delete images later).
- Your gallery is added to the page. Move it to the desired position on the page and press Finish to save your changes.
Our article Image Gallery in-depth shows all the ins and outs.
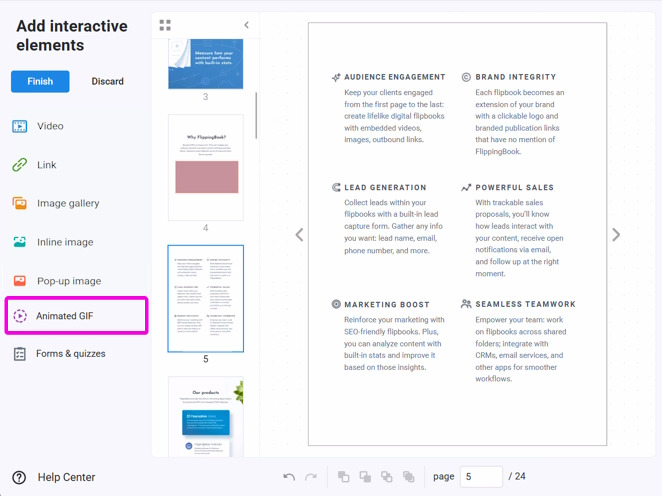
How to work with animated GIFs using the editor?
Important! ⚠️Adding GIFs is possible with the Advanced, Team, or Enterprise plan.
While widely known for their meme potential, animated GIFs have great business potential as well. GIFs can be used as alternatives for short videos, without the need for a video player.
But you can also use them for:
- animated infographics;
- 360-degree images of your products;
- visual explanations in training documents;
- animated icons or borders to attract attention to e.g. new products or important content.
If you don't have any suitable GIFs yet, head over to our article How to make your own GIFs for some tips and inspiration!
To add a GIF to your flipbook, follow these steps:
- Open your flipbook in the Editor mode;
- Go to the page where you want to add the GIF;
- In the menu on the left-hand side of the Editor, click on Animated GIF.
You can now add a GIF file from your device or the internet.
- To add a GIF from your local device, drag and drop it onto the marked area or click on browse and select it from your device.
- If you want to use a GIF from the internet, then you can use Insert Link to GIF, paste the URL to the GIF, and press Confirm. We will make a copy of the GIF and insert it into your flipbook. This means that the version in your flipbook will not be affected even if the online version changes.
- Adjust the size and position of your GIF (indicated by a purple rectangle) as required. Click on the GIF and keep the mouse pressed to drag it to the desired position. Resize the GIF by clicking on one of the edges and dragging to the desired size.
- When done, press Finish to save your work.
How to add forms to capture reader input?
After you create a flipbook, you can also add forms to capture data from your readers directly from the flipbook. For example, you can ask your clients to sign up for your newsletter by clicking on the button in the flipbook. It will look like this: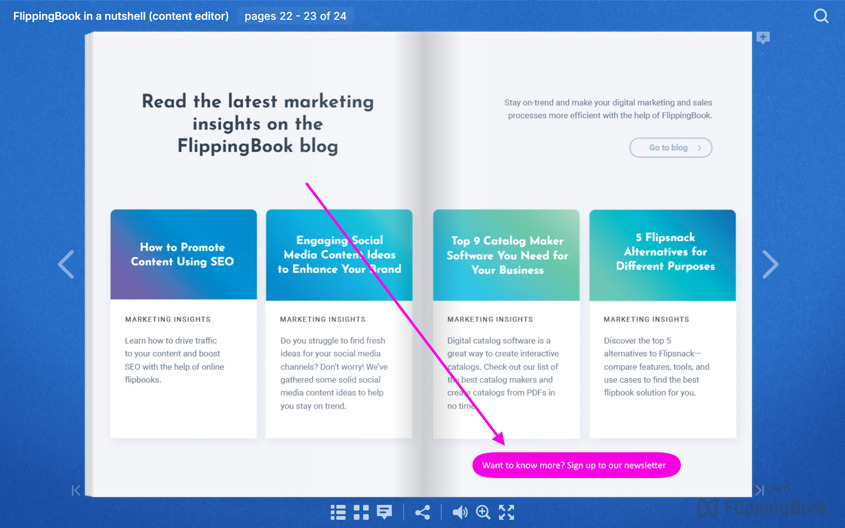
To add a form, survey, questionnaire, or quiz to your flipbook, make your form in the platform of choice - Typeform, Google Forms, or Microsoft Forms. After that, add it to your flipbook as follows:
- Go to the Flipbooks tab in your account.
- Hover over the flipbook where you want to add a form.
- Click the button with more options and choose Editor (video, links, etc.).
- Go to the page where you want to add your form. You can use the paginator at the bottom to quickly jump to a specific page.
- Click on the button Forms & quizzes.
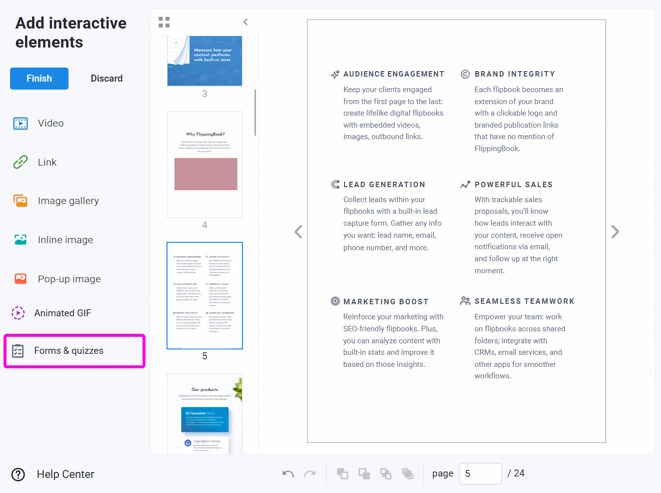
- This will open a pop-up window. Insert the URL of a form created via any service that we support - Google Forms, Microsoft Forms, or Typeform.
- Press the button Confirm.
- We add a button that your readers can use to open your form. Drag it to the desired place on the page.
- Change the form settings, such as text caption and color, in the panel on the right-hand side to your preference.
Press the Finish button in the top left corner to save your work. You can find more detailed info in our Forms in-depth article.
How can I manage the icons of my videos, pop-up images, and GIFs?
If you add videos, pop-up images, or GIFs, we add an icon so your readers understand that they can interact with it. You can control the size, position, and behavior of these icons and even hide them completely. You can even change the settings for all icons of a specific type in bulk.
Our article How to prevent icons from interfering with your content? explains all the options in detail.![]()
Note! 💡Want us to show you how the Editor works? Book a meeting with one of our specialists.