Managing users in the Team plan
With the Team plan, it's possible to have several users assigned to the same FlippingBook Online account.
Each team member signs in with an individual login and password and has a separate workspace. Team members can make their own flipbooks (in private folders) and can also collaborate with other team members (in shared folders). The administrator uses the main license email to sign in. The administrator can send invitations to new users and view information about user activity in the Team tab of the FlippingBook Online account.
Keep on reading if you would like to learn more about:
- Inviting new users
- What the administrator can see in the Team tab
- Editing and deleting users
- Downloading team reports for books, users, and links
Inviting new users
A new user gets an invitation by email and can join the team by accepting it.
Here is how you can send an invitation to a new user:
- Sign in as administrator into your FlippingBook Online account
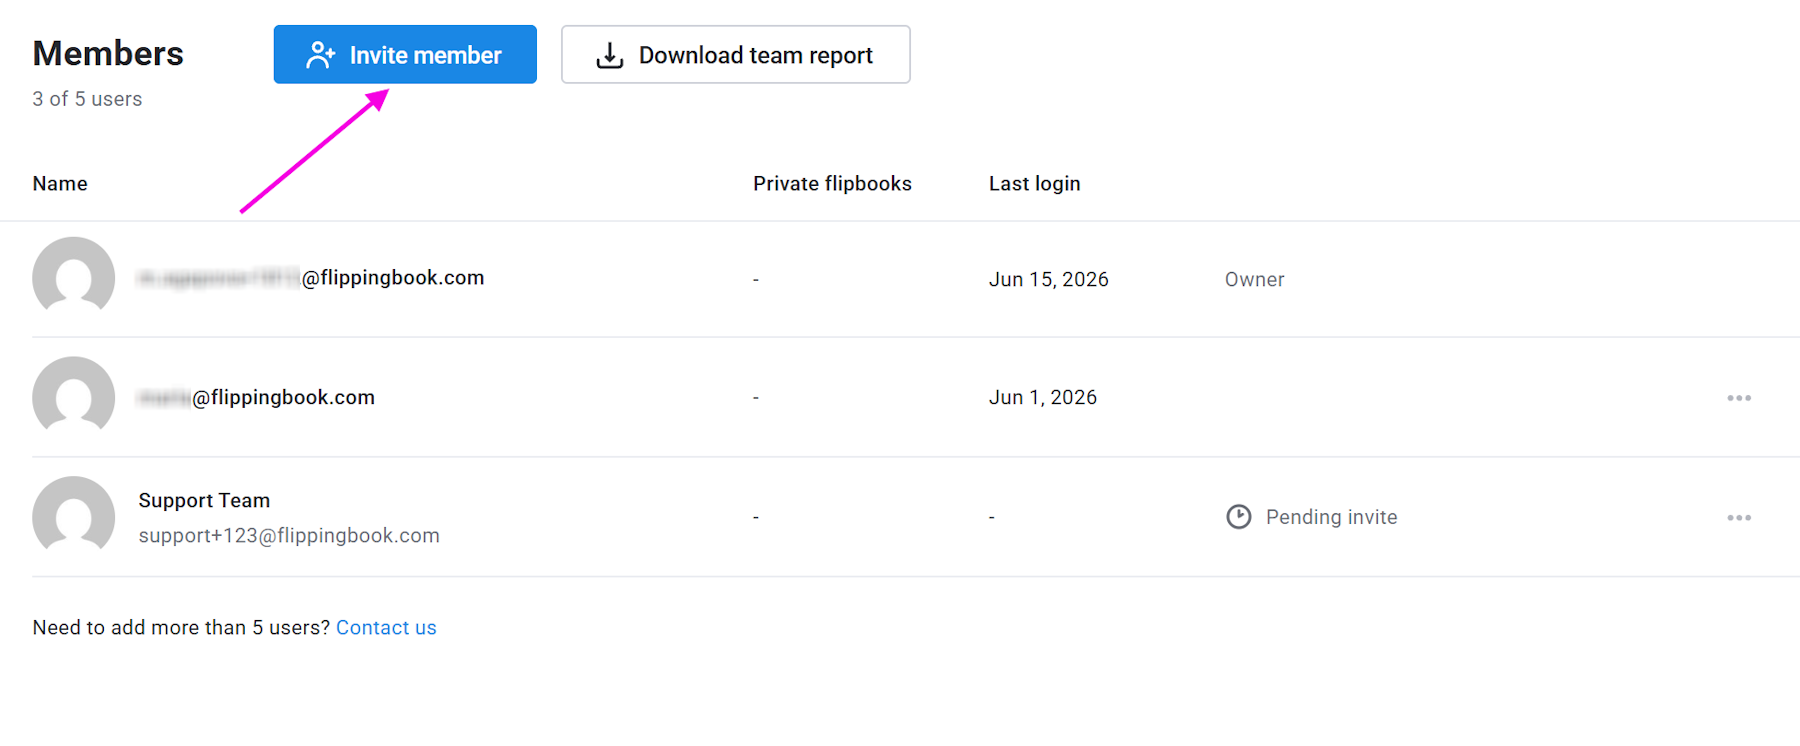
- Open the Team page, and press the Invite User button:
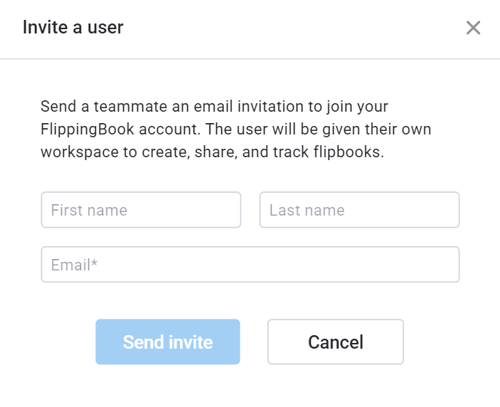
- In the pop-up window, fill in the first name, the last name, and the email for the new user
- Send the invitation by pressing the Send Invite button:
- The user will receive an email where they can log in to finalize their account and set up a password. You're now all set up to collaborate on your flipbooks!
- If a user has a trial account, it can be deleted by clicking on Delete account at the bottom of the Profile page of the user account. Once the trial account is deleted, the administrator can try to resend the invitation.
- If a user has a paid license, the user can contact support to discuss whether the license and the flipbooks need to be deleted or transferred to a different account.
What the administrator can see in the Team tab
In the Team tab, the administrator can see the following information for all the team members, including the administrator:
- name,
- email,
- number of flipbooks in private folders,
- last login date.
Note! The administrator cannot see the individual flipbooks created by their team members themselves. Each user has a separate workspace. It's only possible to see how many private flipbooks each team member has.
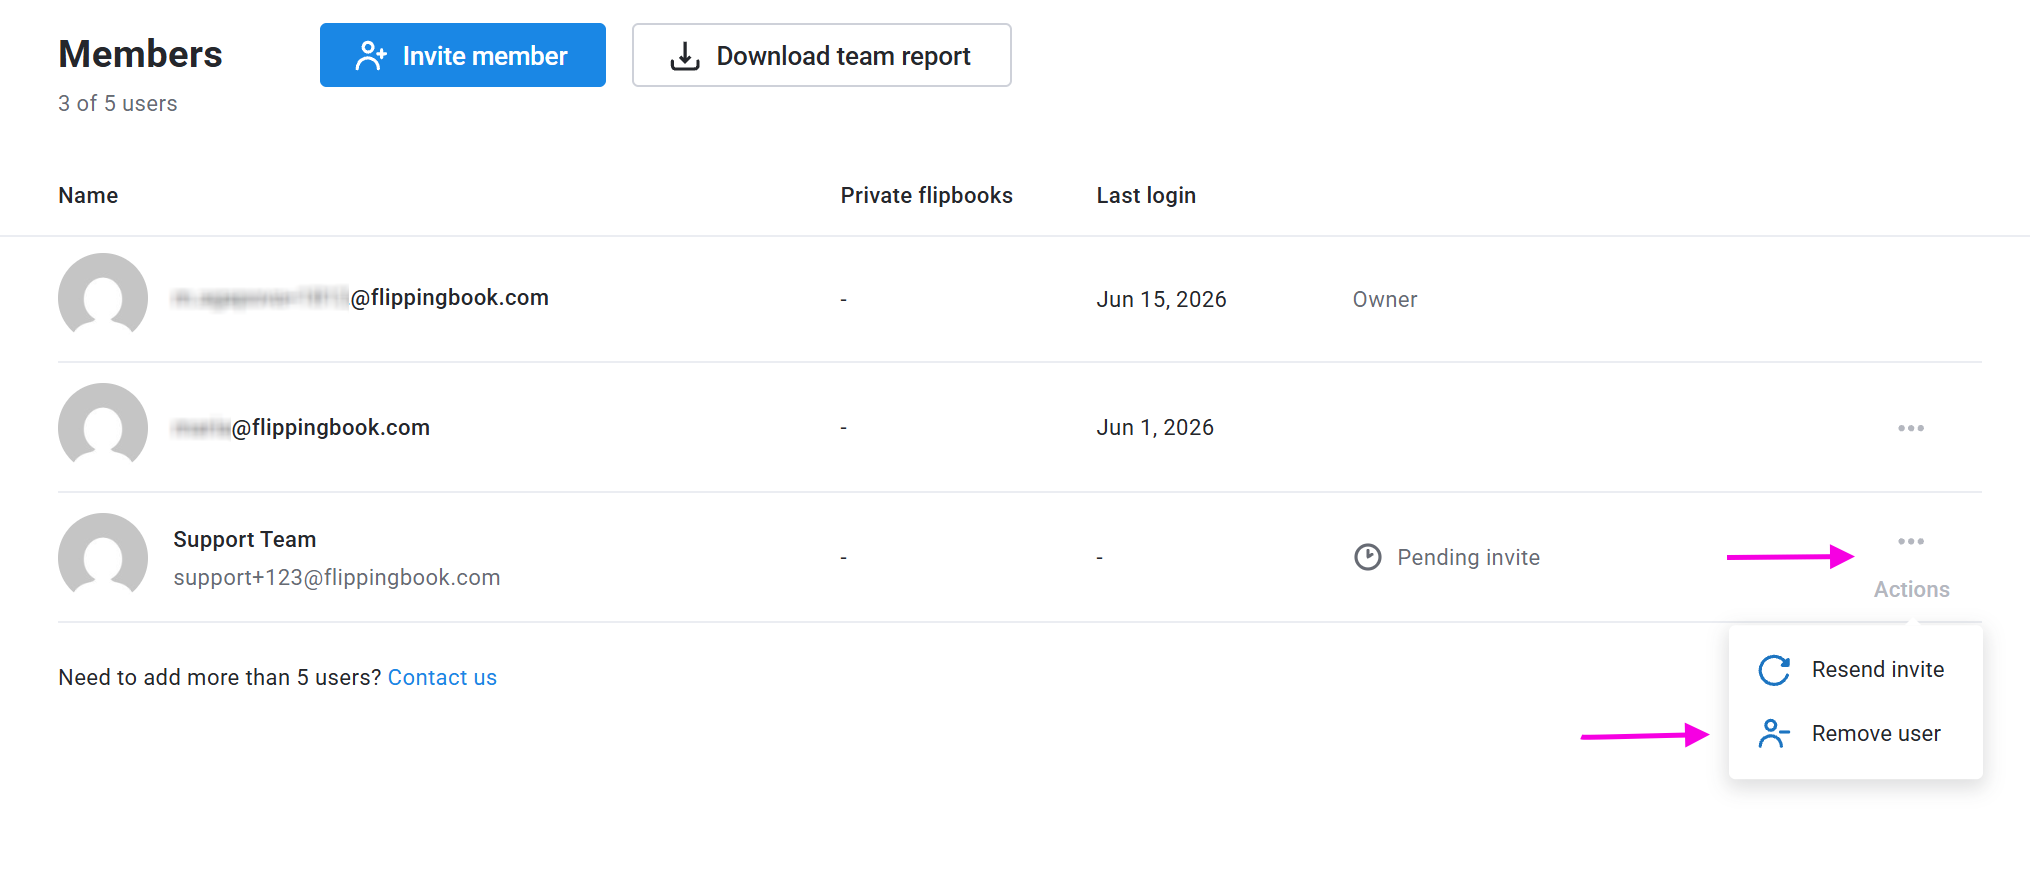
The administrator can also see the status of the invitations sent to new users and can resend an invitation by clicking the Resend link.
Editing and deleting users
At this moment, the administrator cannot edit users. (If you want to change the name and/or email of a user, please contact our support team - we will be happy to do it for you!). But you can delete users in the Team tab. Simply click on the button with the three dots and select Remove User.
When you remove a user, you will get a choice of what to do with the private flipbooks of that user. You can either move them to your own account or delete them completely. If you decide to move them to your own account, we will create a new private folder with the email address of the user you just deleted. Any trackable links your user had will be transferred to your trackable links. The only exception: if you delete the user's book, trackable links to these deleted books will be removed completely.
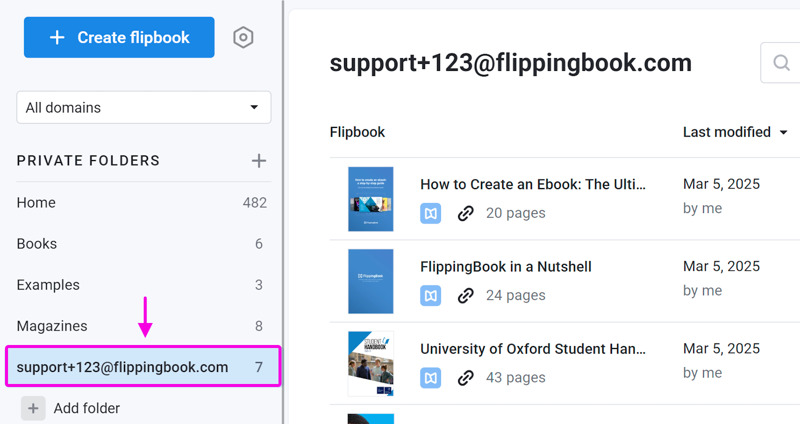
This folder will contain all their flipbooks. You can now review them and move them to another folder or delete any flipbooks that are not used anymore.
Note! After deleting a user, that user's name will still be visible in the 'Last Modified' column with a suffix '(deleted user)' until another user modifies the flipbook.
Exporting Reports for your Team
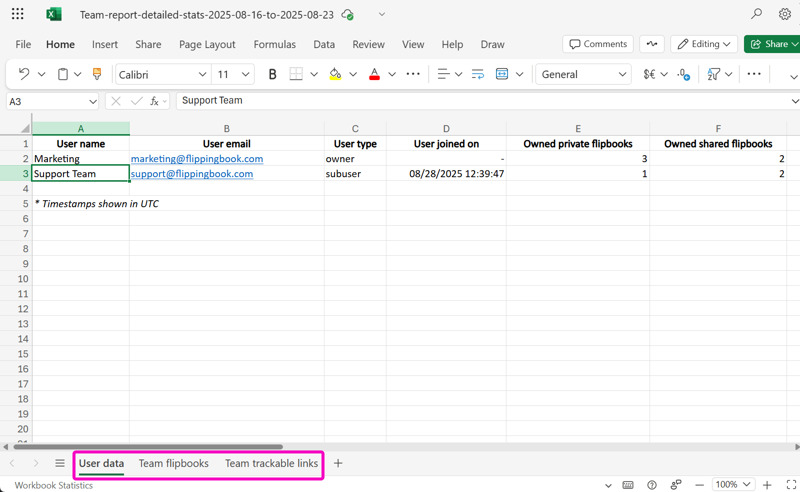
If you use FlippingBook Online Team or Enterprise, the account owner can download a team report. This report consists of three different sheets and includes the following information
- The first sheet contains details about all the (sub)users in your team; when they joined, how many private and shared books and folders they have, and when they last logged in.
- The second sheet lists all the flipbooks that your team created: who created which book in what folder, when it was last modified, to whom it is accessible, and with (optionally) detailed statistics. For more information about the contents of this tab, refer to our article about Exporting reports for your flipbooks.
- The third sheet contains data about all trackable links that your team created: who created which link, when, how often it was viewed, and more. We explain which data this report contains in our article about Managing trackable links
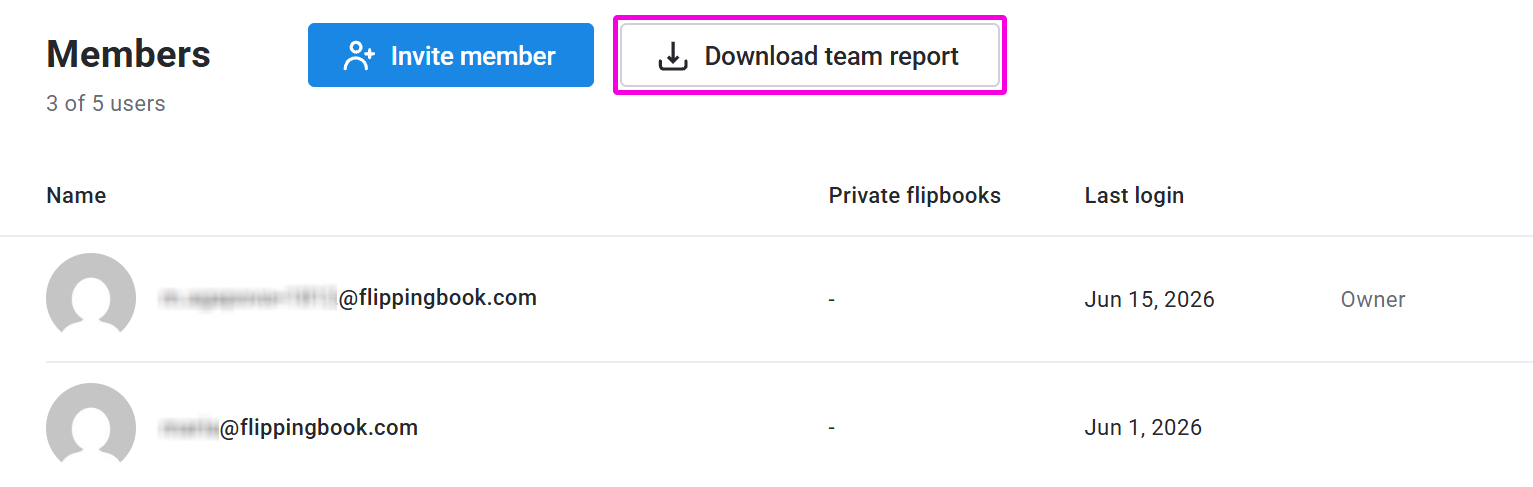
To download a team report, follow these steps:
- Open the Team page of your account (account owner only) and click Download team report at the top of the user list:
- In the Export your team data window, select the file format for your report from the dropdown menu: Excel (default) or CSV.
- Optionally, enable the Include detailed stats setting if you want the report to include detailed views, visitors, and more over a specified time period.
- Click the Export button. We will send the report to your account email address.