How to create an (animated) screenshot of your flipbook?
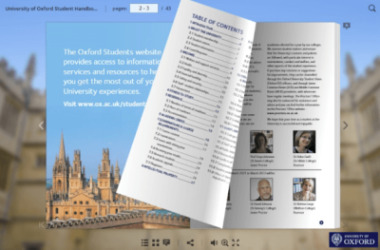
Do you need a screenshot of your flipbook to include in an email or document? In this article, we will show you how you can create not just the perfect screenshot, but even an animated GIF with some of the pages flipping over! Let's have a look at the results you can achieve.
 |
|
| A nice screenshot while the page is being flipped | An animated gif with several pages turning |
There are many tools for making screenshots. For this article, we will use Chrome Capture. It’s an extension for Google Chrome that can both create screenshots and record GIF animations. If you have your own solution that you are comfortable with, you can of course use that instead.
Preparation
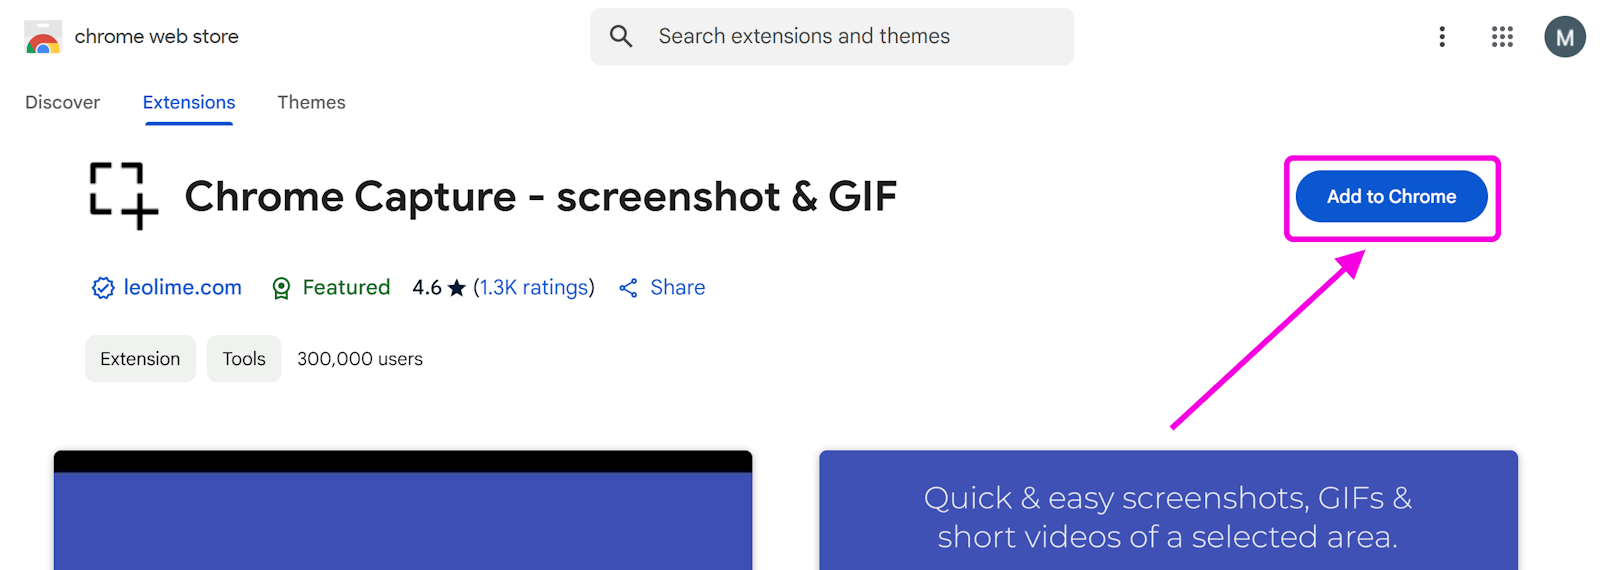
First, we install the Chrome Capture extension:
- Go to Chrome Capture's extension page and press Add to Chrome.
- In the pop-up confirm that you want to Add extension.
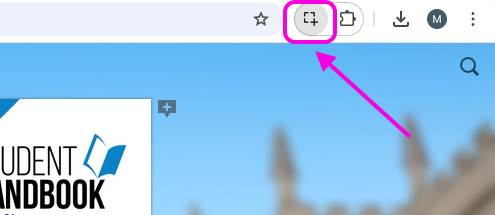
- Click on the Chrome Capture icon in the address bar.
If you use several extensions, click on the Extensions icon instead and then on the Chrome Capture icon to grant it access.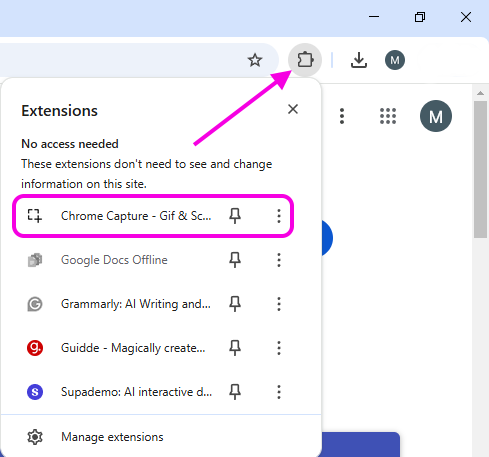
Making a screenshot
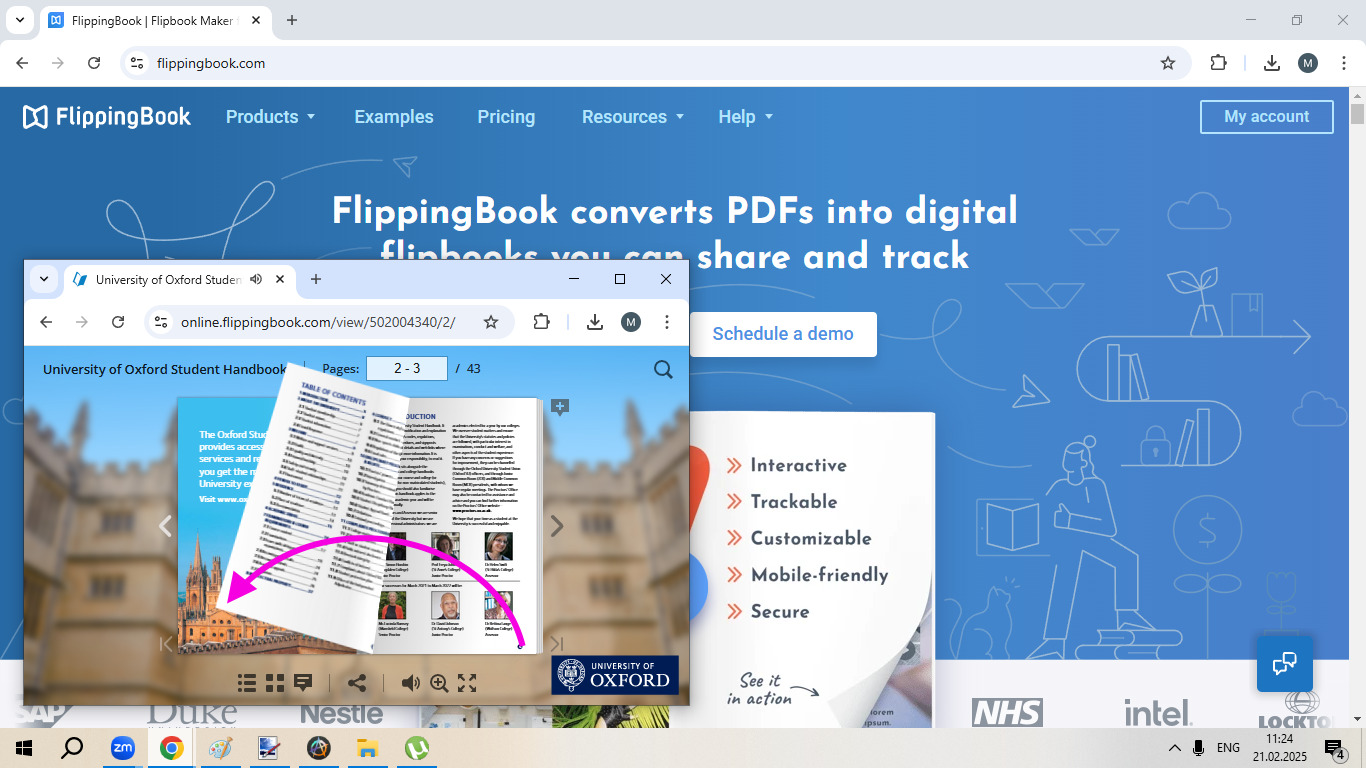
Now open your flipbook. We recommend you open it in a new window and reduce the size to about one-third of the standard screen size.
- Flip to the page you want to take a screenshot of. This can be the cover page but also something in the middle of the book.
- Now click on the bottom left corner of the page with your mouse and keep the mouse button pressed. The page will start flipping and follow your mouse.
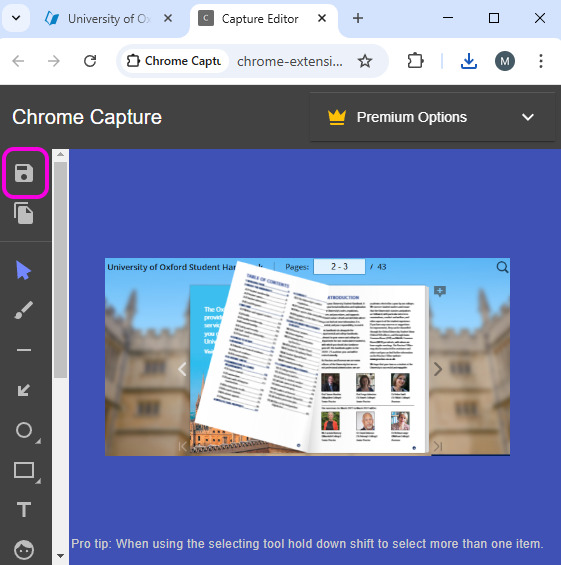
- When you have the ideal position, press Alt+S to make the screenshot. Chrome Capture will show it in a new tab.
- If you're happy with the screenshot, press the Save icon. If not, just close the tab and try again from the previous step.
Recording a GIF
Want to go the extra mile? Then you can also record an animated GIF of your flipbook that actually shows the pages flipping! It’s a bit more work but the results are very impressive.
- Make sure the Chrome Capture extension is installed and activated.
- Open your flipbook. We recommend you open it in a new window and reduce the size to about a quarter of the standard screen size.
- Press Alt+C and select the area of the flipbook.
We advise you to leave off the top and bottom menus for the cleanest possible result.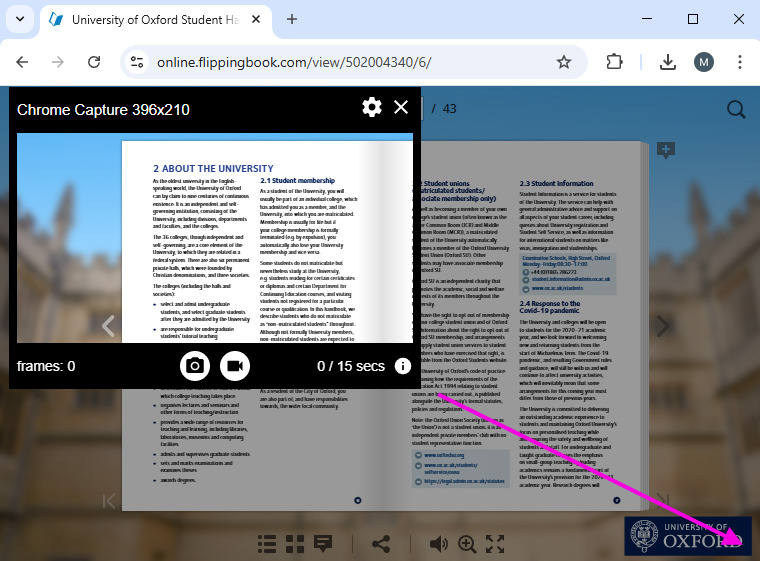
You can adjust the selected area by clicking on the top bar and dragging the selector around. You can enlarge it by stretching it from the corners. - After you selected the full area you want to capture, press the video camera icon to start the recording and flip a few pages. Then press the camera icon again to stop recording. After 12 seconds, the recording will stop automatically if you didn't stop yet.
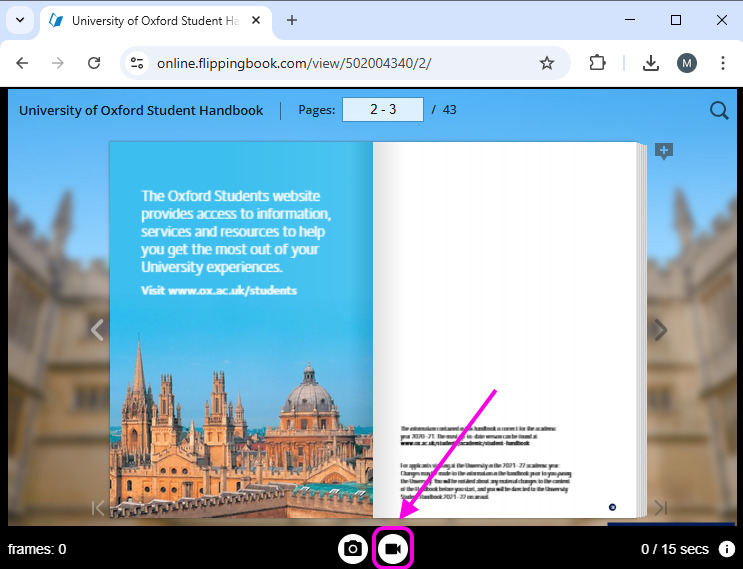
💡TipYou can flip the pages with the mouse but you can also use the arrow keys for a consistent page flip effect. We recommend flipping no more than 2 or 3 pages. This is enough for a good impression, while more results in a very big GIF file.
- When you stop recording, Chrome Capture will open a new tab with a preview of your gif.
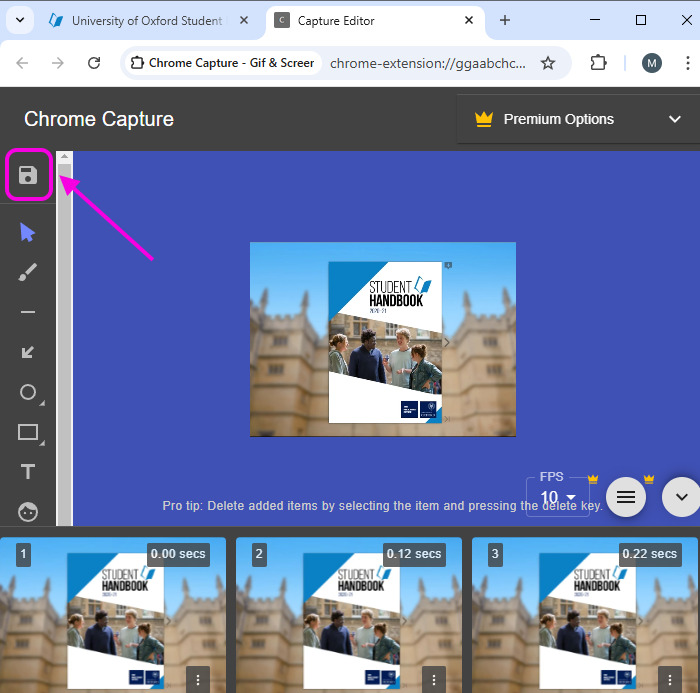
Getting the ideal snap may require a little practice. If you’re not satisfied with the result, then you can simply close this tab and try again. When you’re happy, press the save icon. - In the Save dialog, we advise enabling the option Reduce width and height and disable Apply dither. Then press Save.
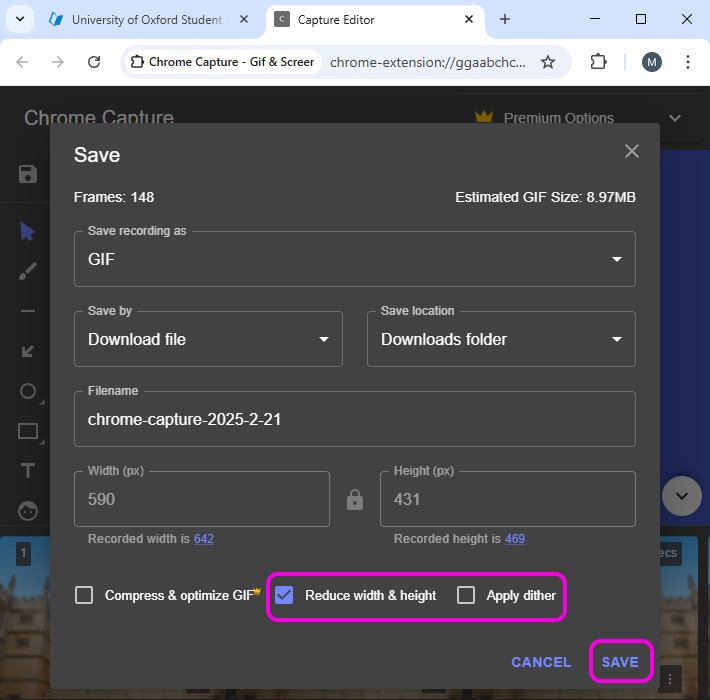
- Your GIF is now saved in the Downloads folder on your device. If you look at the size of the file, you’ll see that it is still quite big. Most GIFS we created like this end up between 10-25 MB. This makes your email very bulky and some mail servers even restrict email size to 20MB. Therefore, we advise you to optimize this GIF further.
Optimizing the GIF
The paid version of Chrome Capture allows you to Optimize and compress before saving. If you use the free version, then you can also use another online tool EZgif to do this:
- Go to https://ezgif.com/optimize
- Press the Choose file button and select your GIF.
Then press Upload and wait until EZGif shows your file.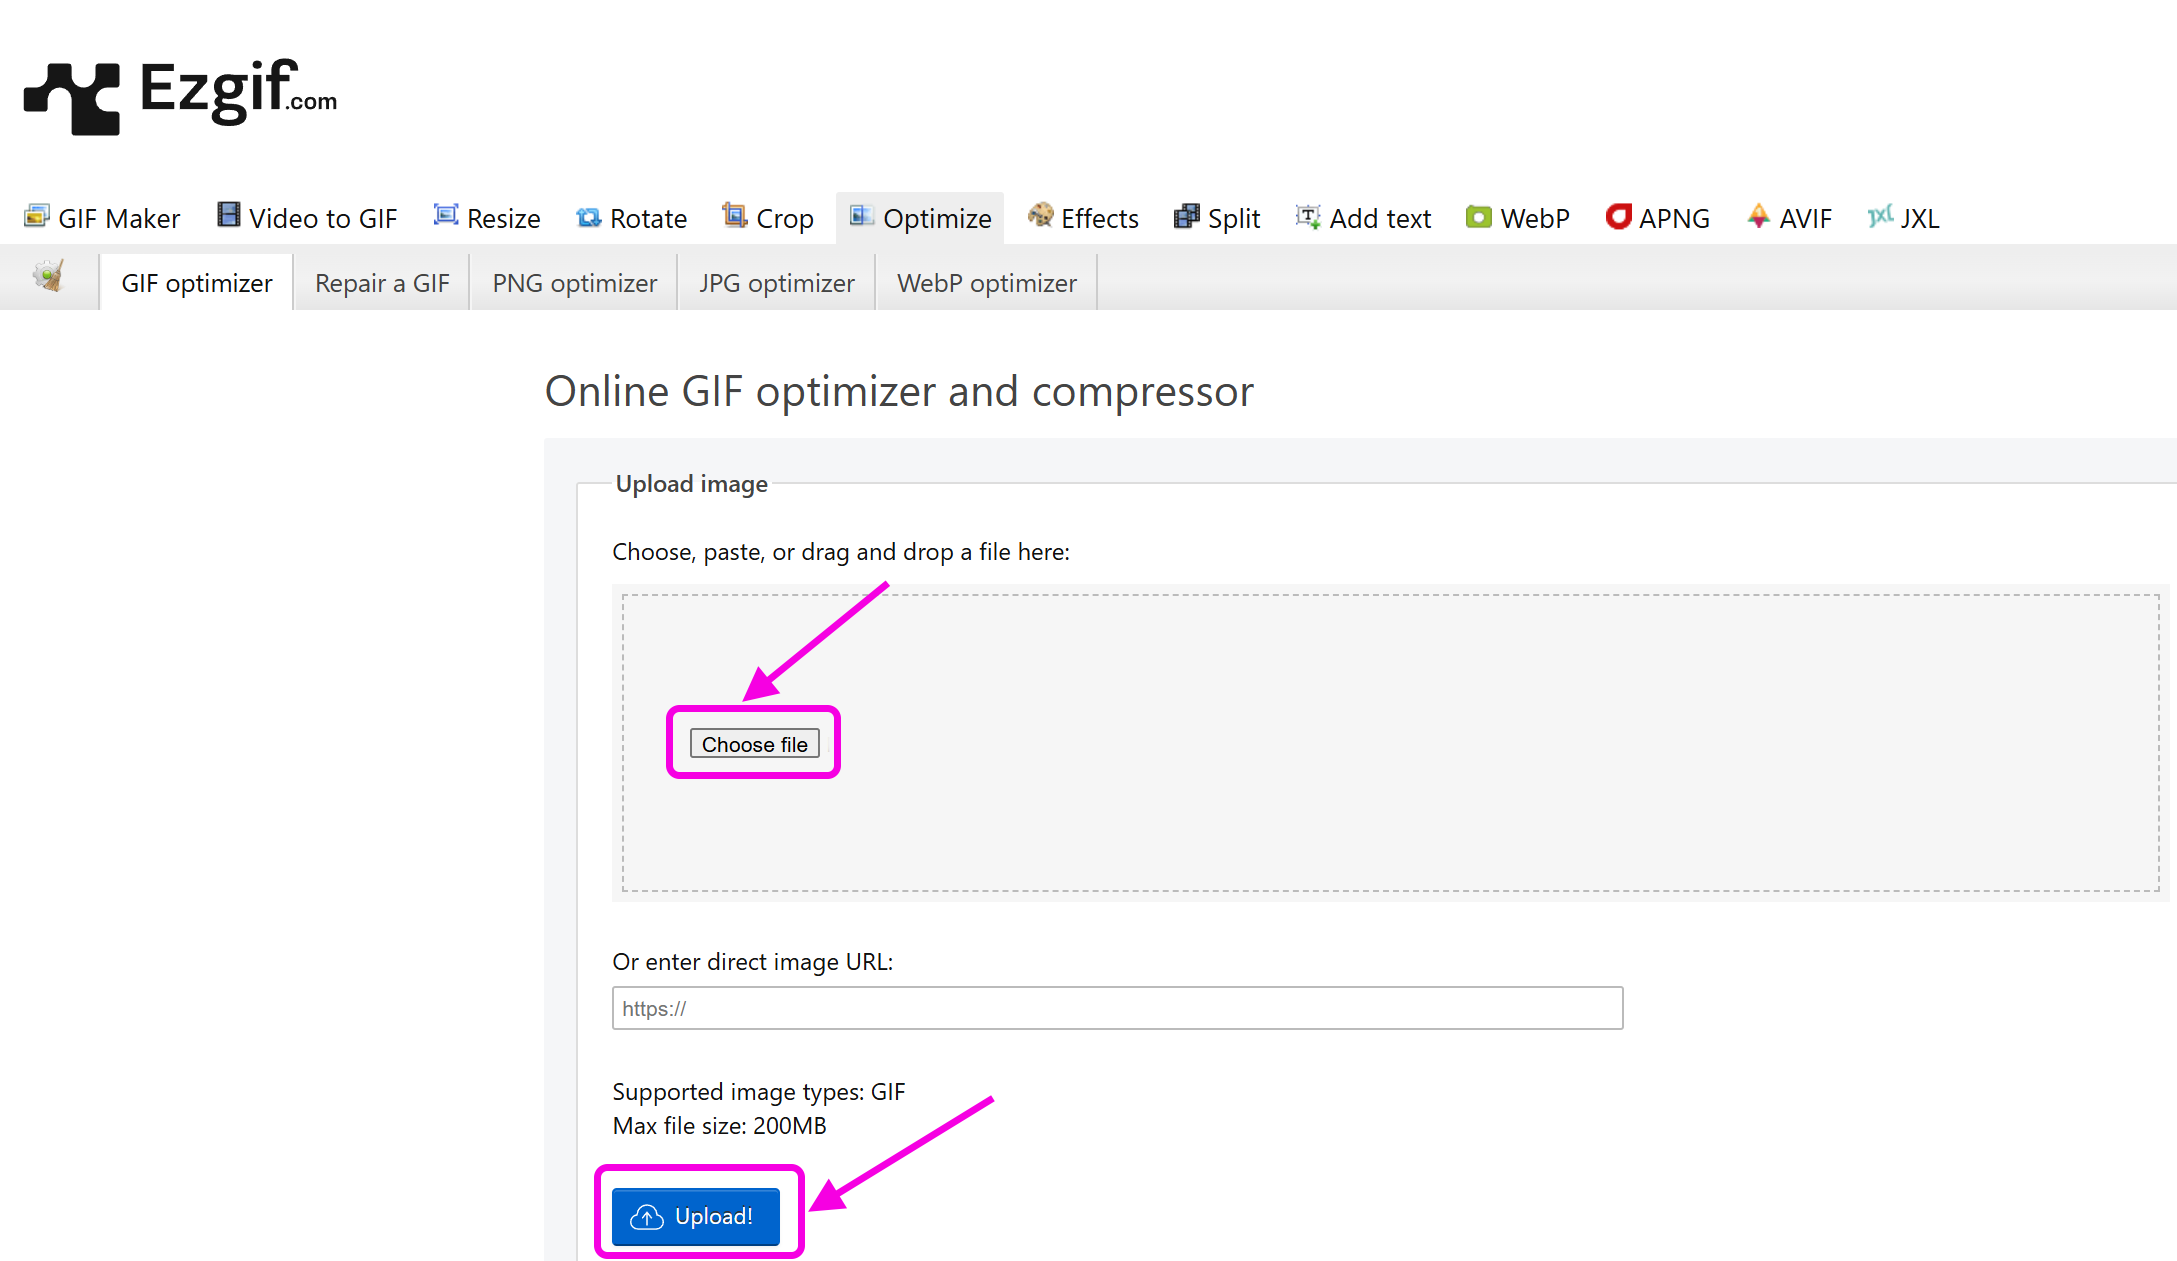
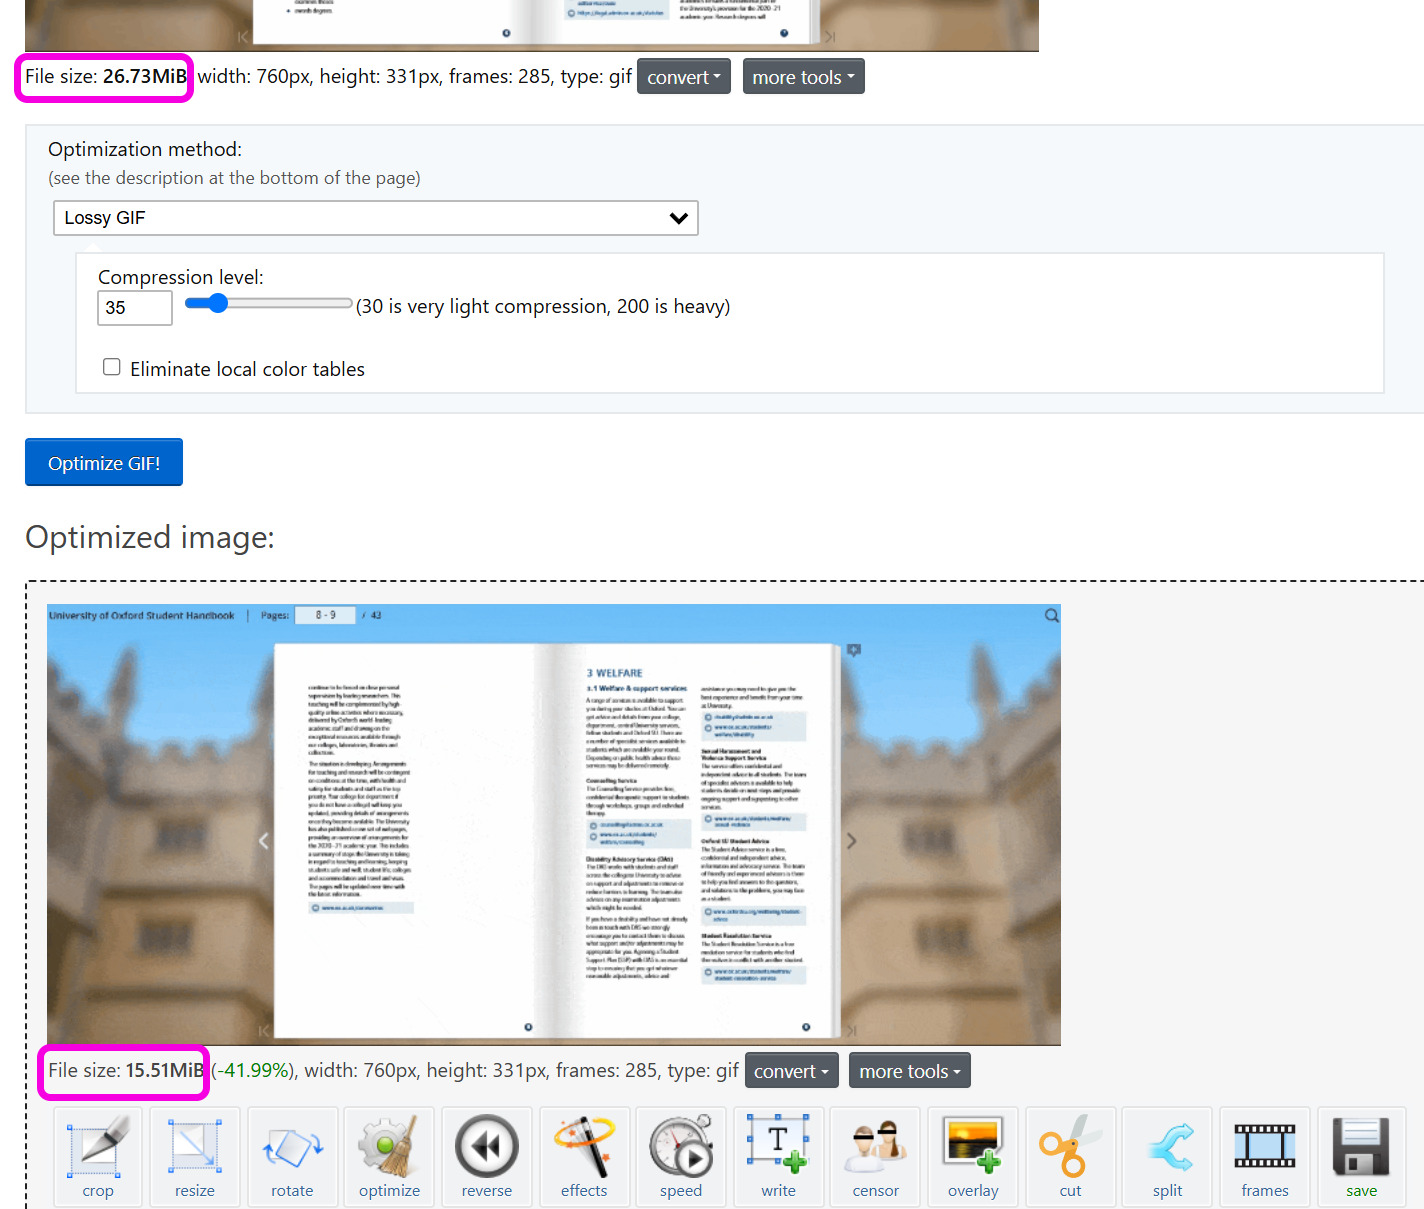
- Press the Optimize GIF button and wait for a few seconds.

Your optimized GIF will be shown below the original version. Scroll down to see it. - In our case, we managed to reduce our GIF from 8.99MB to 2.79MB with no visible loss in quality. Press the Save button to download the optimized GIF.
The result will be downloaded to your downloads folder and you can now use it in your documents or emails!
Tip💡 EZgif also has the option to resize your GIF if it is too large. If you plan to do that, then we recommend you first resize and then optimize the resized file!
Related articles