How do I make a transparent background logo?
Here at FlippingBook, we see dozens of publications per day. And much to our surprise, many of those are not branded with the company logo! What we mean is that the value of a logo is to represent your business or company's identity in the market, right? Your logo makes it immediately clear that your visitors are in the right place.
But when our clients do add their logo, it sometimes looks like a bit of a patch job. So in this article, we want to give away some secrets on how to adjust/add your logo to a flipbook like a pro!
A small note, before we jump into practice. We all agree that a good logo should look great both printed & published online. So based on our client's experience we recommend using a transparent background logo instead of a color.
Why? Because such logos fit the design of any website.
Now, here is the fun part, let’s make a transparent background logo from the FlippingBook logo and adjust the size.

For that we need a photo editing tool in our case it is Paint.net (a powerful yet simple image and photo editor tool + free download). It’s a great workaround in case you don't have Adobe Photoshop.
First, let’s see how the logo originally looks when placed in a project, perhaps, it looks great, and we can end the article right here.
Sadly, it doesn’t… So, let's run the software and proceed with adjusting the logo.
How to go about it?
Our short tutorial video and the step-by-step instructions at your service:
Step 1
Launch Paint.NET and open the logo file.
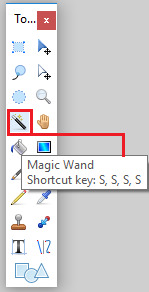
Step 2
Go to “Toolbar” at the left side, then opt “The magic wand tool” (it allows areas of similar color to be selected).
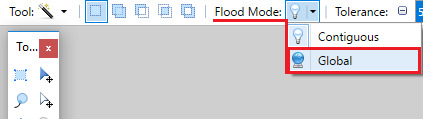
Step 3
Click on a color that you would like to remove then select all parts of the image with a specific color at once by clicking on the “Flood mode” dropdown menu and setting it up to the ‘global’ mode.
Step 4
Set the “Tolerance” to the needed percentage.
Similar to the Adobe Photoshop Magic Wand's selection can be adjusted by tuning the “Tolerance.”
Meaning, if you click on a pixel that is perfectly white, and have the tolerance set to 0%, it will only select pixels that are perfectly white. However, as you turn the tolerance up, it will begin to accept slight differences and eventually (near 100%), it will accept the most opposed colors.
We should say that for our logo 45% tolerance does the trick.

Step 5
Set the “clipping mode selection” to Antialiased, and it will smooth out the edges of pixels for better quality.

Step 6
Now, press the delete key (or click “Cut” at the top panel in Paint.NET’s tools) and remove selected areas.
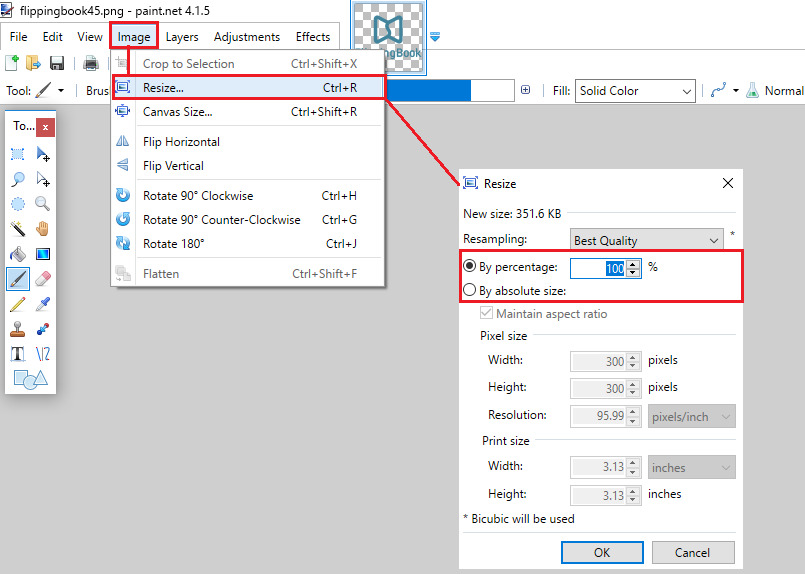
Step 7
In case you need to resize a logo you can always do that by clicking on "Image" at the top panel then opt "Resize" option.
Step 8
Click on the "File" heading, then click the "Save as" option. Click the "PNG (as JPEG doesn’t support transparency) option from the window's "Save as type" menu box, and then click "Save."
Step 9
Click "OK" when the "Save Configuration" menu appears (“Auto-detect” settings work perfectly fine in most cases).
Voila! Congrats! You successfully removed the background and saved your file with a transparent background instead.
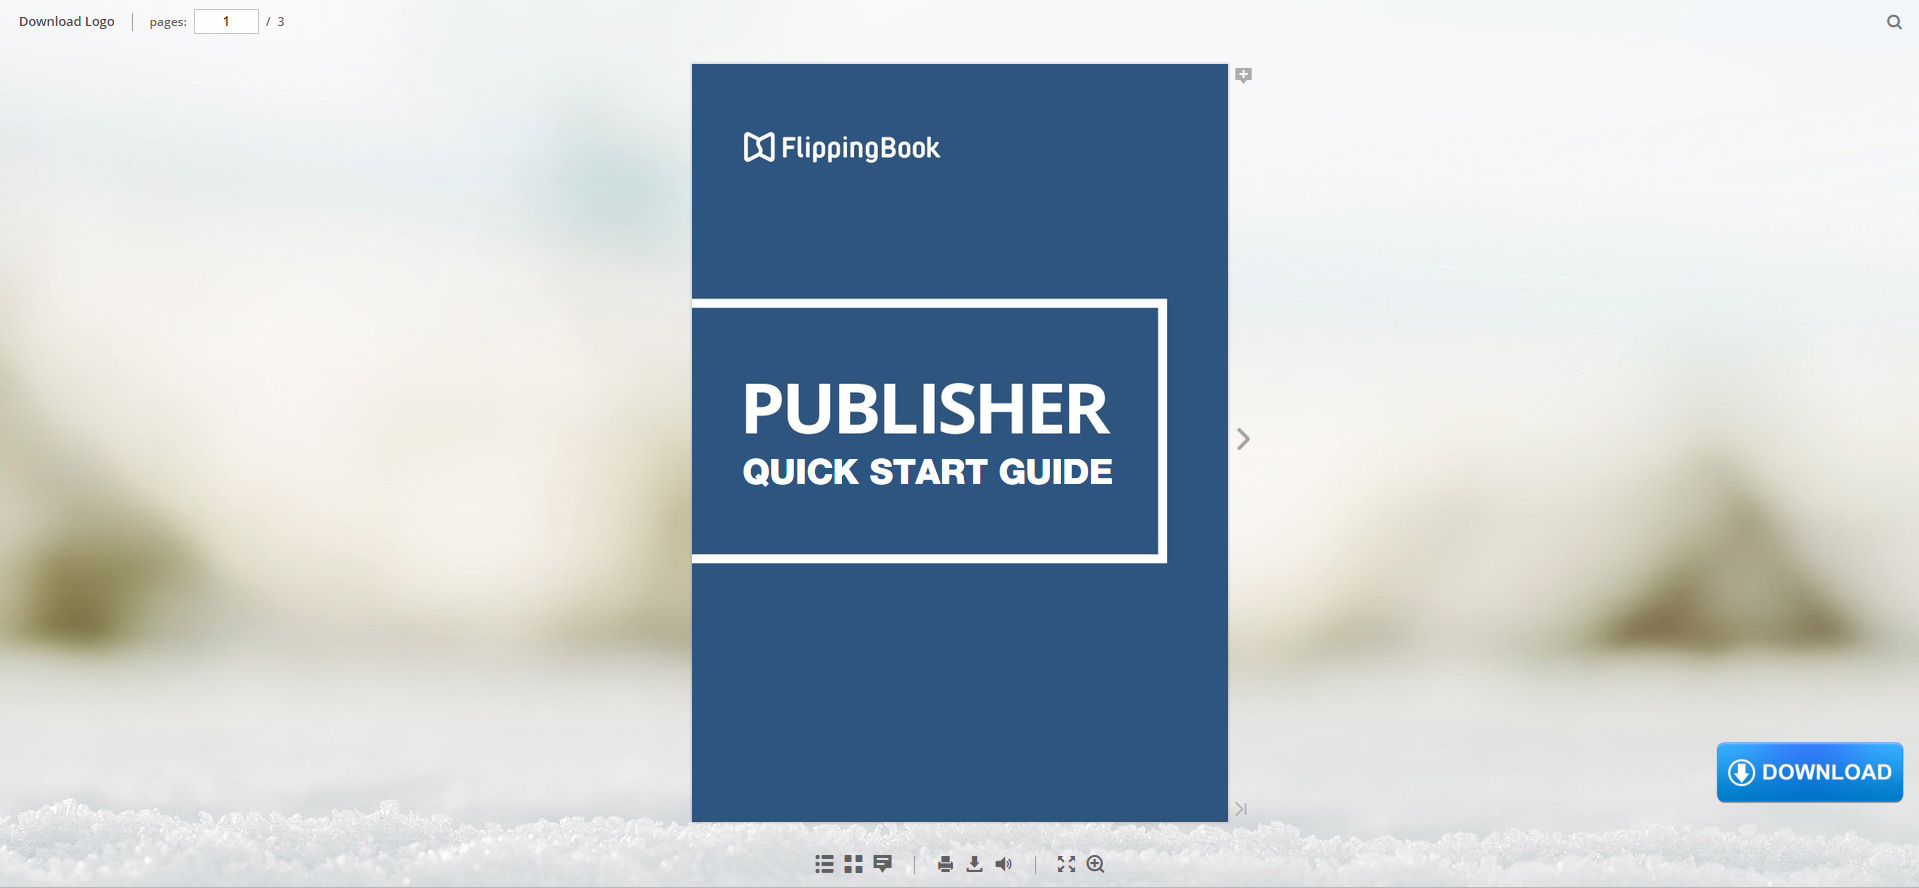
Now, once you are done with polishing the logo, you can set it to a project in our software, afterward upload it to Cloud (or your own server with the help of FlippingBook Publisher editions) and see the result: https://sample.cld.bz/Transparent-Logo
![]()
It looks sleeker, doesn’t it?
But what if your catalog/brochure itself is already branded, and you think there is no need to add a logo. Well, there is another way of using a Background Logo option: you can use it as a call-to-action button. It actually opens up a sea of possibilities for utilizing a logo.
Here are some examples:
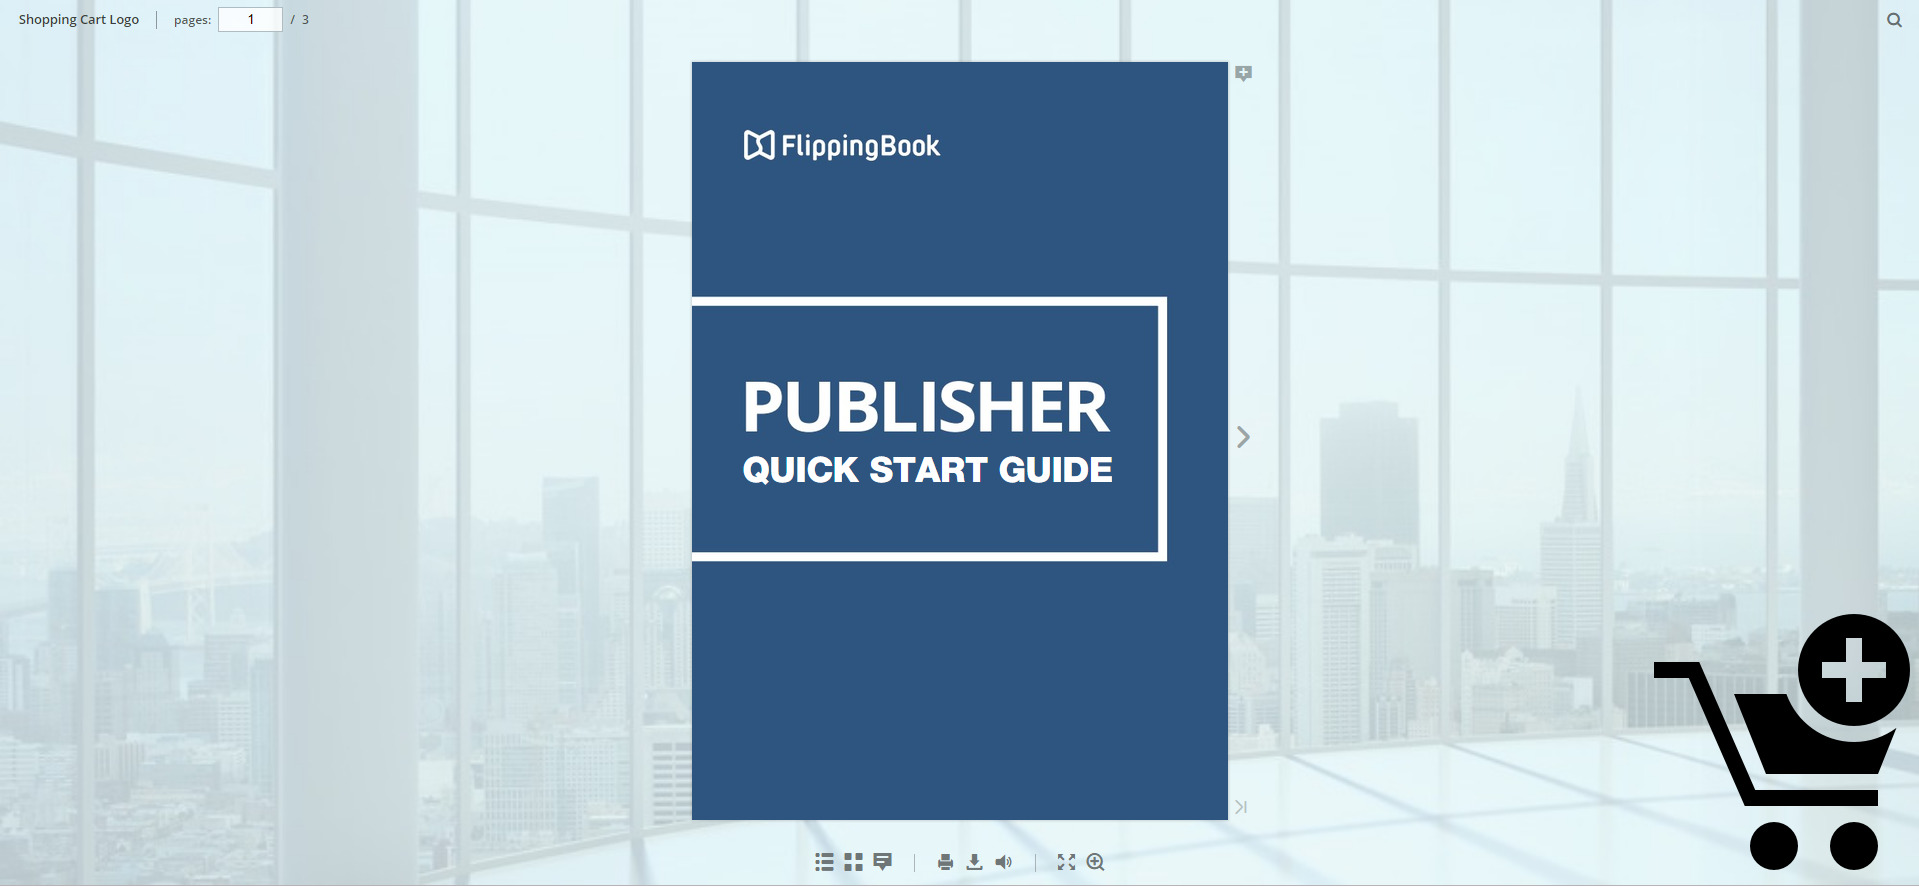
A logo image of download? Are you sure? Yes, download as a call to action button and a link to your website where clients can download some materials or information.
It can also be BUY as a call to action button and again redirect to your website.
Or, perhaps sharing on social media platforms is your top priority?
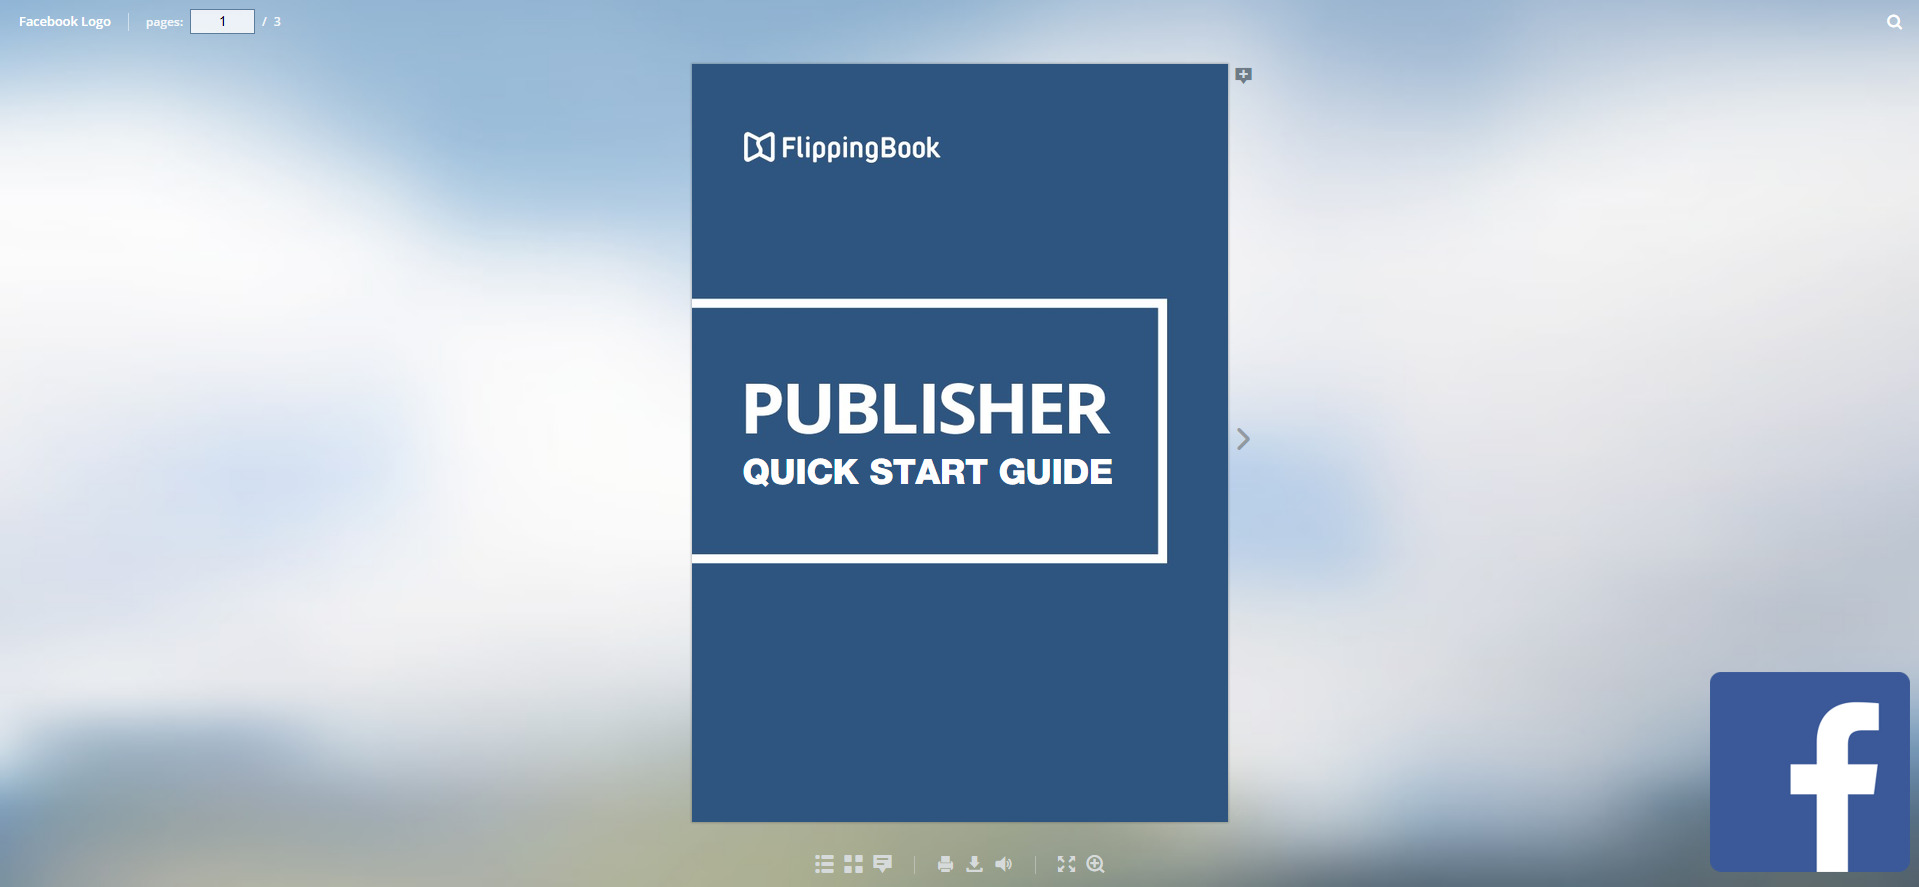
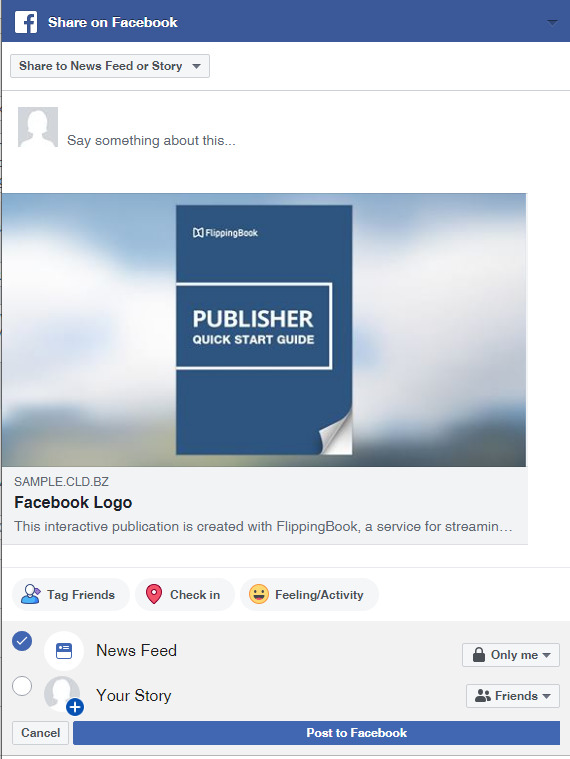
Well, you can set this up so that anyone who clicks on it directly shares your flipbook on Facebook’s timeline.
To make this work, you will need to download a Facebook logo.
Then you need to set up the URL for the background logo like this:
https://www.facebook.com/share.php?u=https://sample.cld.bz/Facebook-Logo, where https://sample.cld.bz/Facebook-Logo is the actual link to your publication.
Mind you, you have to know the link to your publication before publishing it.
Click on the logo in our example and see how it works: https://sample.cld.bz/Facebook-Logo
Now when you know how to make a transparent background plus a few ways of setting up a logo as “as a call to action button,” it’s time to experiment and see what works best for you!
And on that note, we would like to wish you the best of luck on your branding journey!