How do I manage pages of my publication?
Adding more pages
Most of the time your flipbooks are made from a single PDF-file, but sometimes you want to add some additional pages afterwards.
Here’s how to do that:
- Open your project and click on the Pages tab
- Go to the page before which you want to insert your new pages
- Right-click, select Import and Add Pages...
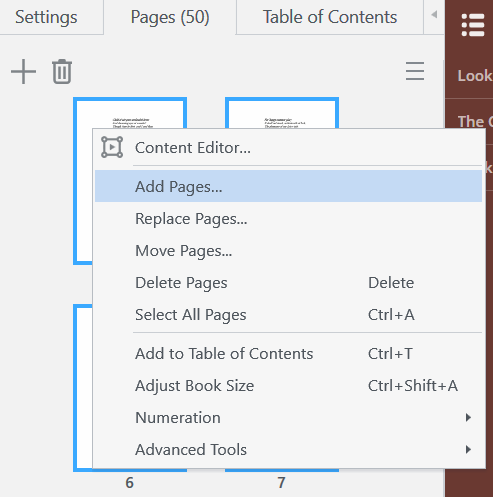
- Select the source file for your new pages
- If you want to import just a couple of pages, then select Custom (you may have to click on the Preferences button first to make this field visible). Specify which pages you want to import, for example:
Replacing existing pages
If you updated your source PDF and replaced just a single page (or a few pages) then you probably don’t want to create a completely new project in FlippingBook Publisher – especially if you have made a lot of customizations. In this case, it is possible just to replace the existing pages.
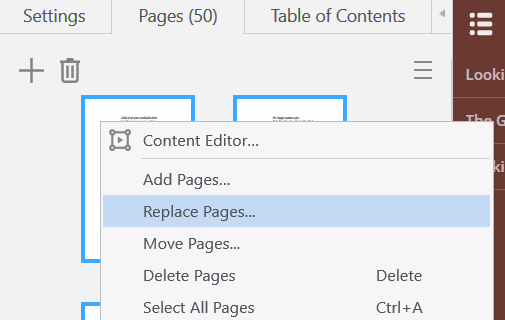
- Go to the Pages tab
- Right-click on the miniature preview of the page that you want to replace (or use Ctrl button to select multiple pages)
- From the pop-up menu, select Import and Replace Pages...
- In the Import Document window, select your updated PDF
- Click Start
The selected page will be replaced with the new one and all additions that you have made (such as videos, links and pop-up images) remain intact. The only exception to this rule: if you manually added a link to your page, and the new page that you import contains a link as well that overlaps with your old link, then we will delete the old one.
Changing page order
You can move pages in your flipbook to a different location. This is very useful if you added new pages (which will appear at the end) but want to move them to the middle of your publication.
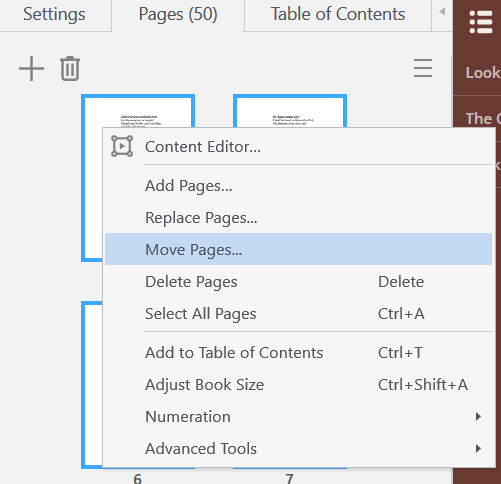
- Go to the Pages tab
- Right-click on the miniature preview of the page that you want to move
- From the pop-up menu, select Move pages...
Changing page numeration
FlippingBook Publisher adds page numbers to your flipbooks. As expected, the numeration starts at 1 but in some cases, you want to create an offset when the first few pages contain an introduction, table of contents or similar information.
- Go to the Pages tab
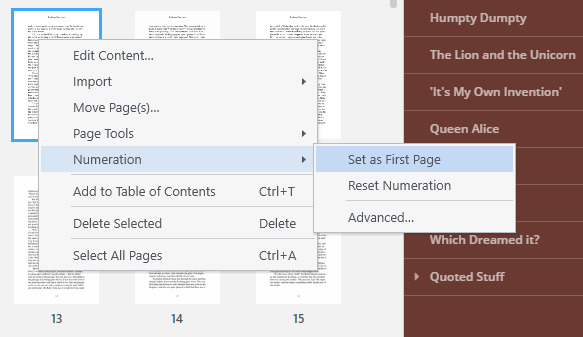
- Right-click on the page that you want to use as the first numbered page.
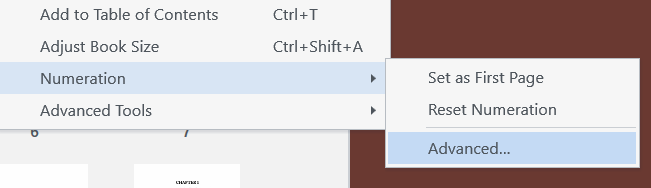
- From the pop-up menu, select Numeration and Set as First Page. This will set the page number of the selected page to 1 and all the previous pages will become roman numerals.
If you want the first page to start with e.g. number 3, then this is also possible. Select the first page and select Numeration -> Advanced. Type -2 in the field offset.

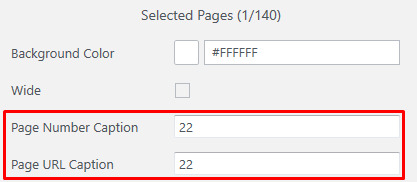
You can also give pages a completely custom number. Select the page and then change the field Page Number Caption, located in the Selected Pages pane below the page miniatures (you can also use Page URL Caption field if you want these changes to be reflected in the URL of the page). You can even use text instead of numbers.
Next steps
Done with rearranging the pages? Now think about the interactive objects you'd like to feature in your book. Our article Working with Content Editor will aid you in adding links, videos, images (inline or pop-up), and GIF animations.