Importing photos and pictures
PDF isn’t the only format you can import in Publisher. It’s also possible to create flipbooks based on pictures or photos, as well as add them to an existing publication. You can use a variety of image formats such as JPEG, PNG, BMP, and even TIFF.
Using images can become a great alternative if you don’t have your content saved as a PDF or would like to make it a mostly visual experience. In this article, we will describe how to import images, what challenges you may face, and how to handle them.
The importing process
Importing images is not really too different from importing PDFs. The biggest difference is that a PDF is a single document, but images are individual documents and most likely you will want to import more than one. This is possible - just import like you normally would, and use the normal Windows functionality to select multiple files in a folder:
- to select all files in the folder, press Ctrl+A;
- to select a range of files, click on the first one. Then hold the Shift key and select the last file of the range. All the files in between will also be selected;
- to hand-pick a selection of files, click on one of them. Then hold the Ctrl key and click on all the other files you want to select
When you have selected all the images that you need, click on Open, and Start.
Making sure that your images are in the right order
Unlike PDFs, individual image files don’t have a set order. They may not even be located in the same folder! Selecting multiple files with the process described above only allows you to pick files located in the same folder. All of them will be imported in alphabetical order. Importing and arranging files from several folders is a bit trickier. Here’s how you can tackle such a task:
- Import all the pages regardless of their order, and rearrange them later in FlippingBook itself. We describe how to do that in our Product Guide in the article How to change the order of your pages?
- Copy all the files to a single folder and change their names where required, so the problem doesn’t appear in the first place
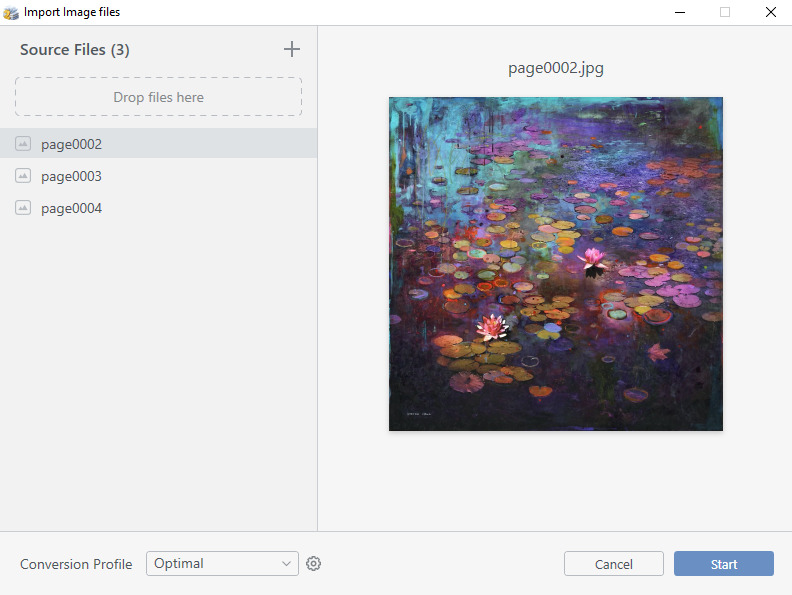
- Add the files one-by-one (or in batches). You initial file(s) are added in alphabetical order (in the screenshot we have added pages 2,3 and 4
But if you then click on the Add button and select one page (or several) again, these will be added after the existing pages:
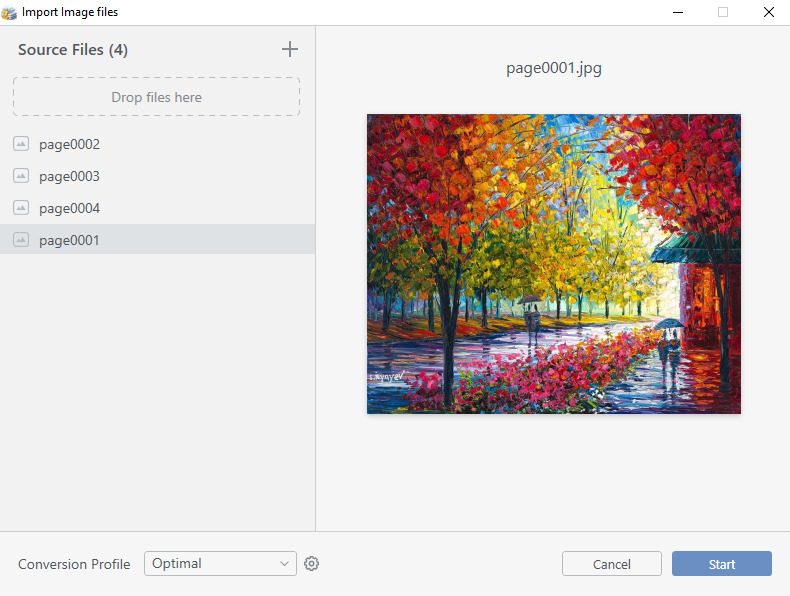
So, by adding the pages in sequence, the order in which you added them will be retained.
Handling different sized images
With FlippingBook Publisher, you can create a flipping book - and one of the defining characters of a book is that all pages are of the same size. With PDFs that’s almost always the case. But images are often of varying sizes. In this case, we make some adjustments to fit them into a ‘normal’ book.
Below we use an example to describe exactly how to do this, and what you can do if you’re not quite satisfied with the result.
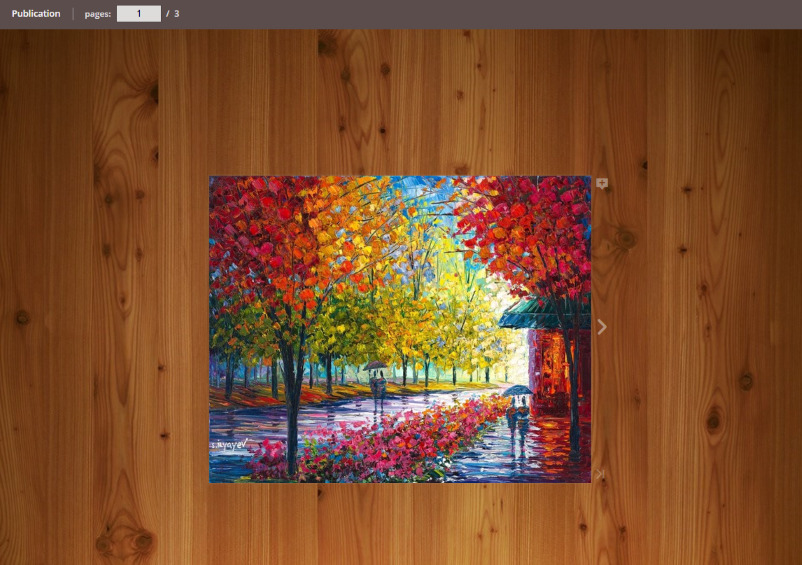
Suppose we want to import the images below:
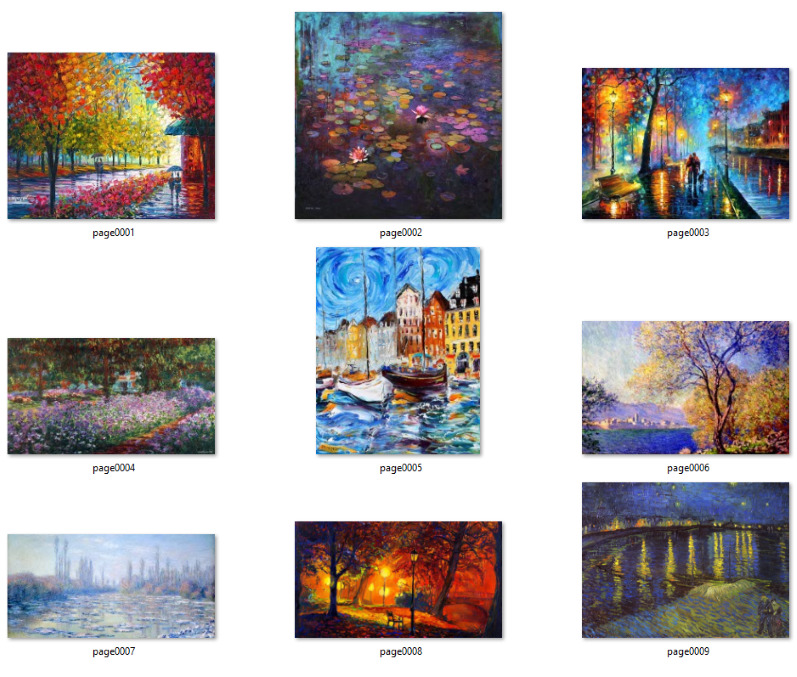
They are all obviously of different sizes, and we have to perform some magic to get them into a standard page size. The first image, page0001.jpg will be used as the cover and is the yardstick for all other images.
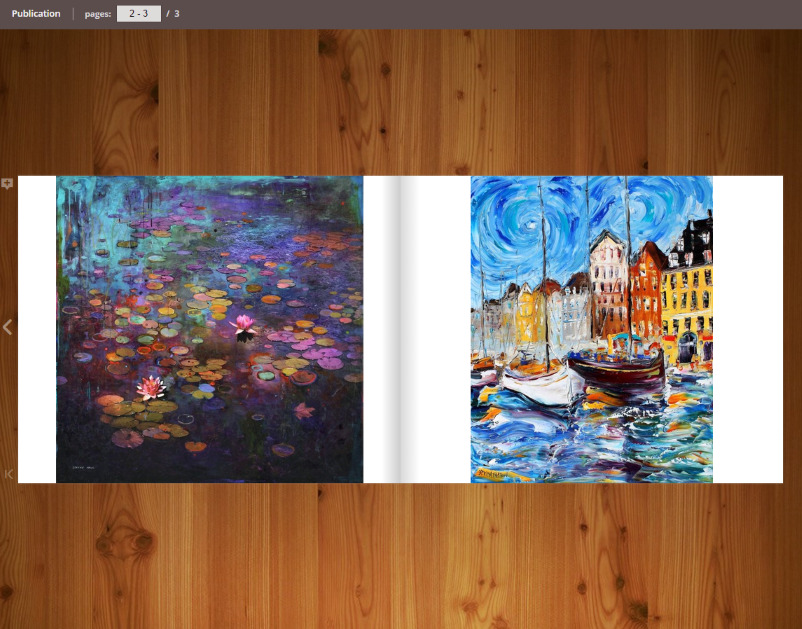
The second image is slightly more square in nature than our cover page, and the third one is even a vertical rectangle. To fit them in the same book size, we resize these images. But that would result in some empty space on the page, as you can see below.
If that bothers you, then there are two possibilities that may provide a result more to your liking.
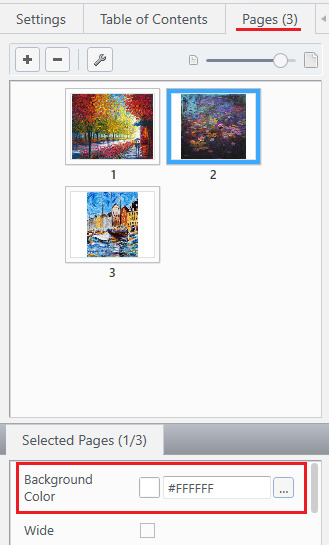
1. You can change the background color of the page to make the differences less impactful. Go to the Pages tab, and then change the Background Color in the Selected pages properties. This can be done for every page separately.
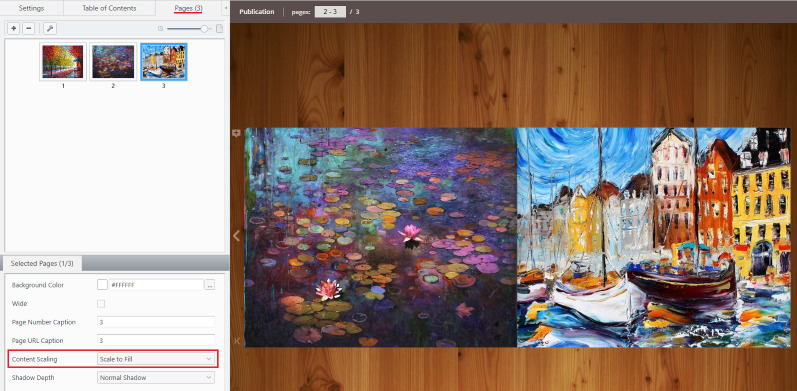
2. You can change how the image itself is handled. Instead of showing the full image, you can change the Content Scaling option to Change to Fill. The image is then resized to fill the full width of the page. Of course, you won’t want to distort the aspect ratio of your image by squeezing or stretching it, so the consequence is that a part of the top and bottom is cut off. As you can see, this affects the image on the right a bit more, because there was more empty space to make up for.
The next image page0004.jpg, on the other hand, is much wider than the cover page. In this case, the image is presented on two pages:
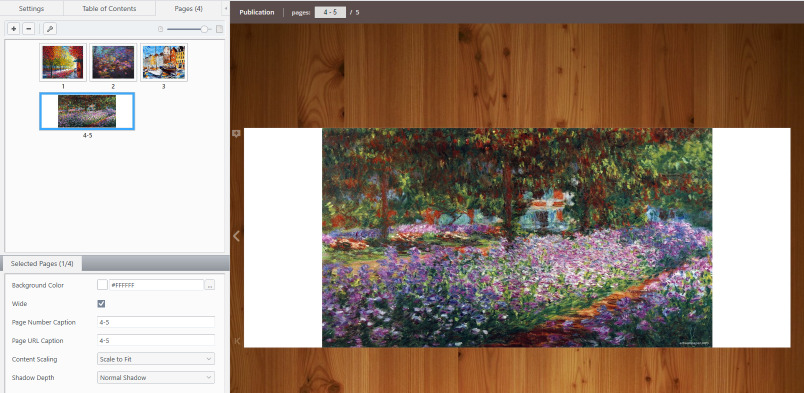
You can compensate for the white borders in the same way as described above, but if you want to show the image on just a single page then that is possible as well. In the properties of Selected Pages, you will see a checkbox that is ticked to indicate that a wide page is spread over two pages. When you clear that checkmark, the image will be sized down to fit on a single page:
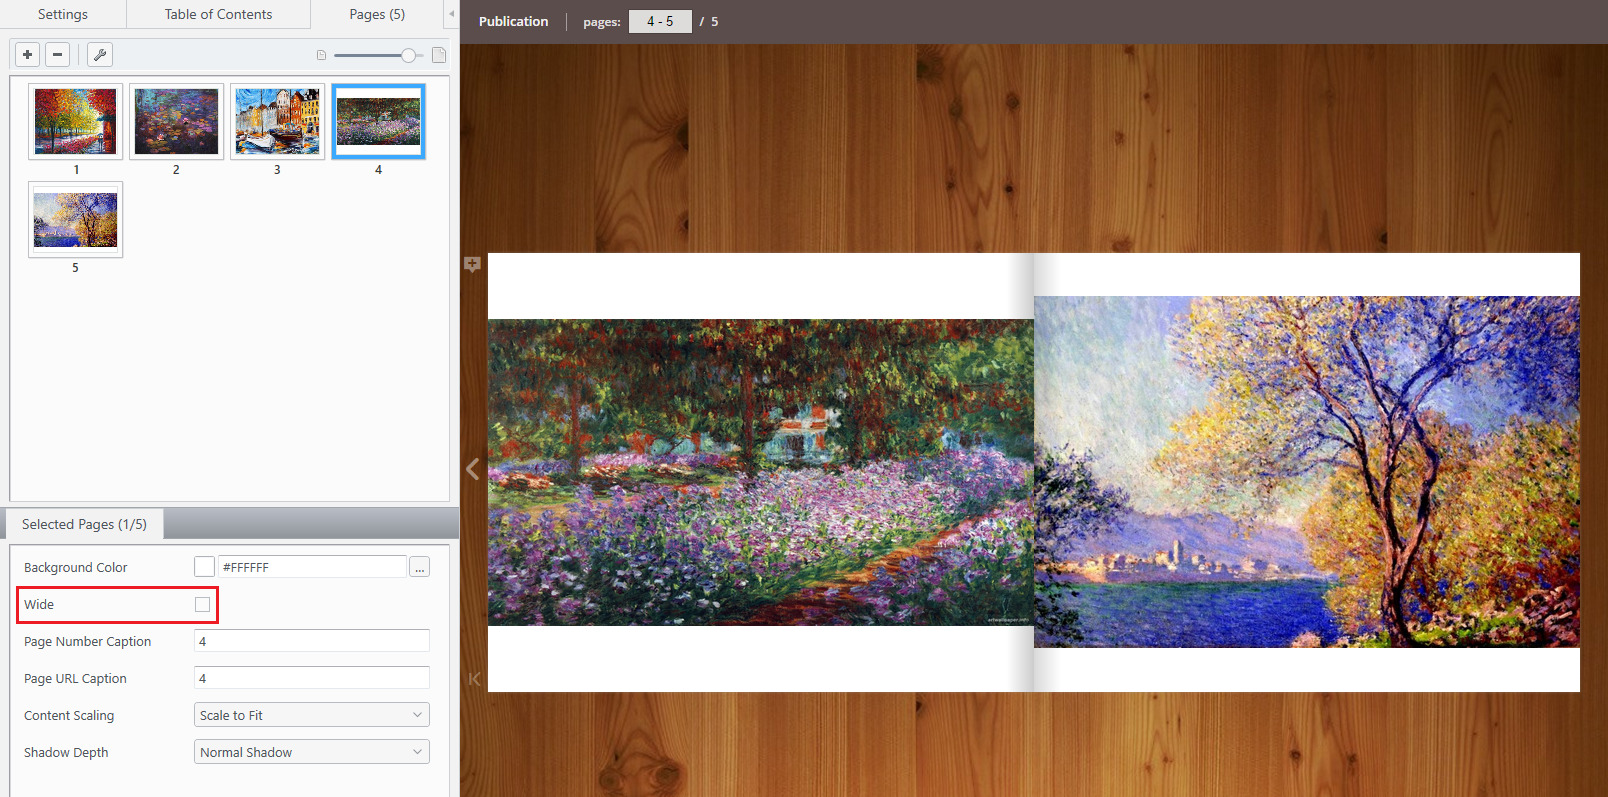
If you don’t like this concept of wide pages, then you can turn all pages into normal pages as follows:
- Click on any unselected page in the Pages panel.
- Press Ctrl+A. This will select all pages.
- The Wide checkbox will now show a square, indicating that there is a mix of wide and non-wide pages.
- Tick the Wide checkbox to remove the checkmark.
Why are Empty pages added to your publication?
If you use different-sized pages, and if some of them are handled as wide pages as described above, then this introduces an additional problem. Wide pages always have to be shown together on the left-hand page and right-hand page. It would look ridiculous if the first half were shown on the right-hand side, and you had to flip to the next page to see the second half!
If that would actually happen due to the page numbering, then we add an empty page before the ‘wide’ page to keep your book structure intact.
![]()
There is no way to remove this page manually. The only things you can do are to:
- turn the next wide pages into the normal pages as described above, or
- insert another page manually, anywhere before this wide page. In that case, the empty page is no longer required as an offset and will be removed automatically.