

 FlippingBook Publisher
 FlippingBook Automation
 Salespal
How to create your first flipbook?
 Product: FlippingBook Online
To create a flipbook, you'll need a PDF file ready to be published. Don’t have one yet? You can make one from scratch with Canva, we have even created some templates to get you off to a flying start! You can also use another easy-to-use PDF tool. Or, if you just want to see how FlippingBook works, start with our demo PDF.
FlippingBook Online transforms your PDF into an interactive HTML5 flipbook. It offers a smooth page-flip effect and the appealing look of a real book, but there are many other reasons to use a flipbook instead of a PDF.
Creating your first flipbook takes just a few minutes. There are only three simple steps:
Upload a PDF or start with a demo PDF
To create your first flipbook, you can upload one of your own PDFs or use our demo PDF.
Upload your PDF
- Open your FlippingBook Online account.
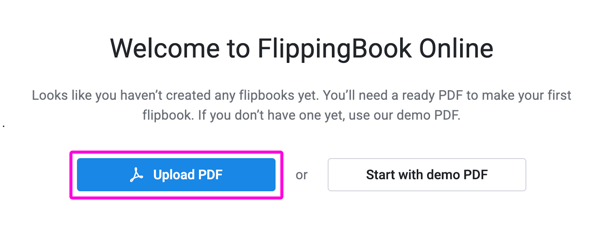
- Click Upload PDF. If you don't have your content ready as a PDF, you can just test out the process with our demo.
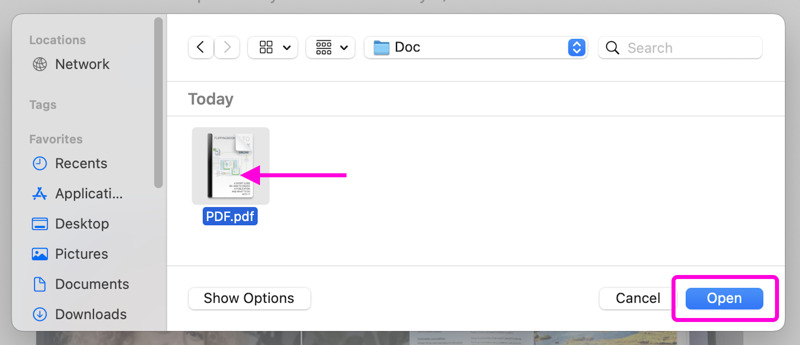
- In the pop-up window, select your PDF file and click Open.
- Your PDF will now be converted into a flipbook. This process can take anywhere from a few seconds up to several minutes, depending on the size and complexity of your PDF, so please wait for the conversion to finish.
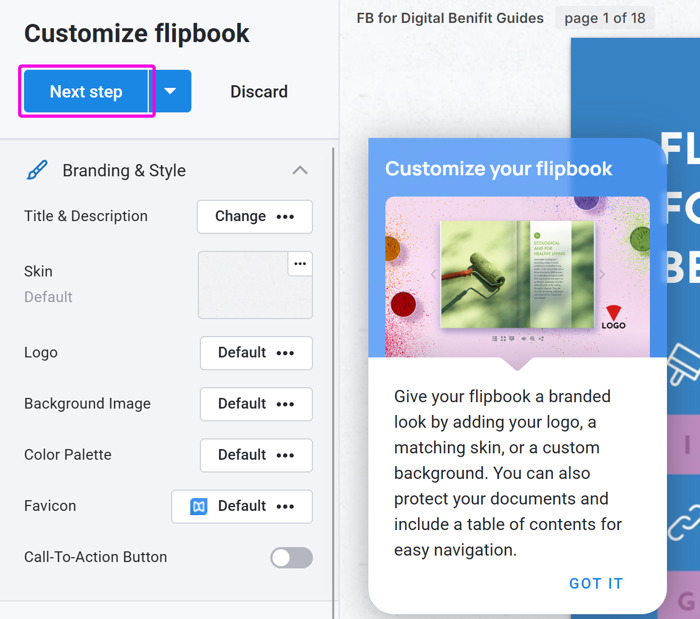
- Once the conversion is complete, your flipbook is ready. Next, you'll be taken to the customization section, where you can personalize its appearance and settings before sharing it. If you prefer, you can skip this step and customize it later.
Start with a demo PDF
If you plan to design your PDF later, start with our demo PDF to see how FlippingBook works. You can't change the content, but it will give you a clear idea of how the features work. Click Start with demo PDF.
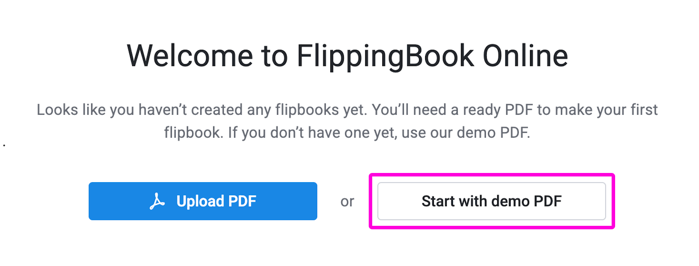
Wait a few seconds for the demo PDF to be converted. You can then continue by customizing your flipbook.
Customize the flipbook
Note!It is not possible to modify your PDF in FlippingBook. Your flipbook will always look like the PDF you uploaded. If you need to add/delete pages or change the content of your flipbook, first update the PDF and then replace it.
When you create your first flipbook, you'll be invited to customize it after uploading your PDF. From your second flipbook onwards, you won't be directed to Customization automatically. Just hover over the new flipbook in your account to access all the options.
There are many ways to customize your flipbook.
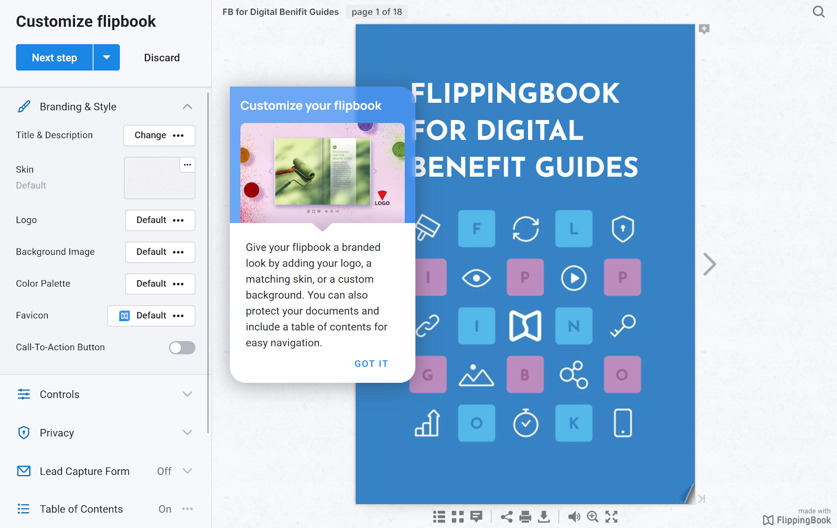
Here are some things that you can do:
- In the Branding & Style section, update your flipbook's title, change the background, or insert your own logo instead of 'Made with FlippingBook'
- In the Controls section, disable the option to print.
- ... and lots more!
To explore more customization options, feel free to visit our article about the different settings.
Not interested in making any customizations? Click on the Next step button. You can always customize your flipbook later if you want.
Share the flipbook with your audience
Now it’s time to share your flipbook:
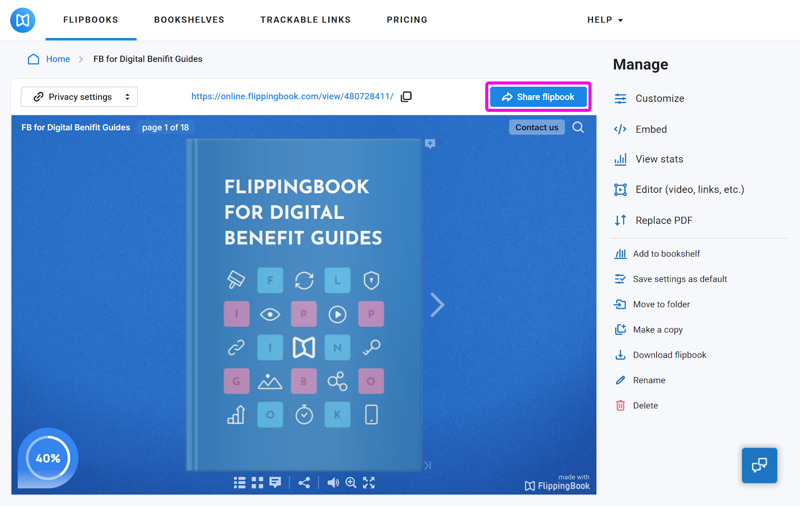
- You will see the Manage flipbook page, where you can see a preview of your flipbook.
- Click on the Share flipbook button.
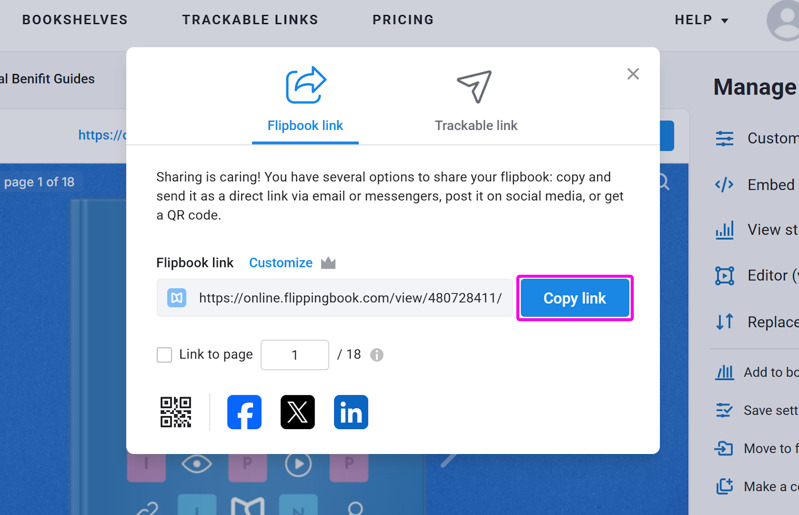
- Click Copy link, then paste the link into an email, messaging app, social media post, or anywhere else you'd like to share your flipbook. To preview it first, paste the link into a new browser tab.
Not sure about which is the best way for you to share your flipbook? Take a look at our How can I share my flipbook article.
Next Steps
Congratulations! You've created your first flipbook. Next, learn how to make it interactive, track your readers, protect it, and more! This article gives an idea of the possibilities.


