How do I embed pop-up images in my publication?
In FlippingBook Publisher Professional and Business editions you can add pop-up images to publications. Pop-up images are small thumbnails that users can click on to see a full version of your image. It's a great tool to include additional pictures in your documents that may not be necessary for every reader, but crucial for some: for example, you can show a product in different colors, from different angles, or add close-up images of details.
Here you see an example of a furniture catalog. The default image only shows the white version of the chair. We added a pop-up image of the blue version too. 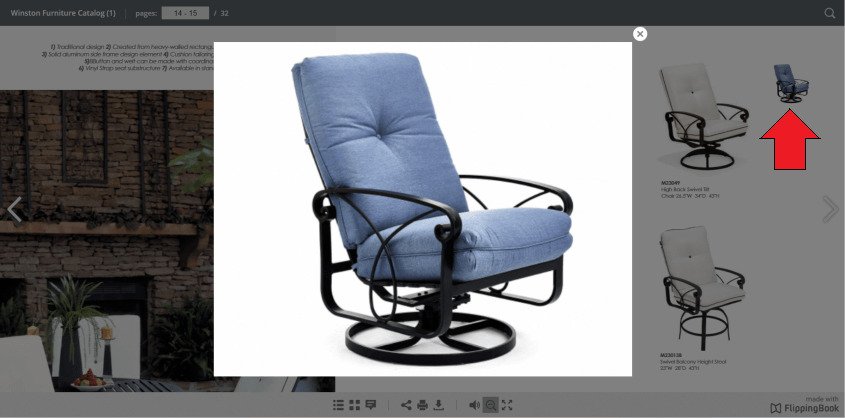
Note! The Content Editor is only available in Flippingbook Publisher Professional and Business, FlippingBook Publisher Basic doesn't have the Content Editor option. You can upgrade your Publisher Basic account to unlock the features.
This article will tell you about:
- Embedding a Pop-up Image
- Adding a caption to your pop-up images
- Setting up icons for your pop-up images
- A gallery-like navigation through your pop-up images
Embedding a Pop-up Image
To embed an image, first, you need to open your current project in FlippingBook Publisher and go to the page where you want to add the image. Then
- Go to the upper program toolbar and click on the Content Editor button. This will open a new window with the Content Editor

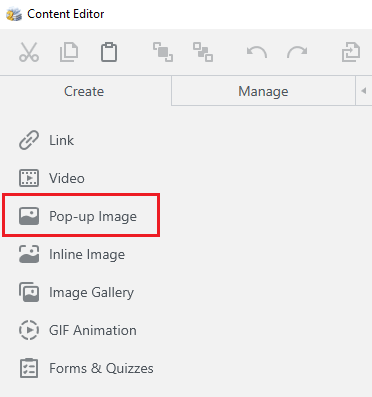
- Select the Pop-up Image option in the menu on the left.
- Select the image from the folder on your computer that you want to add and click Open.
- A red rectangle is added to you flipbook. It denotes the clickable area that - when a reader clicks on it - will trigger your pop-up image to appear.
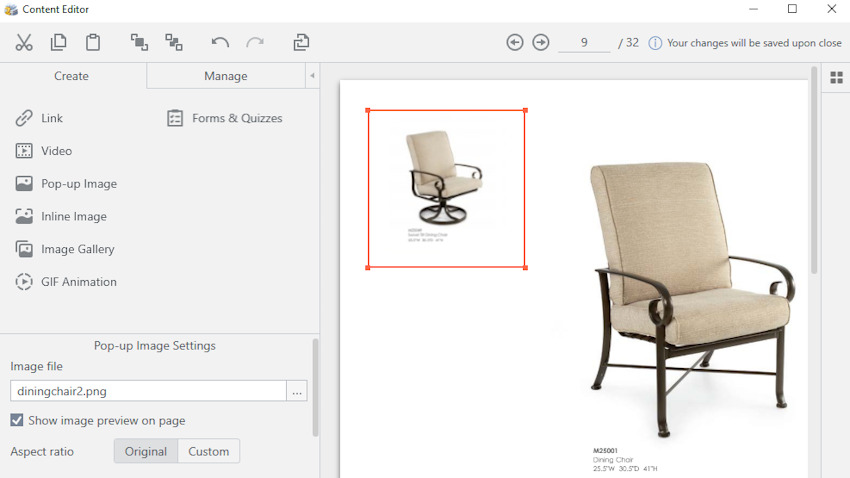
In the example above, we added an image of the blue version of the chair that users can click on. You can move the image by dragging it or you can adjust your image area size by pulling its corners with your mouse. For the final adjustments, you can use the arrow keys on the keyboard.
After you added the image, a Pop-up Image Settings pane appears in the bottom left half of the Content Editor. Here you can:
- Click on the ... button after the file name of your image to replace the image with another one.
- Enable/disable the Show Image Preview on Page option. If this option is enabled, we show a small preview of the image itself in your flipbook. If you don’t need the preview image because you have an even better image in your PDF already, you can disable this option.
- Choose the aspect ratio Original or Custom. Original means that if you resize the image, it will always stay in the original proportions. Custom allows you to size it at will (but we may need to hide a part of the preview image if you make it much narrower than the original).
- You will also see the exact coordinates of your pop-up thumbnail. That can be very convenient if you add several images and want to make sure that they have the same X-position (i.e., they are vertically aligned) and size (same width and height) for a consistent look.
How to add text captions to your images?
Starting with FlippingBook Publisher 2024.2 you can add a caption to every pop-up image you embed in your flipbook. It will appear right under the interactive element when you open the image:

To create a plain text caption, write its text in the Caption field of the Pop-up Image Settings section and close the Content Editor window. It will save the changes.
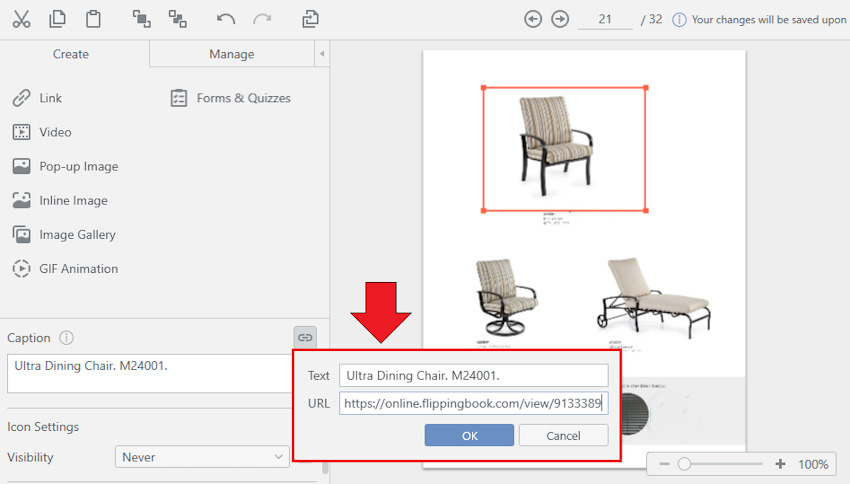
To add a link to your caption, you can use the link icon located at the right top corner of the caption field. Select the text in your caption that you want to make clickable, click on the link icon, and paste your link into the URL field. Then press OK to save the changes.
Tip! You don't have to select the whole text as in the example above. You can also select a part, or add several links, by selecting different parts of your text and using the link function repeatedly.
How to set up the icon for your pop-up image?
Starting with FlippingBook Publisher 2023.1 you can change the icon settings for your pop-up images. Here are the options you can choose for your icon:
Visibility - you can control when the icon appears: always, never, or when someone hovers over your content with their mouse.
Size - you can choose your icon to be small, medium, or big. Bigger icons are more noticeable whereas smaller icons are less intrusive.
Position - the location of the icon on your interactive element. Here you can choose 5 different positions - top left, bottom left, the central one, top right, and bottom right.
![]()
To fine-tune your pop-up image icon, follow the steps below:
- Open the Content Editor and click on the pop-up image for which icon you would like to change.
- Unfold the Icon settings if required.
- Change the options for the Visibility, Size and Position to your liking.
- Once you close the Content Editor all your changes will be applied to your project.
Every option you choose for your icon can be applied to all the elements of this type in your current project. E.g. if you want to change the visibility of all the icons for pop-up images in this flipbook to 'On hover'. To do so, change it for one pop-up image. Then use the fast-forward icon next to it, to apply the setting to all other pop-up images:
![]()
Once you are ready, just close the Content Editor. All the changes will be applied automatically.
A gallery-like navigation
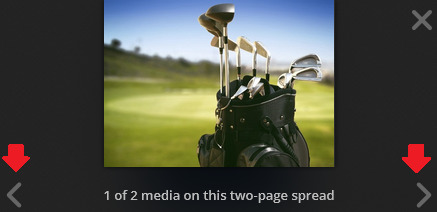
Starting with FlippingBook Publisher 2023.1 your readers can open the first pop-up and navigate through all the other images within a page, slide, or double spread. Just open one of your pop-up image and you will be able to check all your pop-up images from this spread of pages by clicking on one of these buttons:
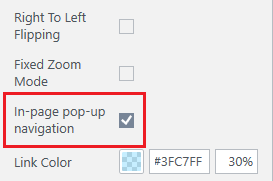
A gallery-like navigation between interactive elements is switched on by default but you can always switch it off by going to the Settings tab > the Book section in FlippingBook Publisher:
If you want to know more about the Content Editor you can read the Tips and Tricks.