Sharing and embedding your bookshelf
Once you have created a bookshelf and customized its appearance to your liking, you can share it or embed it into your website. In this article, we’ll explain how you can:
- Customize the bookshelf link
- Get a QR code
- Share the general link
- Share on social networks
- Embed as an interactive bookshelf
- Embed as preview
- Viewing bookshelves on mobile devices
Customize the bookshelf link
When you create a bookshelf in FlippingBook Online, the default link looks something like this: https://online.flippingbook.com/shelf/12345. If you are on the Advanced, Team, or Enterprise plan, you can fully customize the URL. For example, a bookshelf with product documentation could become https://docs.yourcompany.com/product-documentation.
- First, you set up your own custom domain to replace the online.flippingbook.com part. This is a one-time action.
- When the domain is set up, you can change the shelf/12345 part of your bookshelf link with a custom name that reflects your content.
Here are the steps to follow to customize the shelf/12345 part of the name of your bookshelf:
- While in your account, click Bookshelves in the top menu bar, and select your bookshelf. Click the Share & Embed section at the top of the page.
- In the Share block on the left, click Customize (next to the Bookshelf link text ).
- In the textbox under Edit bookshelf link, enter the name you want for your bookshelf. Use only Latin letters, numbers, and hyphens.
- Click Save to save your changes or Cancel to revert to the original URL.
We advise being careful when choosing a custom URL for the following reason:
- Suppose you shared an uncustomized URL (the "/shelf/12345" version) and then customized the URL to, e.g., "/products2026". If a reader opens the uncustomized URL, they will be redirected to the customized URL.✅
- However, if you customize the URL again to, e.g., "/products2027", visitors who open the previous "/products2026" URL will see a 404-error.❌
Get a QR code
A QR code is an image that your visitors can scan on mobile devices. It's a great way to share links on printed materials, such as business cards, packaging materials, and product documentation. You generate a QR code for your bookshelf and add it to your hardcopy. When your reader scans your QR code, it will immediately open your bookshelf with all your catalogs, product documentation, or company information.
To get a QR code, do the following:
-
While in your account, click Bookshelves in the top menu bar, and select your bookshelf. Click the Share & Embed section at the top of the page.
-
Find the Share block on the left and click on the small QR code icon on it:
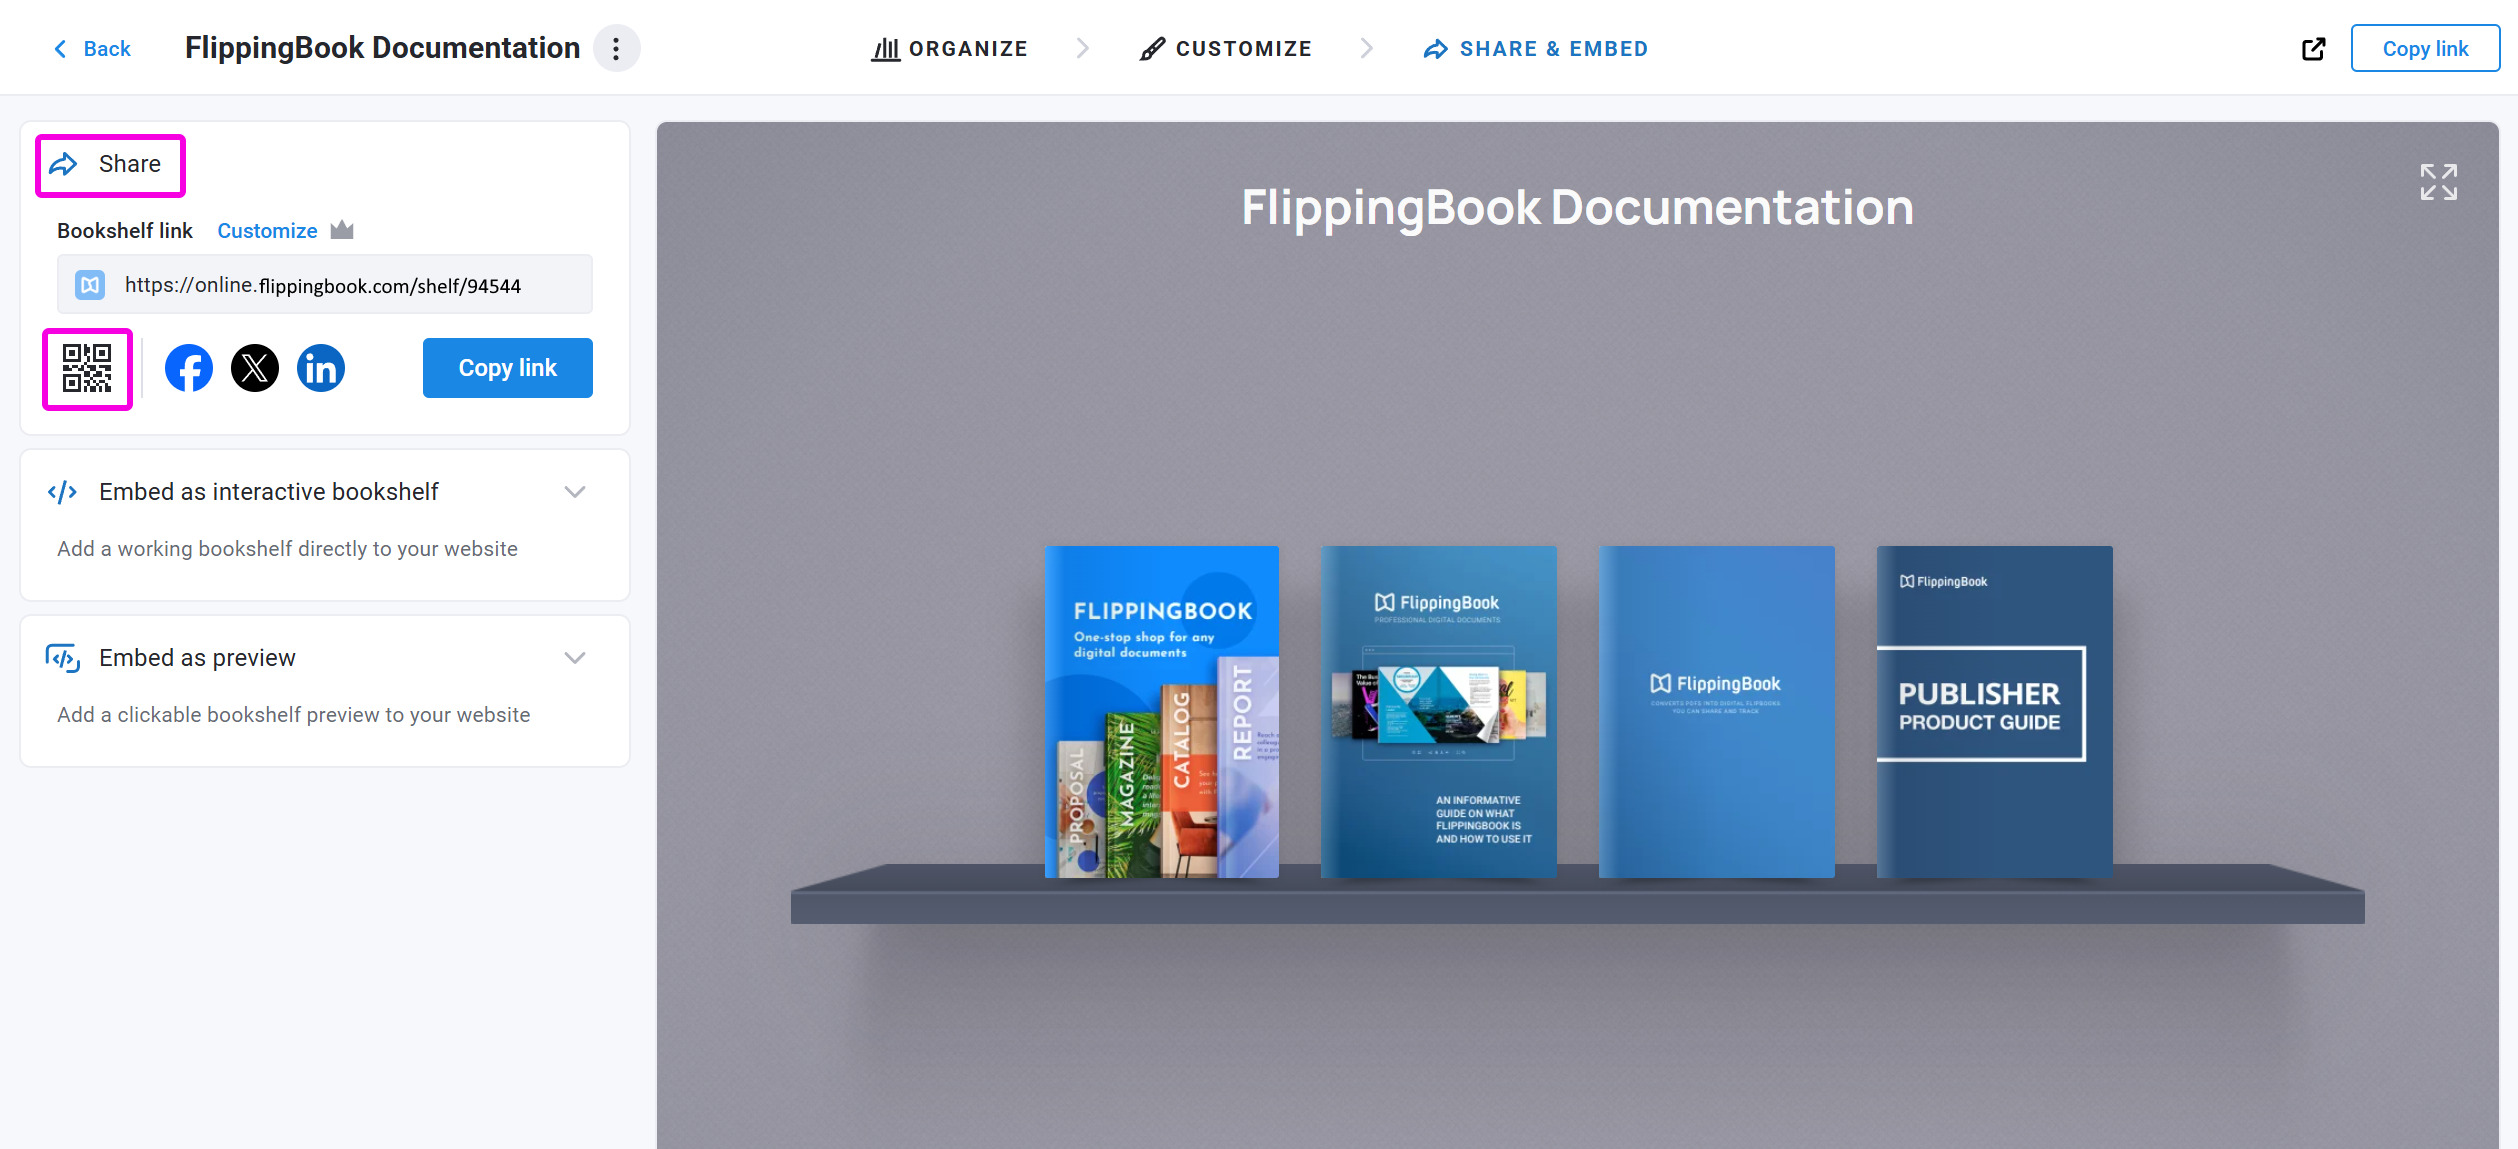
-
Optionally, adjust the size of your image.
-
Press the Download PNG button.
Your QR code will now be downloaded to the standard download folder on your computer/device.
Share the general link
Your bookshelves can be viewed online in all popular browsers on desktop or mobile devices. So sending a link is a great way to share your bookshelf. The link can be included, for example in your email marketing campaign.
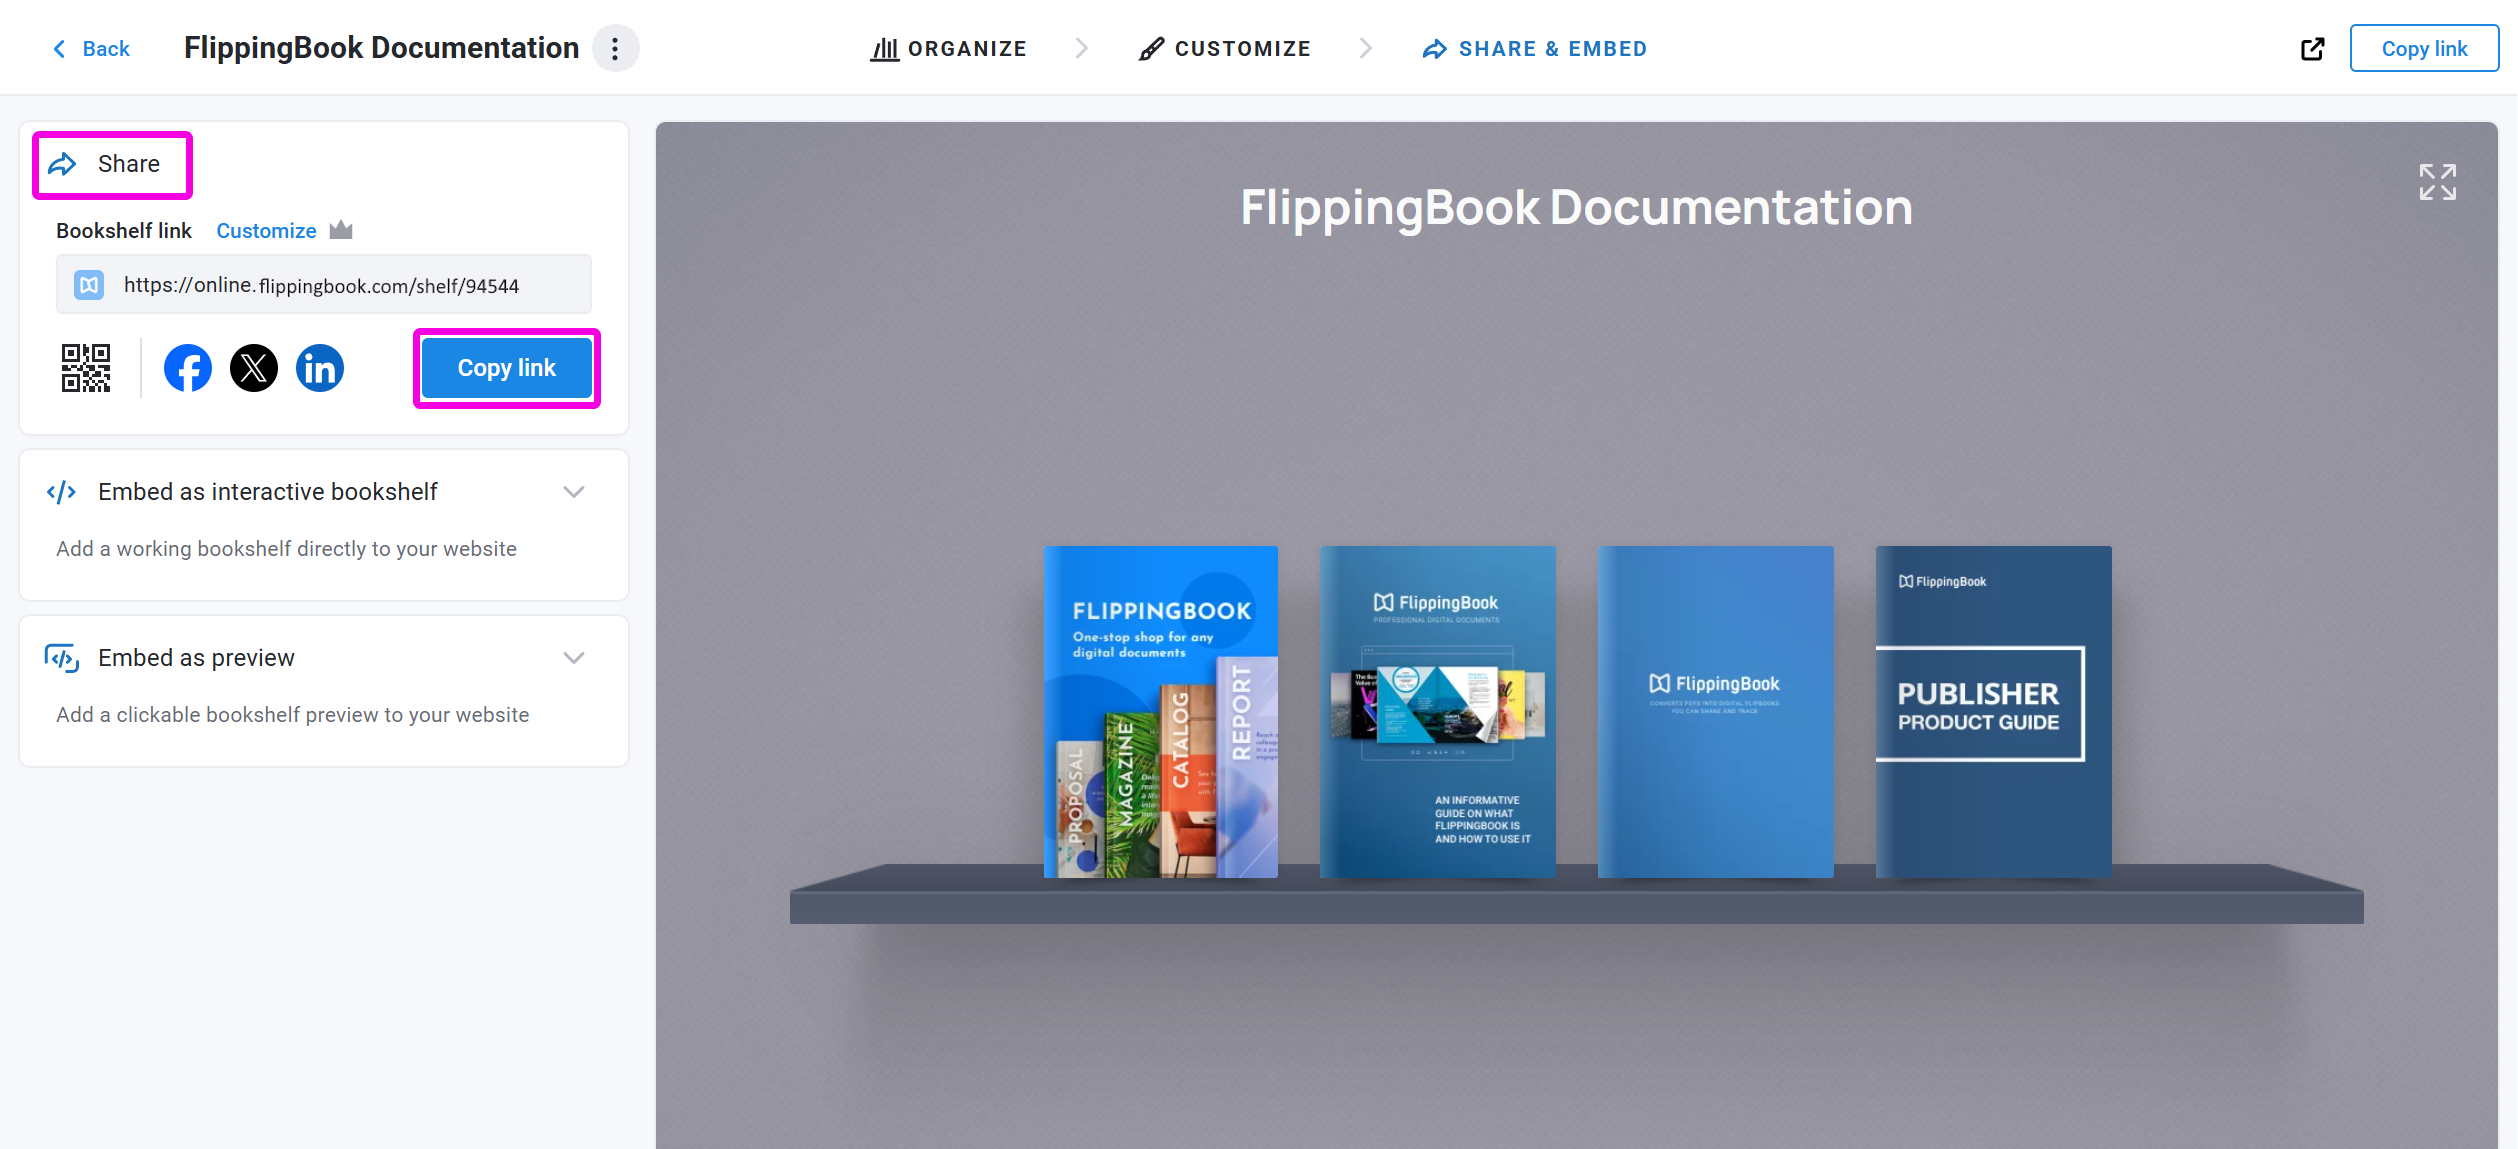
To get a link, while in the Share & Embed section of your bookshelf, click on the Copy link button of the Share block:
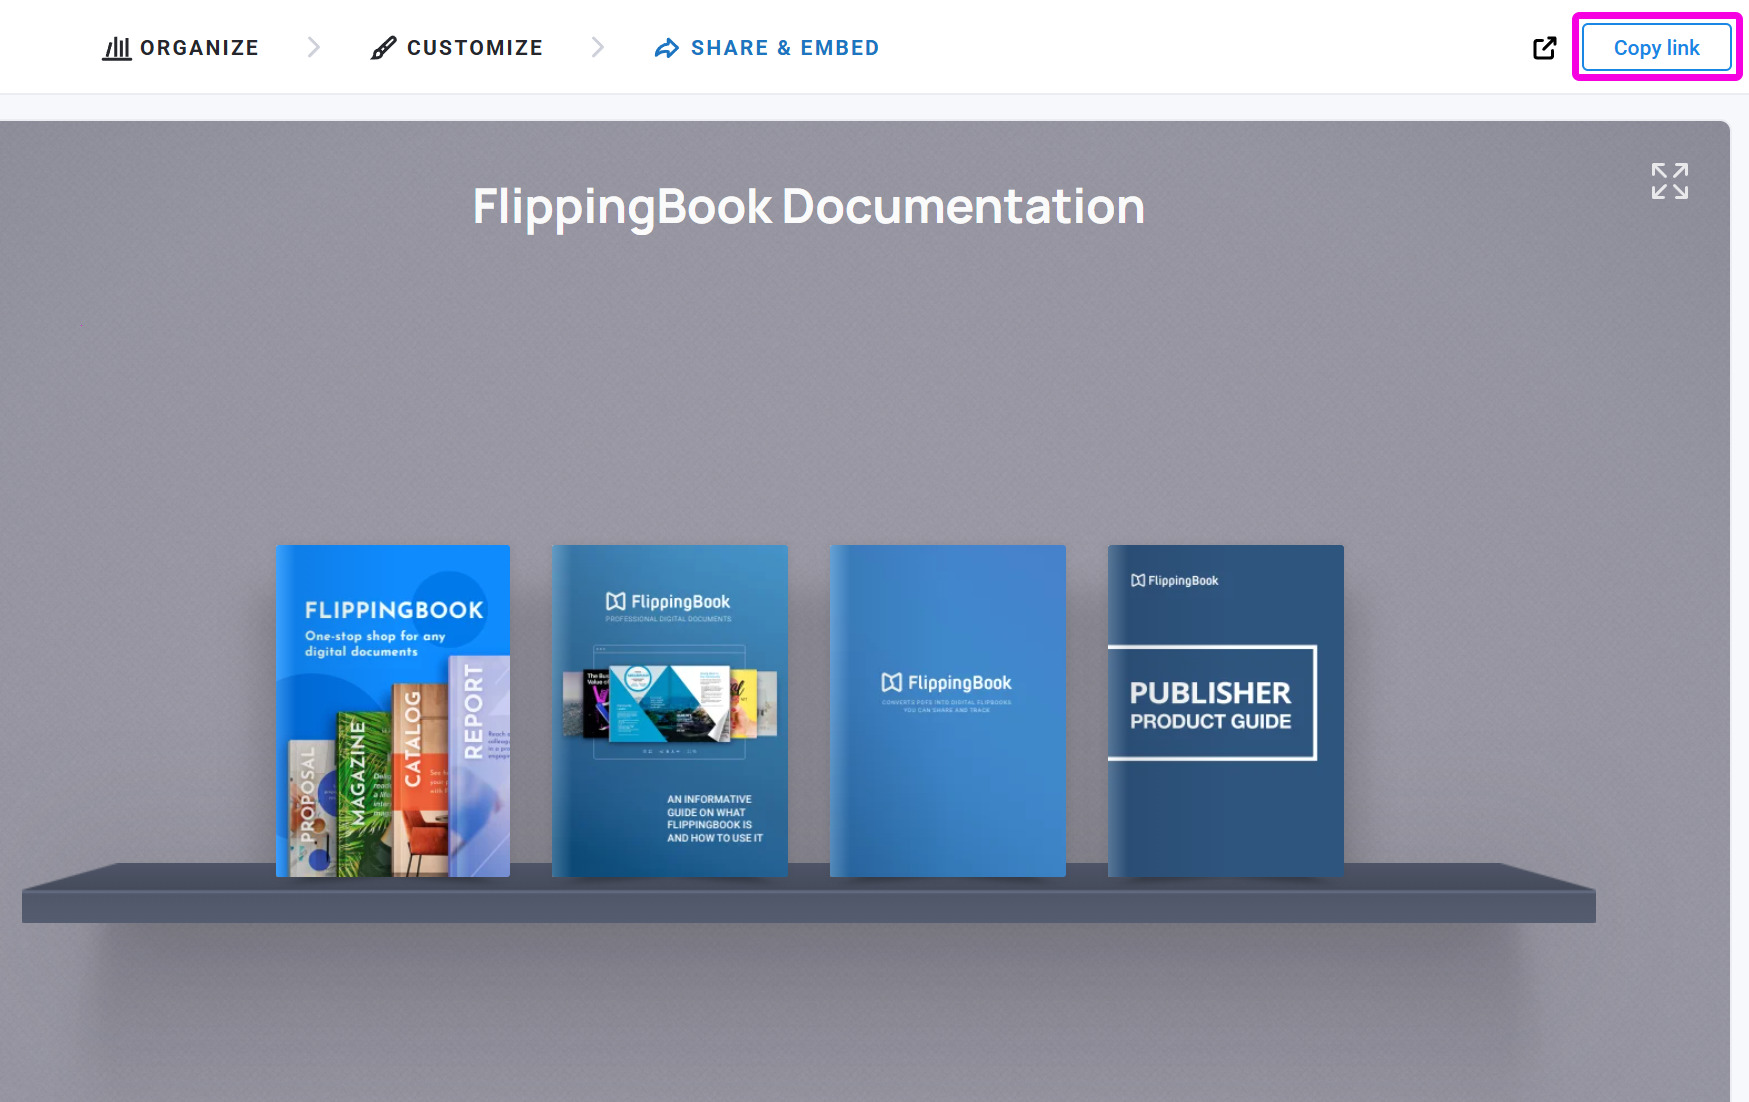
Also, you can get a link in the Share & Embed page itself. Just open it and click the Copy link button in the top-right corner of the page:
Share on social networks
Sharing your bookshelves on social networks might be a great way of reaching your target audience and building customer relationships.
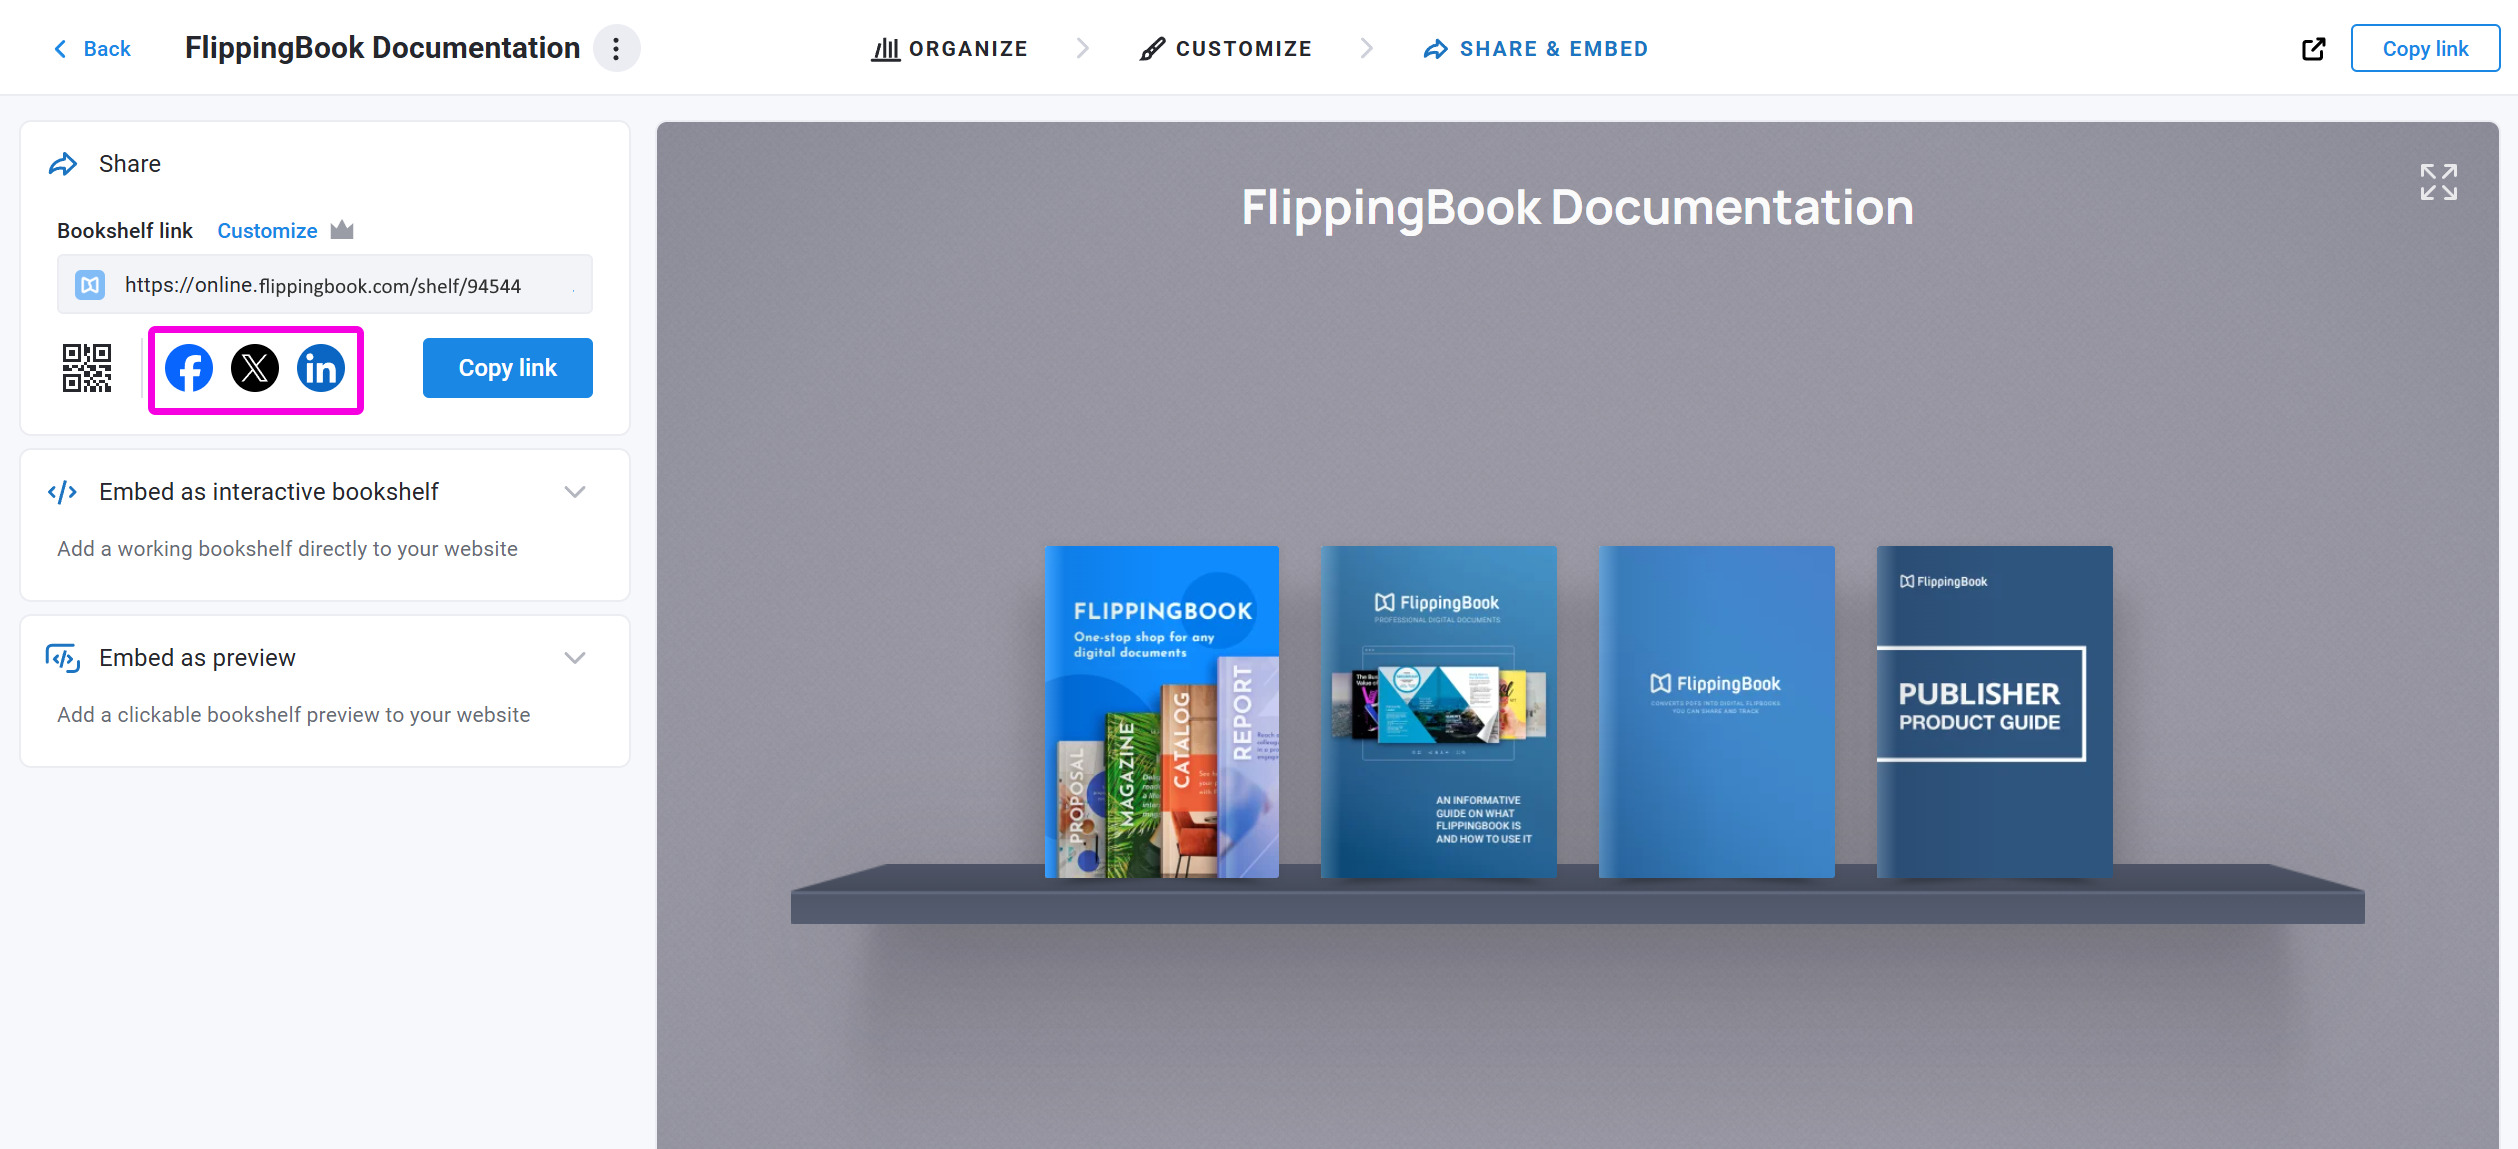
While in the Share & Embed section of your bookshelf, click on the name of the social network in the Share block.
You will be transferred to the social network of your choice.
The title and description of your bookshelf will be displayed below the cover page preview.
The final step is to publish your post. The exact way to do it depends on the particular social network.
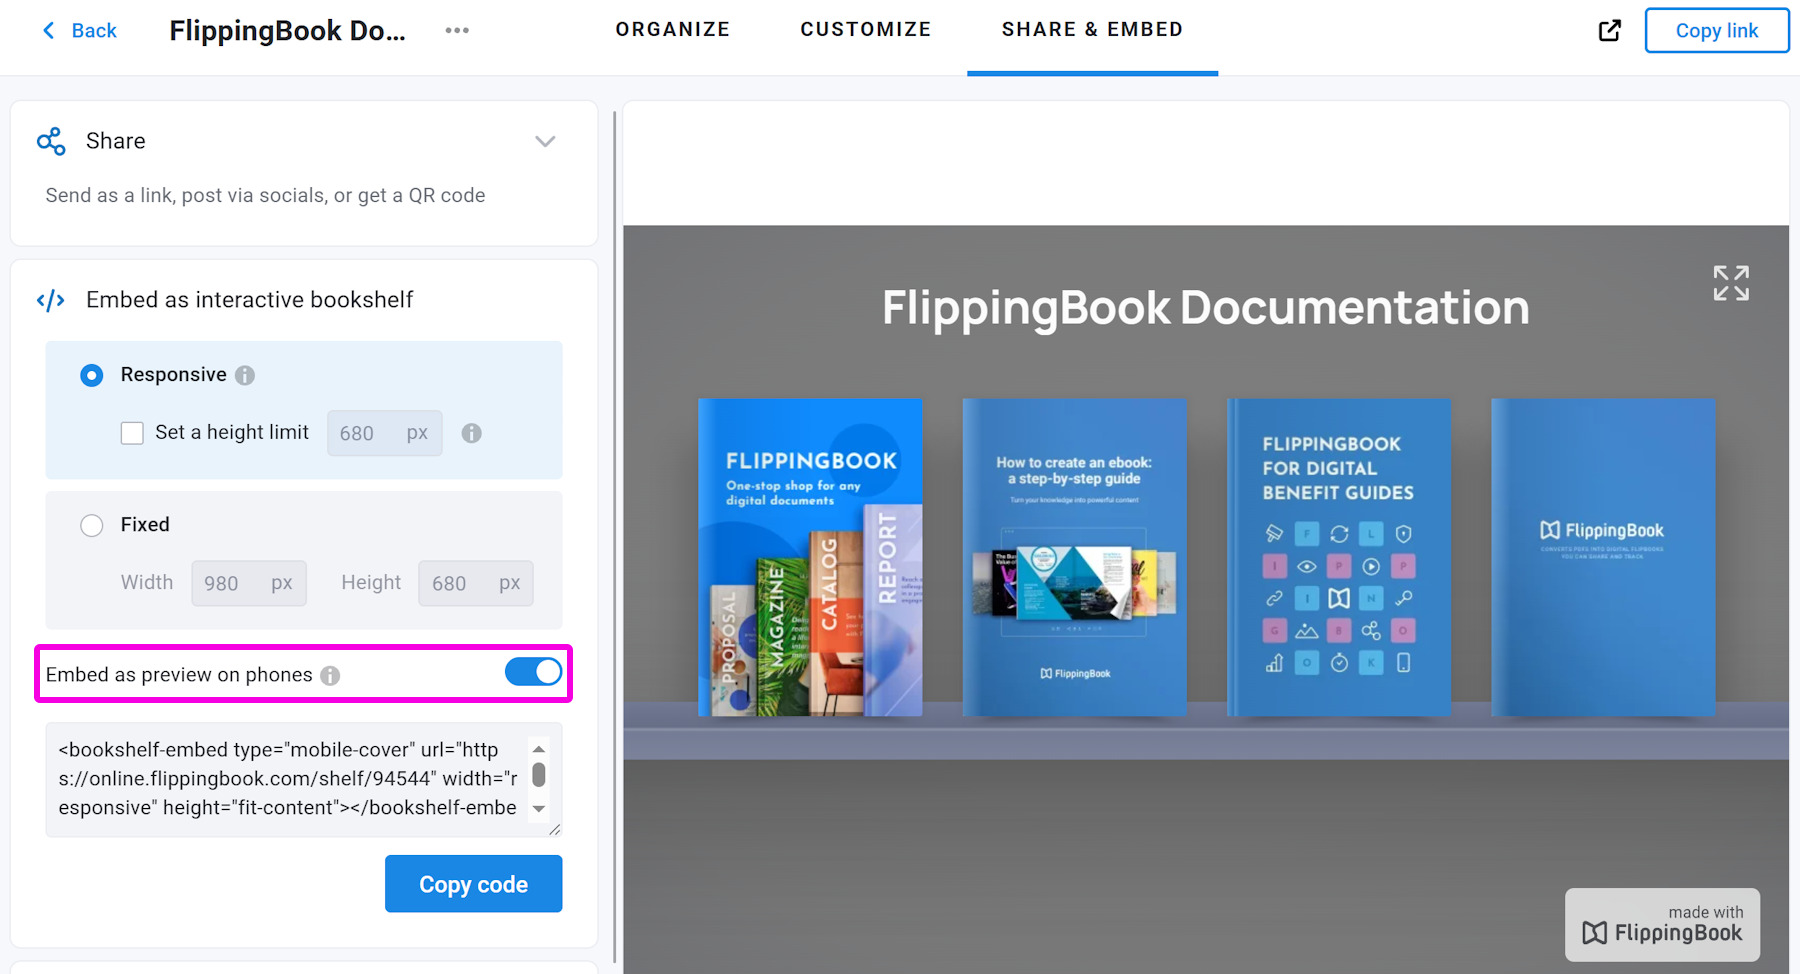
Embed as an interactive bookshelf
The Embed as interactive bookshelf section allows you to generate embed code to make your bookshelf a seamless part of your webpage. Your readers can click directly on the books on your shelf, without leaving your site.
Below you can find an example of this type of embed. We recommend viewing this example on a desktop device, as it may appear differently on mobile screens depending on their size.
There are two variants to embed as an interactive bookshelf:
- Responsive - the bookshelf will adjust to fit the width of your container. The height will, by default, be set to fit all your books without requiring your visitors to scroll. But you can Set a height limit to stop bookshelves with many books from taking up too much space. If you do so, its height won’t go beyond the limit you set (from 361 to 9000 pixels). Readers may need to scroll in the bookshelf to see any flipbooks that don’t fit on their screen.
- Fixed - set the width and height of your bookshelf embed so it appears on the page just the way you want. If the available width is less than the width you specify, we reduce it to the maximum available width. For height, we use exactly the height you specify and add a scrollbar if we can't fit the required shelves for all your flipbooks.
Note!If the available area for your embed is less than 1180 pixels wide, we remove the edges from the bookshelf. This way, we can keep showing as many of your books as needed on a single shelf. This minimizes the chance of creating shelves where only 1 or 2 books fit.
You can also enable/disable the Embed as preview on phones option.
- When this option is enabled, we show a preview image of your shelf on mobile devices. If your visitors tap anywhere on the image, it opens your bookshelf in a new tab where they can easily find the book they need.
- If you disable this option, we try to show an embedded version of the bookshelf. Your visitor can tap a specific book, and it opens immediately, without opening the shelf first.
Further details on viewing bookshelves on mobile devices you can find in the section below.
Here are the steps to embed an interactive bookshelf into your website:
- Open your account, click Bookshelves in the top menu bar, and select your bookshelf. Click the Share & Embed section at the top of the page.
- On the left side of the page, find the Embed as interactive bookshelf section and click it.
- Select the variant to embed your interactive bookshelf: Responsive or Fixed.
- Switch on the option Embed as preview on phones if required.
- Click on Copy code to copy the embed code to the clipboard.
- Go to your Content Management System (CMS) and add this code to your web page. The exact way to do it depends on your CMS. For most CMSs, it roughly works like this:
- Open the page into which you want to embed your bookshelf.
- Move to the place on your page where the bookshelf should be.
- Add an element which is typically called something like Embed (or Insert) HTML/code/markdown/code snippet.
- Paste our embed code in the text box.
- Save or publish your page.
Note! Every CMS works differently. If you can’t make it work, consult the documentation for your CMS or ask your website admin. You can also ask our support team. Book a meeting, and we can usually make it work within a few minutes!
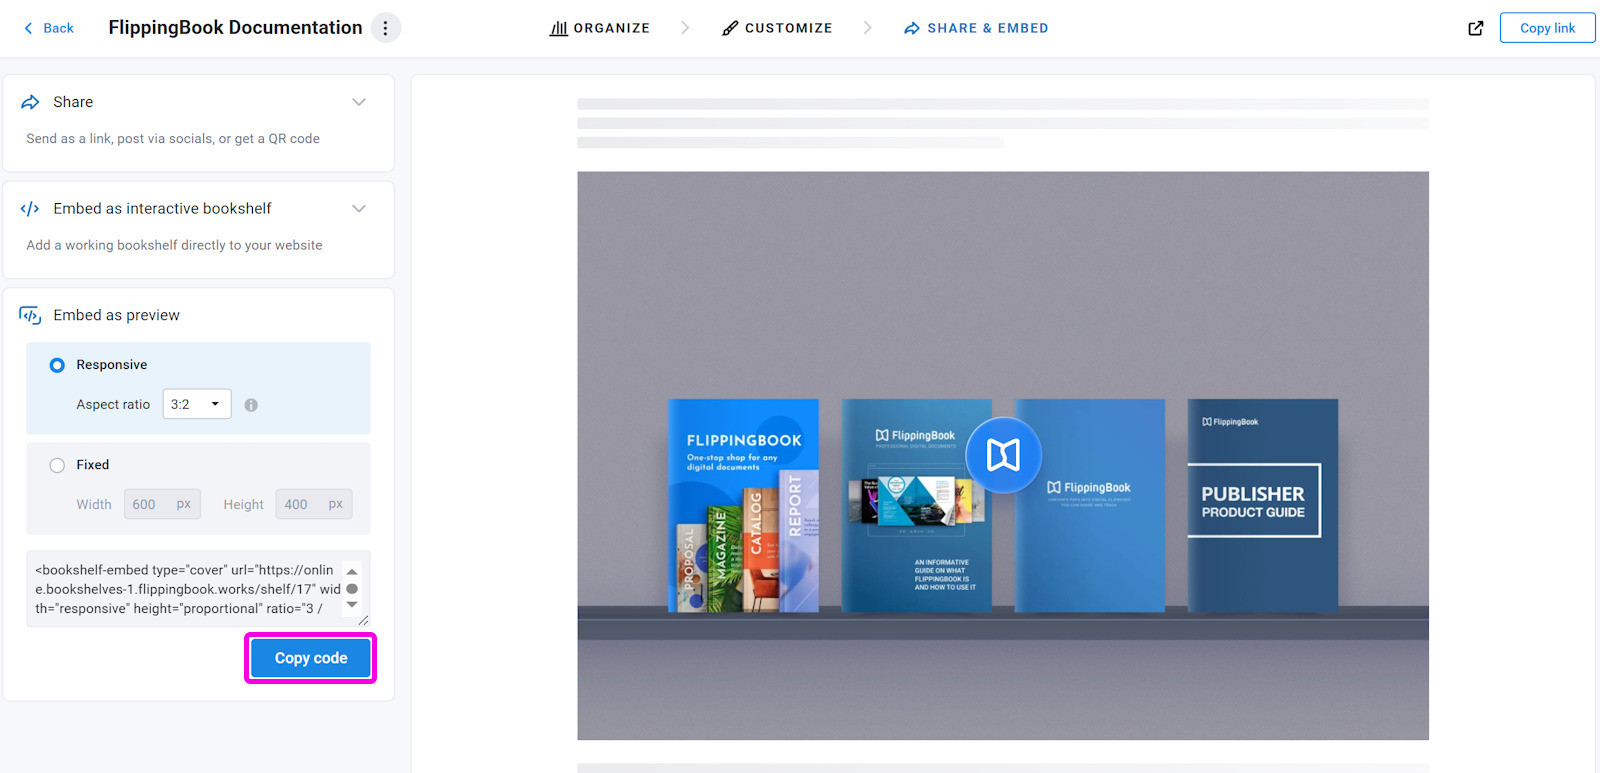
Embed as preview
In the Embed as preview section, you can find the embed code for your website. This code creates a static image preview of your bookshelf. When a visitor clicks anywhere on the image, the full bookshelf opens in a new tab.
This is an ideal solution if you don’t have enough space on your page for the full interactive bookshelf, or if you want to embed more than one bookshelf on your webpage.
Below you can find an example of this type of embed. We recommend viewing this example on a desktop device, as it may appear differently on mobile screens depending on their size.
There are two variants to embed as an interactive bookshelf:
- Responsive - the bookshelf preview adjusts to the width of the container you insert it into, and the height scales automatically based on the aspect ratio you choose: 1:1, 4:3, 3:2, or 16:9.
- Fixed - set the maximum width and height of your bookshelf preview so it appears on the page just the way you want.
Here are the steps to embed a preview bookshelf into your website:
-
- Open your FlippingBook account, click Bookshelves in the top menu bar, and select your bookshelf.
- Click the Share & Embed section at the top of the page.
- On the left side of the page, find the Embed as preview section and click it.
- Select the variant to embed as a preview: Responsive or Fixed.
- Click on Copy code to copy the embed code to the clipboard:
Go to your Content Management System (CMS) and add this code to your web page. The exact way to do it depends on your CMS. For most CMSs, it roughly works like this:
- Open the page into which you want to embed your bookshelf.
- Move to the place on your page where the bookshelf should be.
- Add an element which is typically called something like Embed (or Insert) HTML/code/markdown/code snippet.
- Paste our embed code in the text box.
- Save or publish your page.
Viewing bookshelves on mobile devices
By default, embedded bookshelves appear as a preview on mobile devices. To display it as an interactive bookshelf, you can disable the Embed as preview on phones option in the Embed as interactive bookshelf section. This can be more convenient for users, as they can directly tap on the flipbook to open it.
However, if the available width on the viewer's mobile phone is less than 360 pixels, we still show the preview, even if you disable the Embed as preview on phones option! This is to avoid extremely narrow bookshelves where every shelf contains just one book.
If you want the interactive bookshelf to show up on mobile devices, we recommend:
- To make the parent "container" in which your bookshelf is embedded wide enough to maximize the chance that the interactive version is actually shown.
- To use this option only when you have a limited number of books on your shelf, especially if you also limit the height of your embed area!
-
- If the height is not limited, bookshelves with 20+ books will become very high.
- If the height is limited, your users end up with nested scrollbars (one for the bookshelf and one for your page), which can make navigation difficult.
-
Related articles
- To learn how to create a bookshelf, add flipbooks to it, or reorder them, see our Create a bookshelf article.
- Want your bookshelf to reflect your brand and personal style? Check out our Customizing your bookshelf article to find out how.