GIFs are fun, creative, and engaging. You see them everywhere: family chats, online shops, sales collateral, to name a few. In marketing, we love to use GIFs as well because they are excellent for educating and informing the audience, showing off products, illustrating complex ideas, and telling enticing stories.
GIFs are becoming even more popular than images and videos, and we add them to enhance other pieces of content, like PDFs, flipbooks, ebooks, or digital catalogs. However, finding the right GIFs or creating them yourself isn’t an intuitive process. That’s why today we’ll talk about the best and easiest ways to make GIFs that will help you streamline your content creation process and save time and effort. Let’s get right to it!
Best Practices for Creating Powerful GIFs
⏱️Keep it short and sweet. Aim for 2–6 seconds. Shorter GIFs loop better and load faster.
🎯Focus on a single moment. Pick a specific, visually interesting moment—like a reaction, movement, or facial expression.
📝Add captions when needed. Text can make your GIF more engaging or help clarify what’s happening, especially if there’s no sound.
🎥Use high-quality source videos. Blurry or pixelated videos make low-quality GIFs. Start with crisp footage when possible.
🎨Stick to simple effects. Too many stickers, filters, or flashy text can make your GIF look cluttered. Less is often more.
⚡️Optimize file size. Trim unnecessary frames and keep the dimensions reasonable (e.g., under 600px wide) so your GIF loads quickly across devices.
🔄Test the loop. Check how your GIF looks when it loops. Smooth transitions and timing make a big difference.
💡To make your GIFs appear neatly in any flipbook, webpage, presentation, or social media post (without a visible box or background color), choose GIFs with a transparent background. You can find them in the Stickers section on GIPHY and Tenor. Read on to learn more about each tool.


Easy-to-Use GIF Platforms and Makers
There are plenty of GIF tools out there, but if you’re not a designer, it can be hard to know where to start. To make things easier, we’ve put together a curated list of user-friendly platforms that help you find and create eye-catching animated GIFs.
💡 Want to use a ready-made GIF?
Platforms like GIPHY and Tenor let you find the perfect GIF thanks to their powerful search engines and well-organized libraries. Just type a keyword—like “happy,” “facepalm,” or “celebration” into the search bar, and you’ll get thousands of results in seconds. You can also browse by categories, trending topics, or emotions to discover new GIFs that match your mood or message.
#1 GIPHY
GIPHY is one of the largest and most popular GIF platforms, widely used across social media, messaging apps, and websites. It’s especially known for its massive GIF library and easy-to-use creation tools.
💡 Click through our interactive demo to see how to create a GIF in GIPHY right away or read the steps below.
How to create a GIF in GIPHY
- Go to GIPHY Create.
- If you want to create a GIF for your flipbook, we suggest making a Sticker—it gives you a clean, transparent look that works perfectly in interactive documents. You can also upload images (JPG or PNG), a video, a series of images to turn into a GIF, or even paste a YouTube/Vimeo link. If you’re using a video, trim it to pick the start time and duration (up to 15 seconds).
- Add captions, stickers, and motion effects if you want to customize your GIF.
- Click Continue to Upload.
- Add tags and choose whether to make it public or private.
- Click Upload to GIPHY—your GIF is ready to download or share! Simply copy the link to your GIF and paste it into the FlippingBook Editor.
#2 Tenor
Tenor, owned by Google, is another leading GIF platform that powers GIF searches in apps like WhatsApp, Google Keyboard, and Facebook Messenger. It’s fast, streamlined, and mobile-friendly.
💡 You can’t create a GIF from a set of static images directly on Tenor—it only lets you upload existing GIFs or short MP4 videos, add a link to a GIF, and customize it. That’s why we recommend using Tenor to search for beautiful, ready-made GIFs. Just type a keyword into the search bar, go to the Stickers section, right-click a GIF, copy its address, and paste it into the FlippingBook Editor. Want to create a GIF on Tenor from a video or another GIF? Read on. 👇
How to create a GIF in Tenor
- Go to Tenor GIF Maker. Sign in with your email to be able to upload and share your GIFs.
- Select your GIF source: MP4, GIF, or paste a media URL.
- Click the Edit icon to trim to the best section, crop, and add a caption. Write a few descriptive tags.
- Click Upload to Tenor. Your upload undergoes a review process (usually within 24 hours) before it becomes available on the Tenor platform.
- Once ready, right-click the GIF, copy its address, and paste it into the FlippingBook Editor.
#3 ezgif.com
ezgif is a free, easy-to-use online tool that lets you create, edit, and optimize GIFs right in your browser—no downloads or sign-ups needed. Whether you want to turn a video clip into a GIF, crop or resize your animation, or add fun text, Ezgif makes the process quick and straightforward.
💡 Don’t forget to download the GIF when finished, as there’s no online save option in ezgif.
How to create a GIF with Ezgif
- Open ezgif.com.
- Upload a video file, multiple images, or paste a video URL (like from YouTube) to start making your GIF.
- If you’re using a video, pick the part you want to turn into a GIF by trimming the start and end times.
- You can resize your GIF, set the frame rate, or add simple effects at this stage. For smoother playback, try around 15 frames per second.
- Hit the ‘Convert to GIF!’ button and watch your GIF come to life.
- Once converted, you can optimize your GIF to reduce file size without losing quality, then download it to your device.
#4 Adobe After Effects (for pros)
If you’re familiar with the Adobe suite, you can try Adobe After Effects—a professional motion graphics and visual effects tool used in video production, animation, and design. It’s ideal for creating stunning, custom animations with advanced timing, transitions, and visual effects.
How to create a GIF in Adobe After Effects
- Open After Effects and design your animation on the timeline. Keep it short (ideally under 10 seconds for GIFs).
- Make sure your start and end frames loop well if you're creating a looping GIF.
- Go to File > Export > Add to Adobe Media Encoder Queue.
- In Adobe Media Encoder, choose ‘Animated GIF’ as your format in the Format dropdown. If your composition has a transparent background, select ‘Animated GIF with transparency’.
- Adjust settings like resolution, frame rate, and quality to control file size.
- Click the green play button to render. And done! You now have a standalone GIF ready to use.
💡 You can dive deeper into creating GIFs in Adobe AE with this article.
⭐Want to get creative with your GIFs but not ready for Adobe After Effects?
Try making GIFs online with Canva using images or video clips—it’s simple and fun! Check out our step-by-step guide below. 👇
How to Create GIFs in Canva
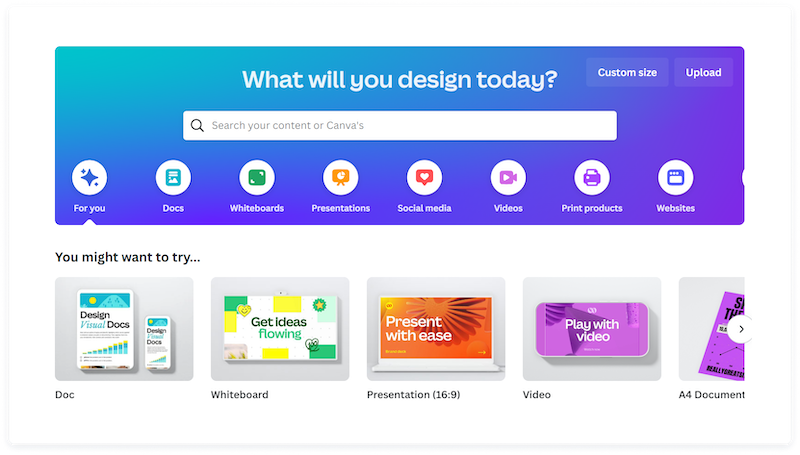
Canva is an easy-to-use online design platform that lets you create graphics, videos, animations, and more, even if you don’t have design skills. It offers thousands of templates, drag-and-drop tools, and built-in assets like images, icons, and animations. To create a GIF in Canva, simply follow these steps:
Creating GIFs from Images
1. Log in or sign up for a free Canva account using your email, Google, or Facebook credentials.
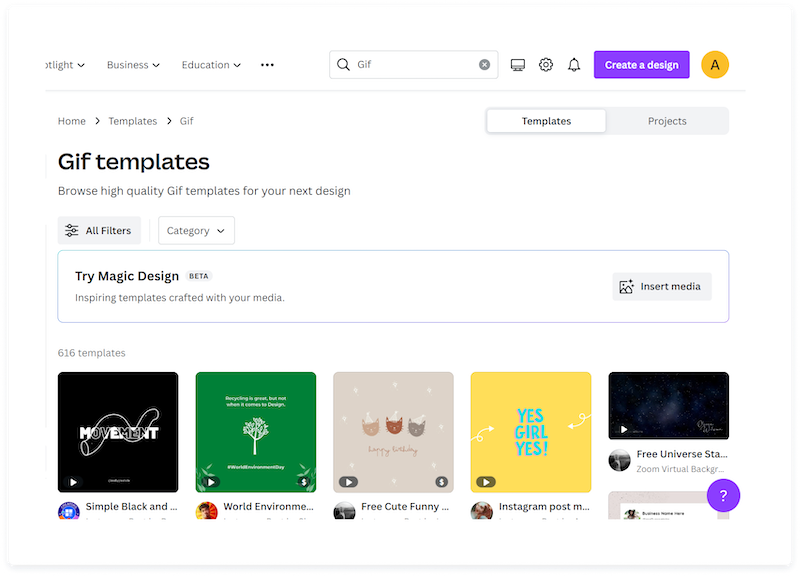
2. Choose a design project: narrow down your search by type, be it for a brochure, ebook, or social media graphic.
You can search for 'GIF' right away to make animated GIFs from the ready templates.
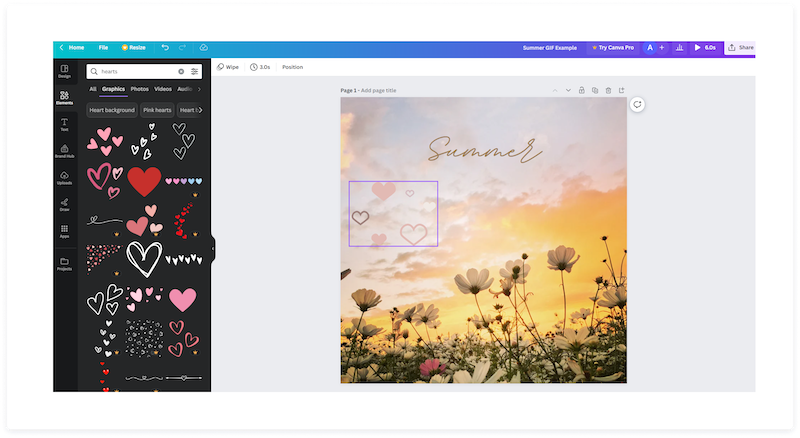
3. In the editor, select an image from Canva’s library or import it from your desktop. You can also import an image from your Instagram or Facebook accounts, or from external storage devices, like Google Drive or Dropbox.
4. Choose the number of slides you want to have in your GIF. If it’s your first design, start with a couple of slides, you can always add more later.
5. Customize your GIF design by adding stickers, graphics, and other elements from the library. Personalize further with different text styles, fonts, and color palettes. If it’s your very first GIF, go with a simple design before creating a more complex one.
6. Animate your design by clicking on a particular element and selecting the ‘Animate’ option to pick a motion style. You can combine animations, too.
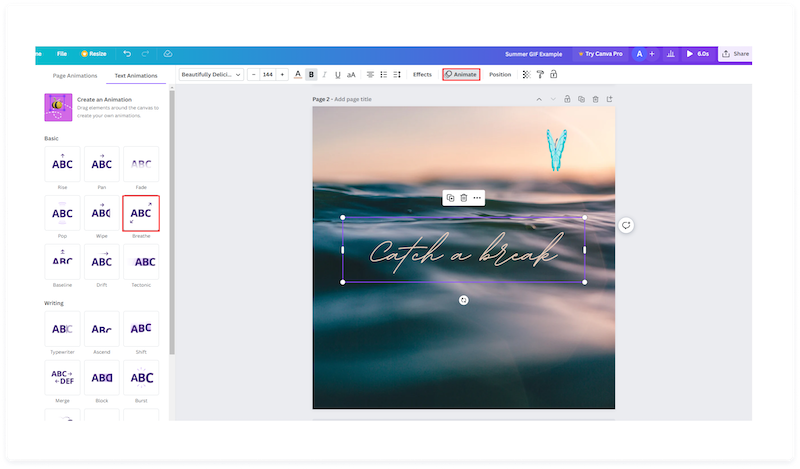
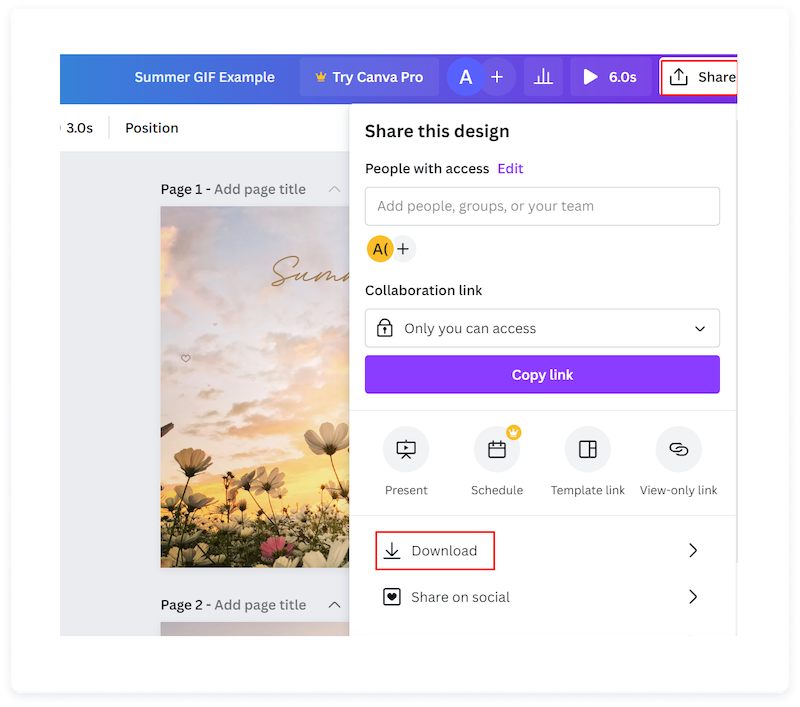
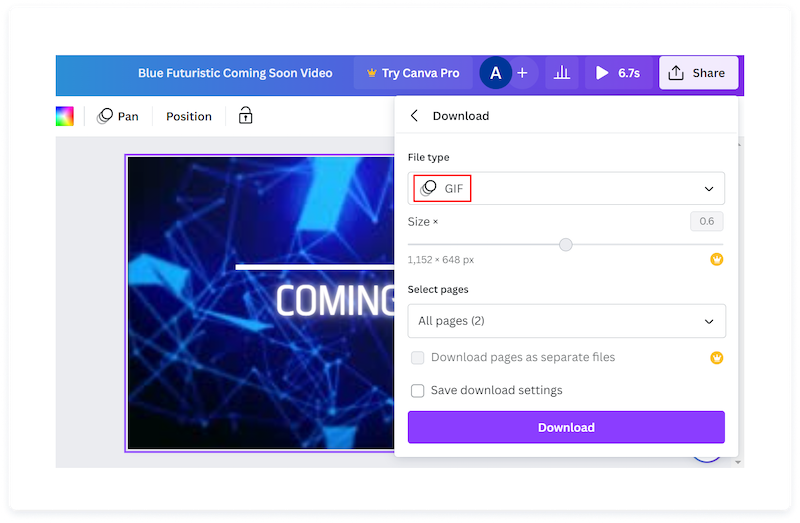
7. When your GIF is ready, you can check the preview by clicking the play button that sits next to the Share button in the top right corner, and choose the download or share option.
Here's a simple GIF example, consisting of two slides, that anyone could make in Canva, no matter the design skills.
Creating GIFs from Videos
1. Log in or sign up for a free Canva account using your email, Google, or Facebook credentials.
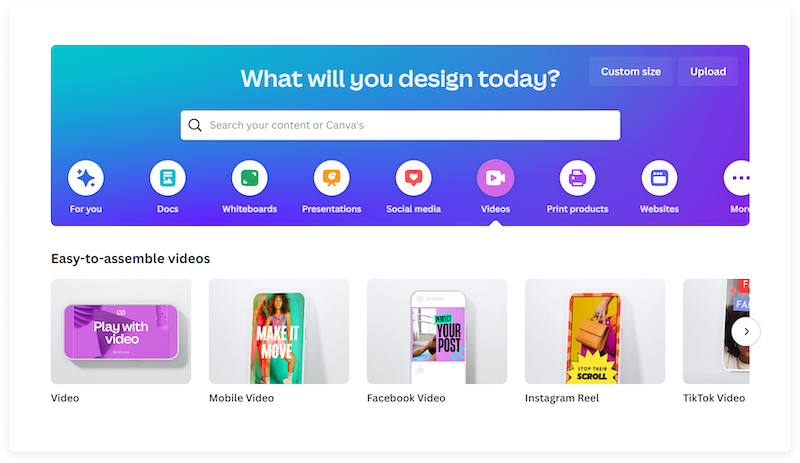
2. Choose a video project design from a wide selection of templates or work from scratch.
3. Upload your video file. Use a video from a personal collection, YouTube, Vimeo, or Canva’s stock video library. Add your video and position it on your layout.
4. Edit your video. You can choose a specific frame or scene from your clip, merge videos, trim a clip, or crop the footage in Canva’s video editor. Tweak the playback speed for a different effect.
5. Apply a frame, filters, and other design elements. Add text to the video for subtitles to make your new GIF more entertaining. You can use simple fonts in either black or white to keep the text readable.
6. Convert your edited video to GIF by downloading your finished clip in the GIF format.
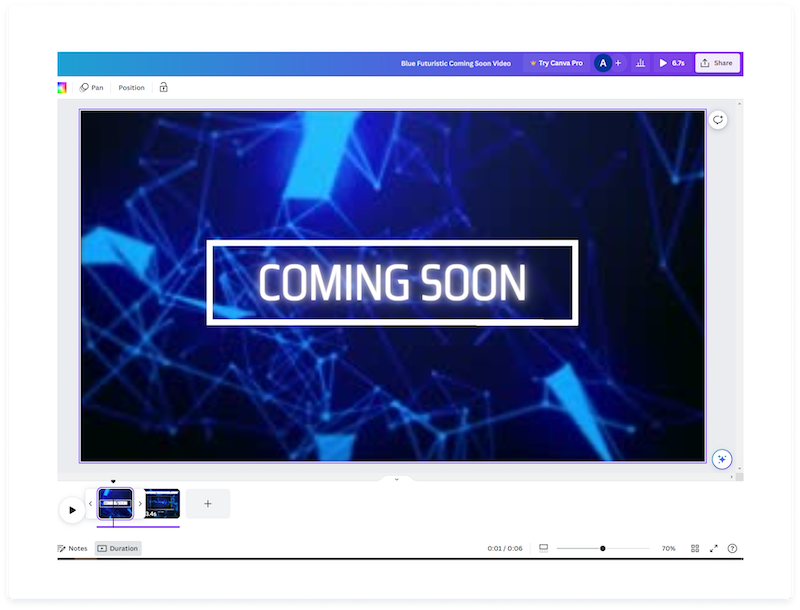
Check out this GIF example that we made from two short videos in Canva just in a few simple steps.

Now that you’ve got amazing GIFs ready, it’s the perfect time to start using them in your marketing collateral. Whether you’re creating digital flipbooks, brochures, catalogs, or magazines, adding GIFs is a natural way to make them more engaging. Tools like FlippingBook make it easy to embed GIFs into your documents with a few clicks. And thanks to the smart Canva integration and professionally designed templates, you can create stunning collateral faster and more efficiently.
Take a look at how adding just one simple GIF can instantly make your flipbook more eye-catching. Looks gorgeous!
How to Add GIFs to Your PDFs
If you’d love to use GIFs in your marketing collateral but aren’t quite sure how to create that collateral yet, don’t worry! We’ve got a simple solution, especially for those using Canva. At FlippingBook, we’ve designed 20+ amazing Canva templates for our clients and everyone who wants to create documents easily. You can make a catalog, magazine, brochure, newsletter, presentation, digital flipbook, and more, and then add your GIFs right to them.
To make your content creation even easier, you can design a PDF in Canva and publish it directly to FlippingBook via a handy integration. From there, you can customize your flipbook and add interactive GIFs right in the FlippingBook Editor—no extra steps needed. This seamless workflow lets you go from creating in Canva to enhancing your interactive content in FlippingBook without missing a beat.
🚀FlippingBook lets you add other interactive elements for the ultimate reading experience, such as videos, pop-up image galleries, links, forms & quizzes. See how an embedded video enriches the flipbook and gives it more value:
Berkshire Real Estate Market Report
💡 You can also upload a short MP4 video to your flipbook and set a loop mode for it. Thus, you'll create a GIF from a video in no time!
That’s it! We hope that our article will help you find the best way to create GIFs and take your marketing content to the next level, reach a wider audience, and get new loyal clients.