If you are looking to make your PDFs stored in a SharePoint Online site easy to find, read, and navigate, embedding them directly into a page is a great solution. In contrast to simply listing files in a folder, embedding a PDF highlights the content, improves its readability, and provides quick and obstacle-free access to important information that might otherwise be overlooked.
So, what’s the best way to embed your PDFs into a SharePoint page?
In this article, we will share how to use SharePoint Online document embedding options, so you can choose the one that works best for you. We’ll cover:
- Embedding a PDF with a File viewer web part
- Embedding a PDF using an <iframe> code
- Embedding an interactive PDF
Embed PDF with a File Viewer Web Part
You can upload a PDF document to SharePoint with a File Viewer web part. This method allows you to add files, such as documents and tables, to your SharePoint pages.
For example, if you have a page with a list of documents and you want to highlight one of them, you can make it instantly viewable in the area next to the list right on the page. Here’s how you upload a PDF to SharePoint:
- Go to the Edit mode of your page. Make sure to select the Two columns layout.
- Click on the Plus icon and select the File Viewer web part.
- Select the file you would like to embed.
That’s it! The file you’ve selected will appear next to the list of other documents. You can view it on any device and scroll through it just like you would with a standard browser PDF viewer.

- Quick and straightforward.
- No coding or extra tools needed.

- Only single-page view available.
- Poor navigation.
- No way to save reading progress.
Embed a PDF Using an <iframe> Code
If you want a bit more control over the appearance and behavior of your embedded PDF, you can add it to your SharePoint site using an HTML <iframe> code. Though this method requires a basic understanding of HTML, it’s quite simple and works for both classic and modern SharePoint pages.
Modern SharePoint page
- Upload a PDF to your SharePoint document library and copy its URL.
- Click on Edit to go to the Edit mode of your SharePoint page.
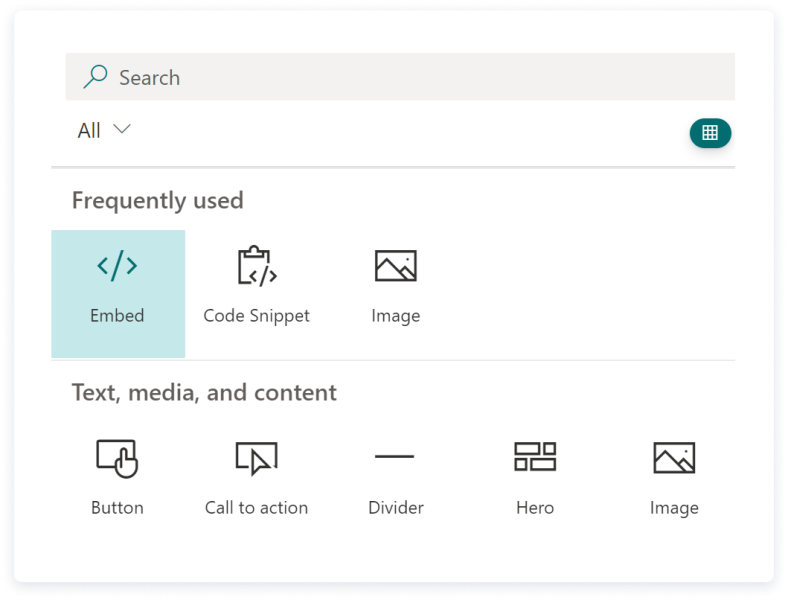
- Select View all web parts, then select the Embed web part.
- Paste your <iframe> code. It may look like this:
<iframe src="https://yourtenant.sharepoint.com/sites/yoursite/Shared%20Documents/yourfile.pdf" width="100%" height="600px"></iframe>
where “https://yourtenant.sharepoint.com/sites/yoursite/Shared%20Documents/yourfile.pdf” is the URL path to your document.
That’s it! You can control the embed size by changing the width and height parameters in the code.
Classic SharePoint page
- Upload a PDF to your SharePoint document library and copy its link.
- Edit your page.
- Add a Content Editor web part or Script Editor web part.
- Paste your <iframe> code, like the one described above.
- Rather easy, with minimal coding.
- Allows basic control over document appearance and behavior.
- Requires a basic understanding of HTML code.
- Only works for modern SharePoint pages.
- PDF looks simplistic, with limited navigation options.
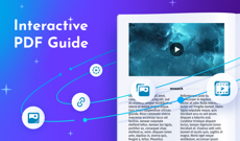
Embedding an Interactive PDF
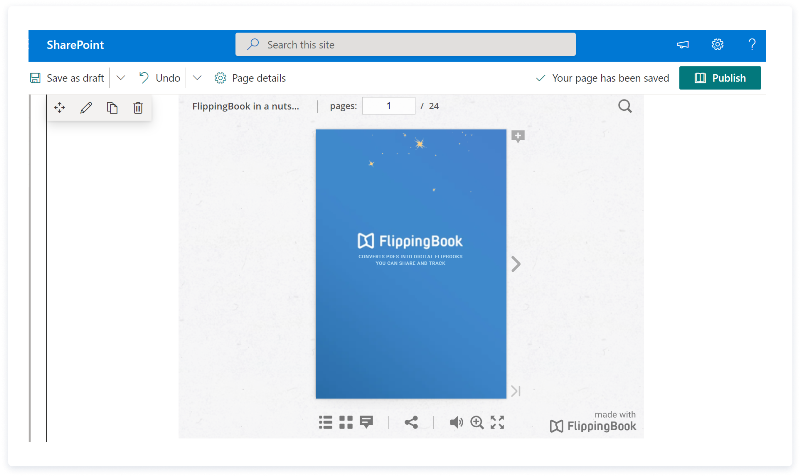
You can give the look and feel of your PDF documents an upgrade by converting them to interactive flipbooks before embedding. Here’s what an embedded flipbook looks like:
- Enhance your documents with interactive elements to boost engagement with your content.
- Improve navigation with a clickable table of contents, pagination, and smart search.
- Track how people interact with your documents through views, clicks, reading time, and more to learn how well your content performs.
How to convert a PDF into a flipbook
You can make an interactive flipbook from your PDF in a few simple steps with FlippingBook:
- Create a FlippingBook account and upload your PDF. You will receive a direct link to your interactive document in a few minutes.
- Customize your flipbook: brand it with your logo, add interactivity like videos, pop-up images, or a quiz.
- Set a privacy level: protect your PDF with a password or disable Share and Download options to limit it to viewing only.
When you are happy with the look and features of your flipbook, you can embed it into your SharePoint Online page.
Embedding a flipbook into your SharePoint Online page
Flipbook embedding is very similar to PDF embedding using the <iframe> code method, so there’s nothing complicated about it.
- Get permission from your SharePoint website administrator to embed content from external domains.
- Open a page in the Pages section of your SharePoint website settings:
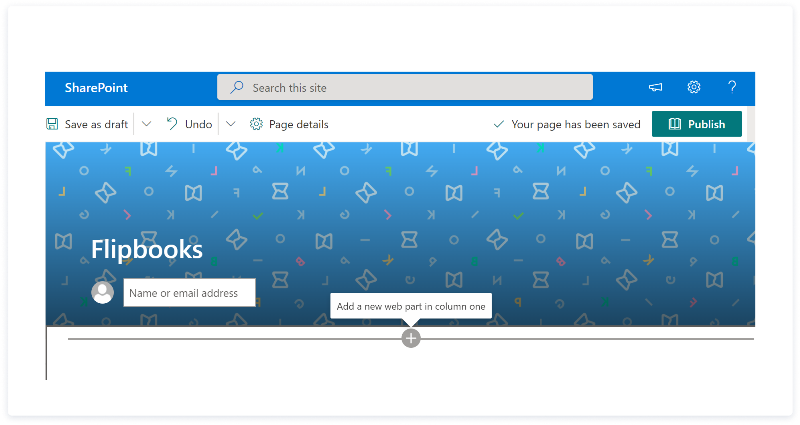
3. Click on the Plus icon to add a new web part and select the ‘Embed code’ option:
4. Copy and paste the following code into the Website address or embed code box:
<iframe title="(title of your flipbook here)" src="https://online.flippingbook.com/view/771043" width="640px" height="480px" frameborder="0" marginwidth="0" marginheight="0" scrolling="no" allowfullscreen="allowfullscreen"></iframe>
Replace the part https://online.flippingbook.com/view/771043 with the direct link to your flipbook.
That’s it! Your flipbook is embedded and ready to go.
- Improved visuals and readability.
- Enhanced navigation.
- Content performance tracking.
- Links to specific pages for pinpointing information.
- Easy sharing via link or embedding.
- The embedding process is a bit more complicated than embedding a simple PDF.
- Requires converting PDF to a flipbook before embedding.
If you want to make the most of your PDF documents, embedding them as flipbooks is what you need.
Give it a try—with FlippingBook’s free 14-day trial